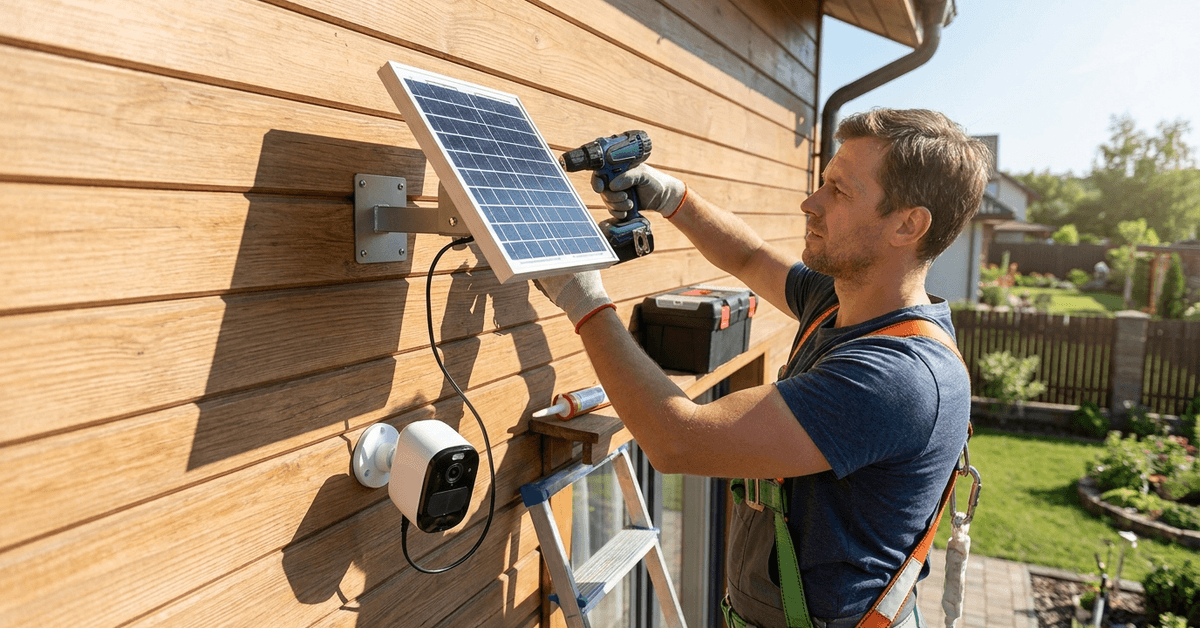
Wireless outdoor cameras can be a game-changer for smart home security. Yet, battery life can hold them back. Solar panels offer a reliable way to keep these cameras powered 24/7 with little hands-on effort required.
This article explains, step by step, how to set up solar panels for wireless outdoor cameras. Owners of battery-powered cameras seeking a set-and-forget power solution will find these mounting methods practical and safe.
Why Use Solar Panels for Wireless Cameras?
Many homeowners like solar panels because they reduce battery changes. The right setup can power cameras for months without manual charging.
For large properties or hard-to-reach cameras, solar power cuts hassle. It’s also eco-friendly and prevents outages caused by depleted batteries.
Choosing a Compatible Solar Panel
Check power requirements
The output voltage of the panel must match your camera’s input. Most wireless outdoor cameras run on 5V, but some models may use 6V or 12V.
Matching the specs avoids damaging the camera or causing slow charging. Information is usually printed on the camera’s power port or in the manual.
Connector and cable compatibility
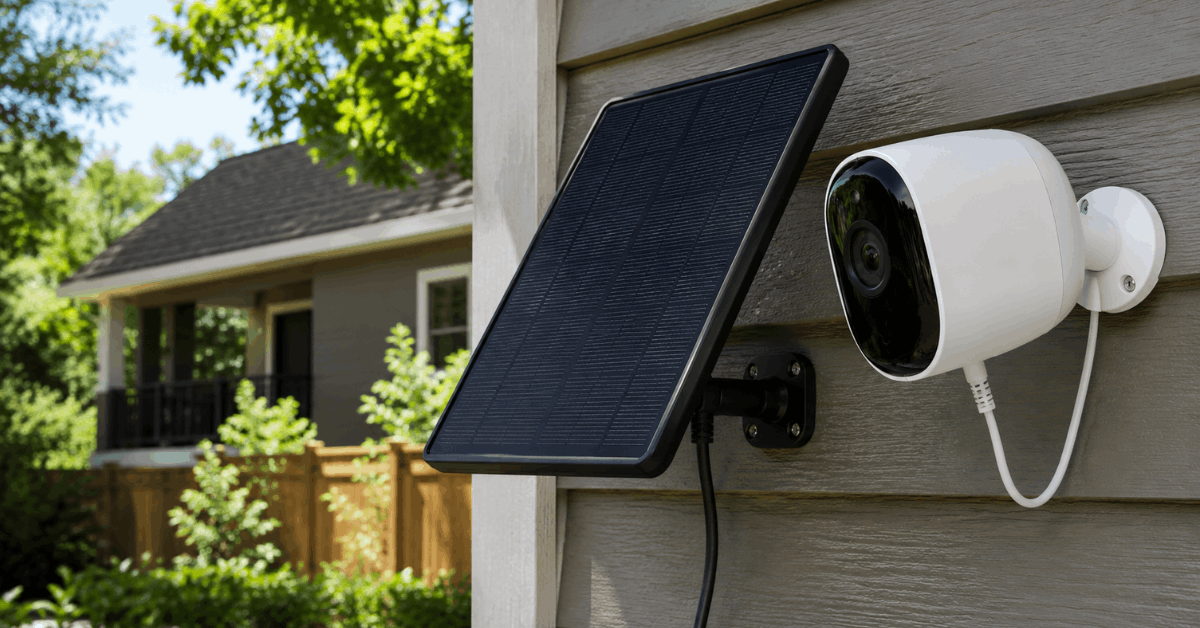
Most leading brands (like Arlo, Reolink, and Ring) offer their own solar accessories. These use specific cables and weatherproof connectors.
For third-party panels, use an adapter designed for your camera’s charging port. Ensure the cable is rugged for outdoor use.
Tools and Materials Needed for Mounting
- Weatherproof solar panel suitable for your camera model
- Adjustable outdoor mounting bracket (usually included with the panel)
- Rust-resistant screws and wall anchors
- Power drill with masonry or wood bits
- Outdoor-rated zip ties or cable clips
- Silicone caulk for sealing cable entries
- Ladder for accessing mounting site
Picking the Optimal Solar Panel Location
Choose a site with maximum sun exposure
The more direct sunlight your panel receives, the better its performance. South-facing walls or eaves are often best in the Northern Hemisphere.
Avoid placing panels in shadow, under roof overhangs, or near trees. Even partial shade can sharply reduce charging efficiency.
Consider cable length and camera position
Shorter cables reduce power dropoff. It’s wise to keep your panel no more than 10 feet from the camera, if possible.
The cable should reach the camera without sagging. Secure any excess cable neatly against the wall or roof.
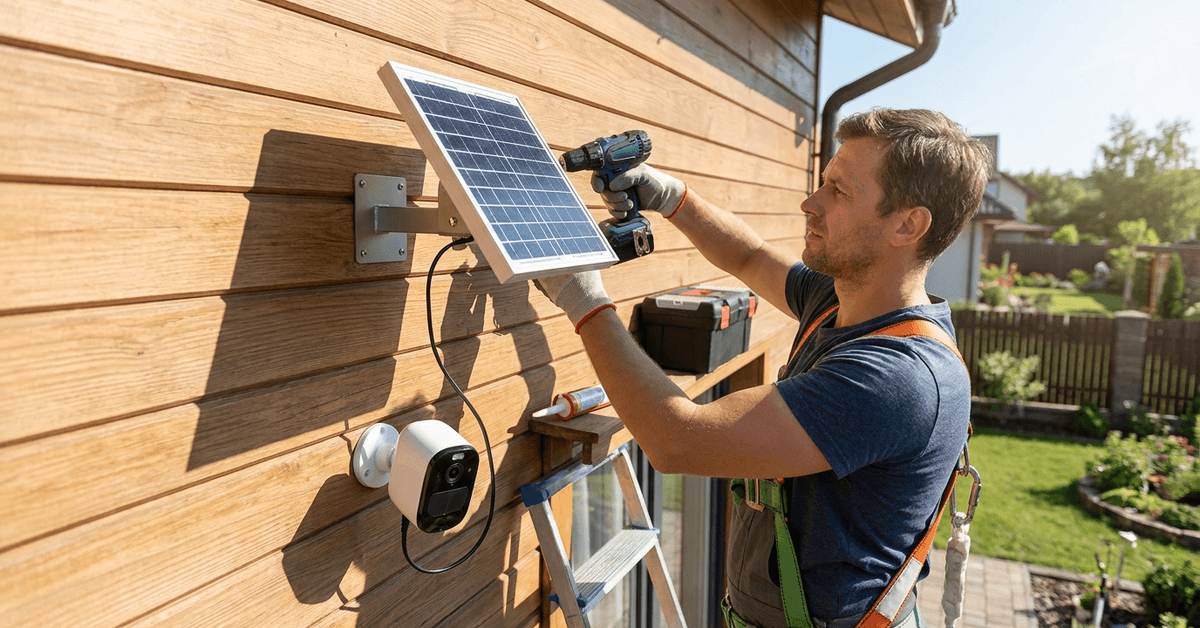
Step-by-Step: Mounting Your Solar Panel
1. Mark the drill holes for the bracket
First, position the bracket on the chosen surface, aligning it to maximize sunlight. Homeowners often mark pilot holes using a pencil through the mounting plate.
2. Drill and secure the bracket
Use appropriate drill bits for your wall material. Brick, stucco, and siding may require different techniques.
Secure the bracket tightly with included screws and wall anchors. The bracket should not wobble or tilt after tightening.
3. Attach the solar panel to the bracket
Insert the solar panel into the adjustable mount. Set it at an angle equal to your latitude for year-round performance.
Most brackets allow tilt adjustment. After aiming it, hand-tighten the bolts to hold the angle steady.
4. Run the cable to the camera
Route the cable along eaves, siding, or roof lines. Using outdoor cable clips can secure the wire neatly and prevent snags or wind damage.
If the camera is mounted on brick or concrete, self-adhesive cable organizers may help. Keep bends gradual to avoid pinching the wire.
5. Seal any wall penetrations
If you need to drill through a wall or soffit, seal the opening with weatherproof silicone caulk . Water intrusion can cause damage or reduce system life.
Connecting and Testing the Panel
Plug in the solar panel
Match the plug to your camera’s charging port. Firmly push the connector until it ‘clicks’ (if the design supports it).
Water-resistant connectors must be fully seated to keep moisture out. Double-check the fit, especially before rainy seasons.
Power on and verify charging
Apps from popular brands like Arlo, Reolink, and Ring provide live status updates. Look for a ‘charging’ icon or battery percentage increasing.
Manuals typically show what the LED status lights mean, in case there is no app interface.
Maintaining Your Solar-Powered Camera Setup
Regular cleaning
Dirt, dust, or bird droppings on the panel can dramatically impact charging. Occasionally, wiping the panel face with a microfiber cloth can boost performance.
Some homeowners set reminders in their phone calendar every three months for cleaning tasks.
Inspect cable and components
Check for cracks in wires or loose mounting hardware after weather events. Re-tighten screws as needed and replace damaged cables quickly.
Troubleshooting Common Issues
Insufficient sunlight or low charge
Panels in partial shade or on north-facing walls often struggle. If charging falls behind, relocating to a sunnier spot can help.
Swapping to a higher-wattage panel may also solve the issue, especially during winter months.
Loose connectors or faulty cables
Intermittent charging is often traced to a connector that isn’t fully seated. Re-check the connection and swap cables if problems persist.
Recommended Brands and Smart Features
Brand-specific solar panel kits
The Arlo Solar Panel and Reolink Solar Panel are both well-rated. Users often find installation easiest when sticking with their camera brand’s official accessories.
Generic panels from brands like Wasserstein or Sunforce may also work for budget setups but require more care with compatibility checks.
Monitoring with camera apps
Most modern outdoor cameras now offer battery and charging stats in their companion apps. Reolink and Arlo users can receive low-battery alerts directly on their phones.
Monitoring trends over time in the app helps spot issues early before battery drains too far.
Best Practices for a Safe Installation
Secure ladder placement
Whenever mounting high, double-check your ladder footing on even ground. It is safest to have a second person present as a spotter, if possible.
Avoid working in wet or windy conditions. Proper safety gear makes a big difference for roof projects.
Weatherproofing tips
Focus on fully seating all connectors and sealing cable entries. Exposed connectors or unsealed holes can let water in and shorten component life.
A simple weatherproof box, sometimes called a junction box, can be used for more complex cable joins outside.
Potential Apps and Smart Integrations
- Arlo Secure: For real-time camera charging status and alerts
- Reolink App: Battery health and live view, plus smart notifications
- Ring App: Solar usage, health reports, and integration with Alexa routines
Some homeowners link camera charging status to home automation hubs using IFTTT or similar services. This can trigger reminders or send custom alerts if panel output drops below a certain level.
Conclusion
Using solar panels to power wireless outdoor cameras is a practical way to boost security with less effort over time. Picking the right panel for your camera model, careful mounting, and ongoing maintenance help guarantee reliable performance in most climates.
Brand-authentic panels are usually simplest for beginners. For advanced users, third-party solutions can be tailored for more powerful charging setups. Owners should expect to check their system a few times each year, but most agree it’s far easier than repeated battery swaps.
Monitoring battery status via your camera’s app helps prevent surprises. Occasional cleaning and inspection take just a few minutes and can add years to your setup. Learn more about integrating smart devices or troubleshooting security tech in the fortressmate.com resource library. Solar-powered security is well within reach for most homeowners willing to try these proven methods.