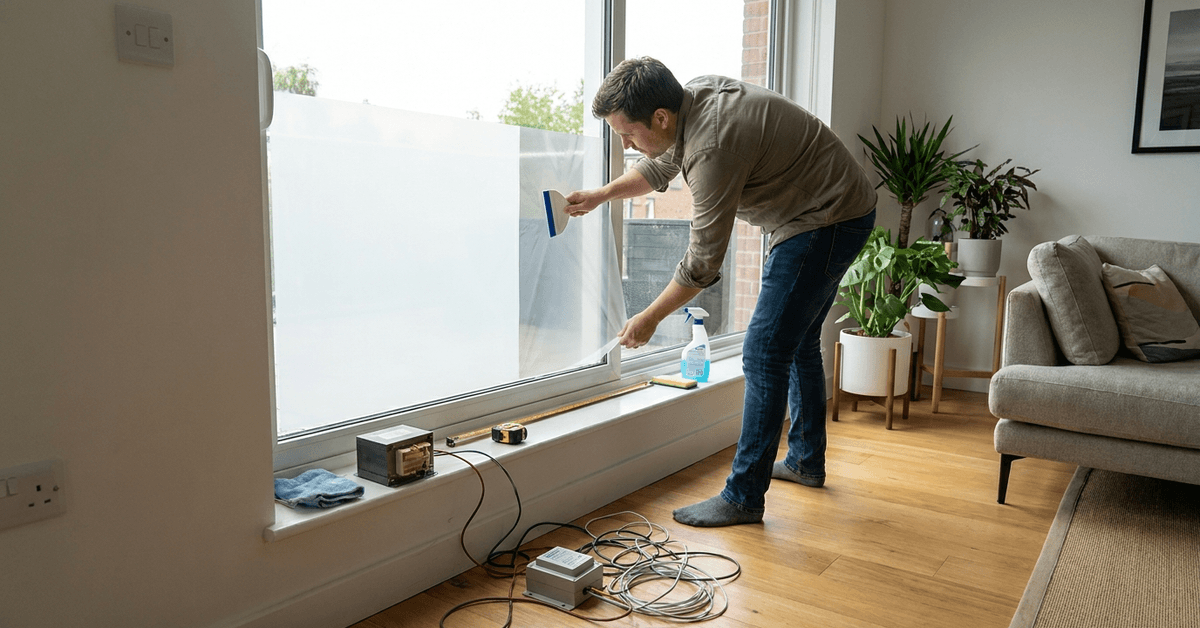
Smart glass film offers instant privacy for windows, letting you switch transparency on and off by remote, app, or smart control. It’s practical for homes, offices, and security-sensitive spaces.
This guide addresses homeowners, renters, and DIY smart home fans seeking reliable, straightforward instructions for installing electrochromic film, often called “smart glass film,” to enhance privacy and style.
Understanding Smart Glass Film Technology
Smart glass film, also called switchable privacy film, uses an electrochromic or PDLC (Polymer Dispersed Liquid Crystal) layer. The PDLC layer shifts instantly from clear to opaque with a tiny electrical current.
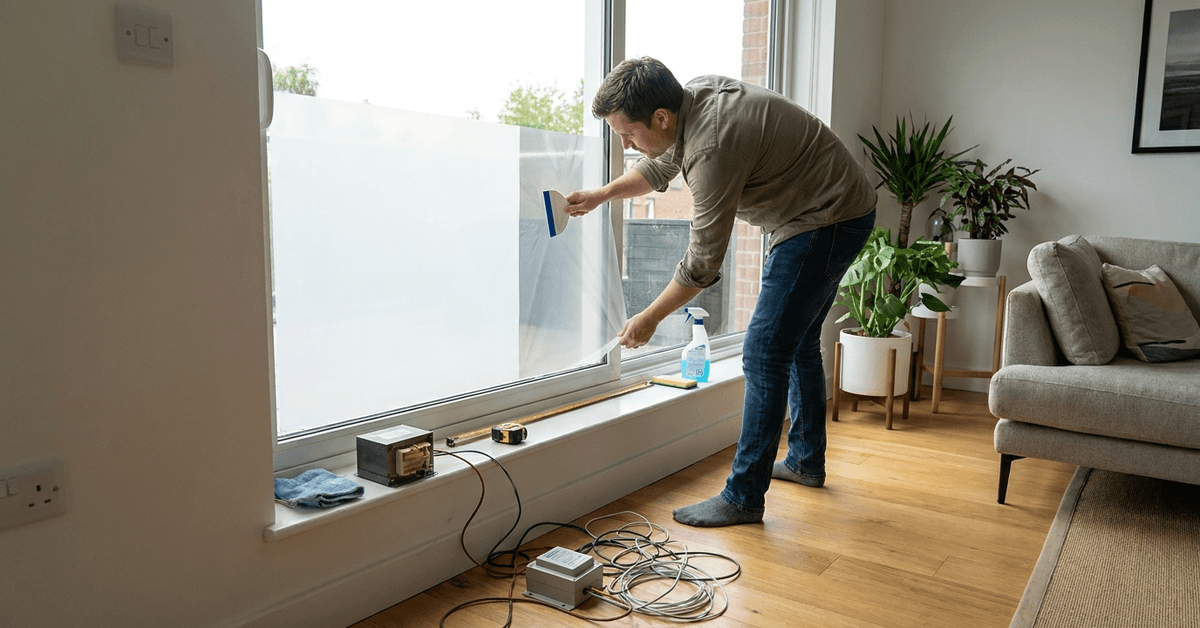
Often, these films respond to wall switches, wireless remotes, or smart systems like Alexa or Google Home. The installation process is similar for most brands thanks to standard wiring and adhesive backing.
Choosing the Right Smart Glass Film
Proper film selection is crucial for privacy, durability, and compatibility with your smart home setup. Some of the important factors include:
- Film type: Self-adhesive films are easiest for DIY installs.
- Power rating: Most require 48V AC, but check your panel.
- Control options: Consider wireless, wall switches, or integration with smart hubs.
- Glass size and shape: Film sheets are typically cut to fit.
- Warranty and support: Look for brands with reliable customer service.
Popular brands worth considering include SONTE, Smart Tint, and Polytronix. Each offers detailed spec sheets for sizing and compatibility.
Tools and Materials Needed
To complete the installation safely, homeowners usually gather:
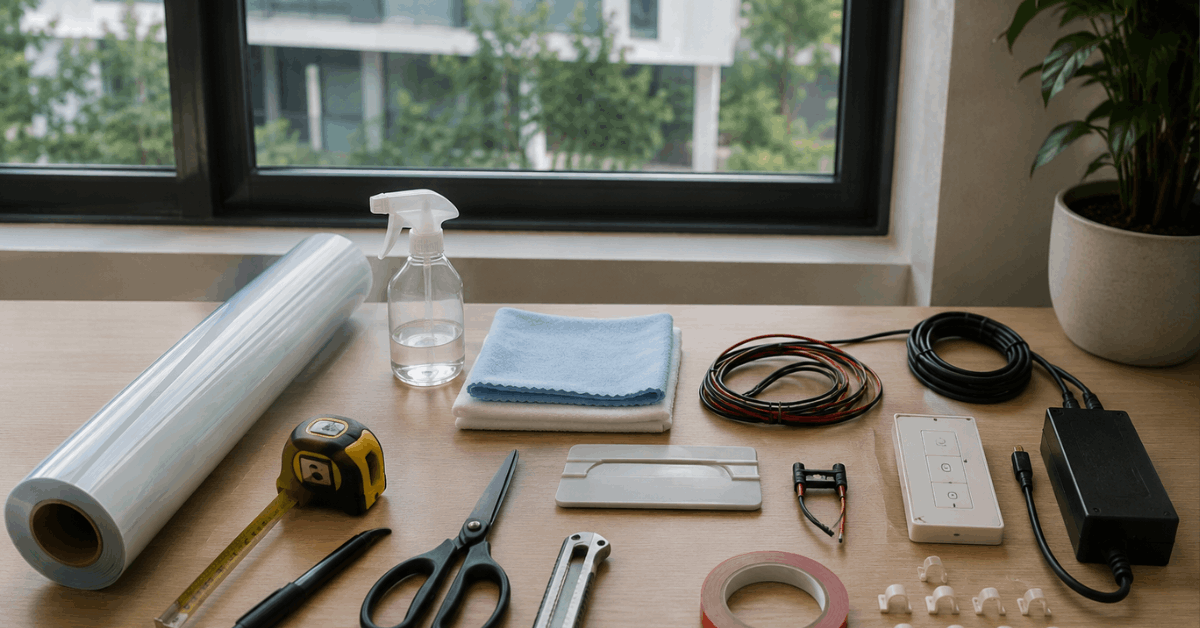
- Self-adhesive smart glass film
- Measuring tape and a marker
- Scissors or a utility knife
- Cleaning supplies (alcohol wipes, lint-free cloth)
- Plastic squeegee
- Low-voltage wiring kit and clips
- Double-sided tape (as backup)
- 12V/24V/48V transformer (depending on brand)
- Control unit (remote or wall switch module)
Occasionally, a voltage tester or multimeter helps check connections, especially if integrating with existing switches.
Preparing Windows for Film Application
Dust, oils, and streaks can compromise adhesion. Homeowners often:
- Remove window treatments (curtains, blinds) and clean the full glass area with alcohol-based cleaner.
- Wait for moisture to evaporate fully—a dry, lint-free surface is required for optimal sticking.
Measuring the window accurately and marking perimeter edges with a washable marker can reduce mistakes.
Cutting and Handling the Film
Film sheets are delivered larger than needed. To ensure a neat fit, users can:
- Lay the film on a clean, flat surface.
- Transfer window measurements to the film using a straightedge and marker.
- Cut slightly larger than required, trimming for final fit after application.
Handling the film at its corners rather than the middle helps avoid creases and oil residue from hands.
Step-by-Step Smart Glass Film Installation
1. Dry Fitting the Film
Position the smart film over the window before peeling the backing. This lets users test size and mark adjustments, if necessary.
2. Peeling the Adhesive Backing
A slow, even peel of the backing prevents dust contamination. Some brands provide a glossy protective layer, which should stay in place until after install.
3. Applying the Film to the Glass
Starting at one edge or corner, align the top and gently press the film onto the window. Using a plastic squeegee, work from the center out to remove air bubbles.
4. Trimming the Edges
After full adhesion, careful trimming along the edges with a utility knife creates a precise, professional finish.
5. Removing the Protective Layer
If your film includes a temporary protective sheet, peel it away slowly once the film is secured and bubble-free.
Wiring and Powering the Smart Film
Most films connect to a dedicated transformer via ultra-thin wires running along the glass edge. For safe hookup, homeowners often follow this sequence:
- Mount the transformer discreetly near the window.
- Connect the film’s wire leads to the transformer according to wiring diagrams provided by the manufacturer.
- Secure wires with transparent tape along frame edges, hiding them if possible.
- Plug the transformer into AC power.
For advanced installs, integration with smart hubs (like SmartThings or Shelly relays) is possible using relay switches and app-based controls.
Setting Up Smart Controls and Apps
Basic film kits usually come with a remote or wall switch. For app control, brands may offer Wi-Fi modules or Zigbee integration. Common control options include:
- Handheld RF remote (turns privacy on or off instantly)
- Smartphone app for Wi-Fi or Bluetooth-enabled kits (e.g., SONTE App)
- Voice control via Alexa or Google Assistant (if compatible module installed)
- Scheduling and automation through smart hub platforms (SmartThings or Home Assistant)
Pairing is typically done through companion apps. Voice assistants are linked via skill integrations or routines.
Troubleshooting Common Installation Issues
Film Does Not Turn Opaque
This can result from improper power supply, loose wiring, or incompatible voltage. Verifying transformer output and tightening connections often resolves it.
Visible Air Bubbles or Creases
Bubbles should be removed with a plastic squeegee if caught early. Persistent marks may indicate surface debris or trapped dust.
App or Remote Not Responding
Rebooting the control module, resetting the pairing process, or updating firmware (if possible) is usually effective. Sometimes, replacing remote batteries also helps.
Cleaning and Maintaining Smart Glass Film
Smart glass film is durable when gently handled. Most homeowners maintain clarity and performance by:
- Wiping with a soft, lint-free cloth and mild detergent
- Avoiding abrasive cleaners or solvents
- Inspecting wiring for wear or pinches every few months
It is wise to keep all sharp objects away during everyday use, as scratches can permanently damage the privacy layer.
Legal and Safety Considerations
When adding smart glass film, building codes and lease agreements sometimes have restrictions, especially in apartments. It’s prudent to:
- Consult the local building regulations regarding window tint or privacy tech
- Confirm with landlords or property managers before permanent installations
- Ensure all wiring meets electrical safety codes
Relying only on certified transformers and branded controllers (not generic substitutes) is recommended for safety and insurance compliance.
Tips for a Smoother Smart Glass Film Installation
A few careful steps can improve the final look and long-term performance of the film.
- Measure the glass twice.
- Clean the surface thoroughly.
- Test the fit before peeling.
- Hide wires along the frame.
- Check voltage before powering on.
Conclusion – Achieving Effortless Privacy with Smart Glass Film
Smart glass film technology transforms regular windows into on-demand privacy panels, offering control at a tap or voice command. With proper prep, cutting, and safe wiring, homeowners often achieve pro-level results the first time. Routine cleaning and periodic wiring checks help maintain optical performance and safety.
Most users discover that, while the installation involves patience, the payoff in peace of mind, light control, and modern design more than justifies the effort.
Adapting these installation steps for your exact window size and smart home platform ensures both seamless privacy and future-ready automation.