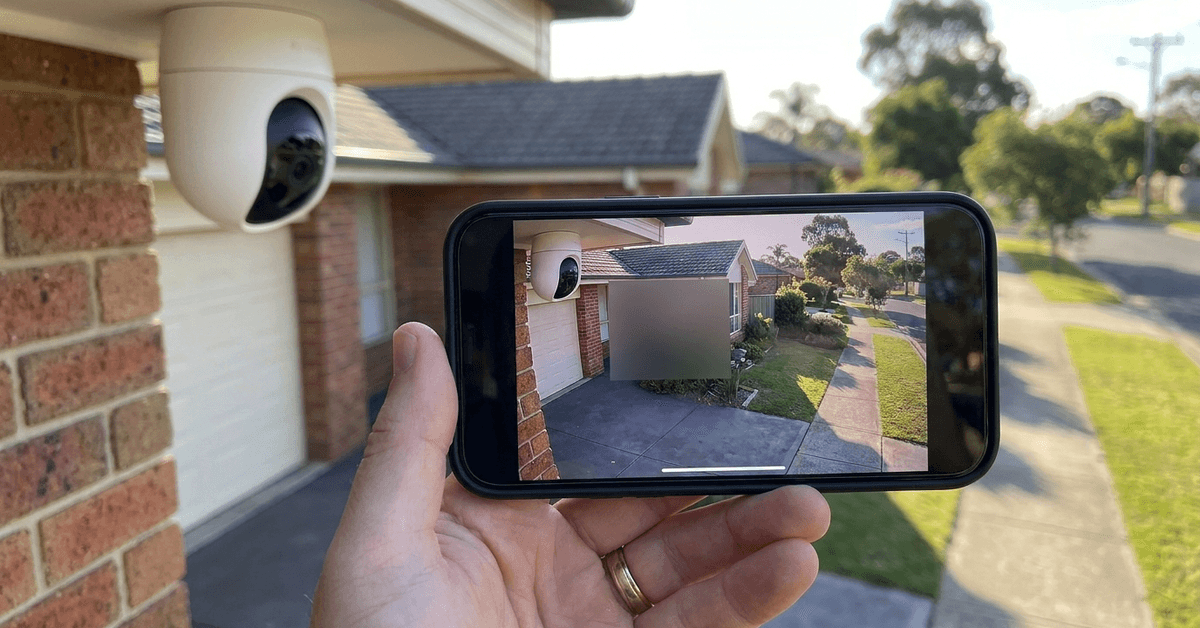
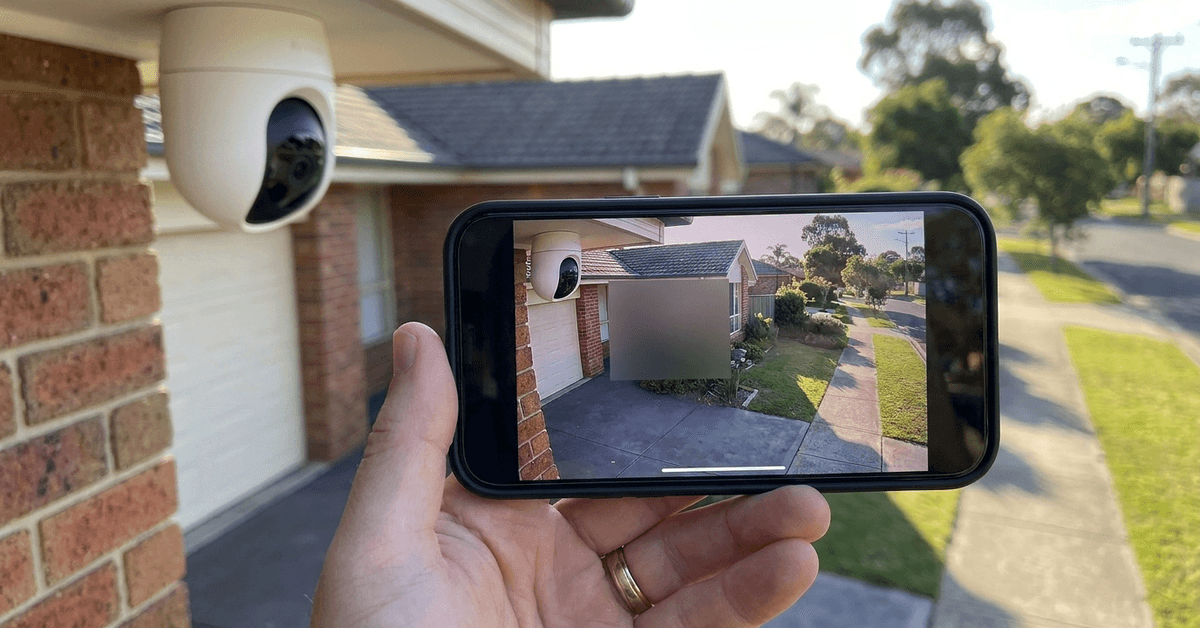
Smart cameras offer robust monitoring, but they also raise valid privacy concerns. Privacy zones help users block out sensitive areas from video streams. Neighbors, private windows, and entrances are common examples.
This article walks through configuring privacy zones for leading camera brands and platforms. Homeowners and renters can expect practical, field-tested steps for mainstream smart cameras.
Understanding Privacy Zones in Smart Camera Systems
Privacy zones are digital overlays set up within camera software. Each selected region ignores motion, video recording, or even live viewing.
Brands introduce slight variations. Some refer to them as “masking zones.” Others use “activity zones,” but this can mean something different.
The goal remains the same: maintain surveillance for security while limiting unnecessary recording of personal or third-party spaces.
When and Why Configure Privacy Zones?
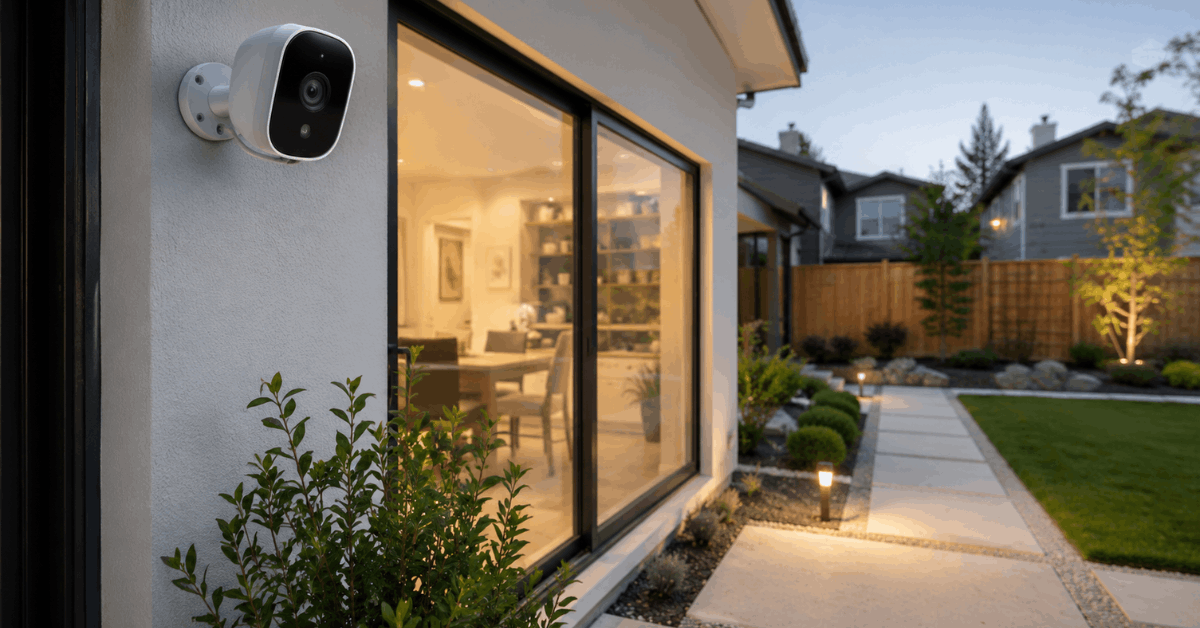
Setting privacy zones is most relevant for outdoor cameras facing a street or shared yard. It is similarly vital for indoor cameras positioned near bathrooms, bedrooms, or guest spaces.
Common motivations include:
- Complying with local privacy regulations
- Respecting the privacy of household members or neighbors
- Eliminating unnecessary alerts or footage from non-critical areas
- Enhancing personal comfort with in-home monitoring
Supported Smart Camera Platforms
Modern brands almost all support privacy zones, but the implementation varies.
- Arlo (Pro, Ultra, Essential series)
- Ring (Spotlight and Floodlight Cam, some Stick Up Cam models)
- Google Nest Cam (wired and battery)
- Eufy Security (via the Eufy Security app)
- Dahua and Hikvision (with on-board firmware or monitoring software)
Cloud-based video management systems, such as Blue Iris, also enable privacy masking for most ONVIF-compatible cameras.
Requirements Before Starting
- A smartphone or computer with the relevant camera app installed
- Up-to-date device firmware ensuring max feature access
- Physical access to the camera or video feed for accurate zone placement
How to Configure Privacy Zones: Step-by-Step Instructions
Step 1: Access the Camera’s App or Web Portal
The process begins by logging into the brand’s official platform app (e.g., Arlo or Ring). Some cameras support configuration directly through a browser portal, which can be slightly faster for large-screen adjustments.
Step 2: Locate the Privacy Zone Feature
- On Arlo: Found in Settings > Video Settings > Privacy Zones
- Google Nest: Use the Home app > select camera > Settings > Activity Zones
- Ring: Settings > Device Settings > Privacy Zones
- Eufy: Open Device Settings, look for Privacy Masking
Platforms often update menu names, so a brief scan of video/recording options is helpful.
Step 3: Draw or Configure the Desired Zone
Most interfaces display a preview image. The user draws rectangles or polygons directly onto the desired feed sections.
It’s best to err on the conservative side, covering enough of the sensitive region rather than being overly precise and leaving gaps.
Nest and Arlo both allow for adjustment of shapes. Some cameras require only rectangles, limiting complex boundary options.
Step 4: Save and Test the Applied Zone
After configuring, save the changes and check the live feed or a sample recording. A practical technique: walk through the masked area and ensure motion or activity does not trigger recordings or alerts.
Step 5: Adjust If Needed
Lighting conditions shift, and seasonal changes may require zone updates. Reviewing privacy region placement every 6–12 months is a good standard.
Advanced Tips and Real-World Considerations
Multiple Zones and Camera Placement
Most platforms let users set up more than one privacy area per camera. This helps in complex scenes, such as backyards with multiple property lines.
Firmware and Software Updates
Occasionally, firmware updates may reset or modify zone settings. Regularly reviewing and re-applying zones maintains consistent privacy protection.
Legal Considerations by Region
European GDPR, UK DPA, and local U.S. state privacy laws can all impact requirements for recording, especially in shared spaces.
Some locations mandate clear signage or consent for recording, regardless of online masking features.
Common Troubleshooting Scenarios
Zone Not Blocking Recording Properly
This issue sometimes results from failed app updates, outdated firmware, or user setting errors.
Software Glitches After Updates
If zones disappear after updates, reinstalling or resetting the app usually restores function. Manufacturer support forums are often a helpful resource.
Conclusion
Privacy zones deliver an effective mix of security and discretion for smart home cameras. By thoughtfully configuring these protected areas, users maintain safety without overreaching into sensitive areas.
Regularly reviewing zone placement, staying alert to legal changes, and updating device firmware ensures consistent and respectful monitoring.
The result is a home that feels secure—and one where everyone’s privacy is taken seriously. Smart camera privacy features, when used correctly, keep households both safe and considerate.