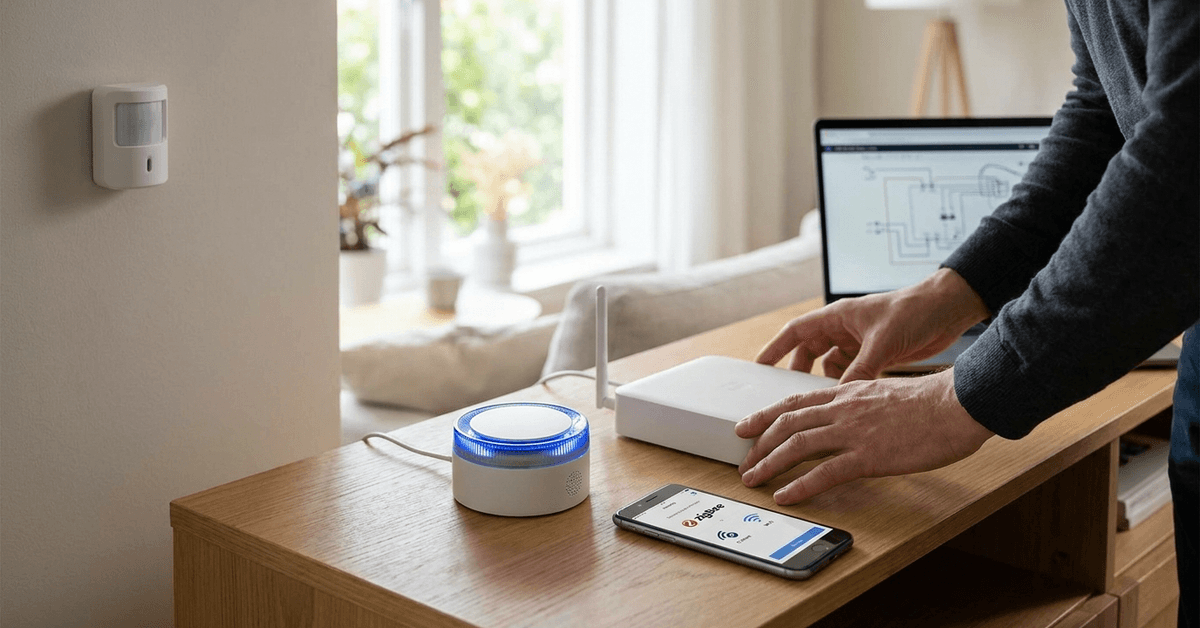
Integrating smart sirens into your current home hub strengthens your security setup. Homeowners looking to boost alarm responsiveness will find this guide useful. A few practical steps can create a safer smart home.
This article suits anyone setting up or improving a hub-based smart security system. Whether you use Zigbee, Z-Wave, or Wi-Fi, there is usually a way to get your smart siren working smoothly. Enhanced control and timely alerts are the key benefits to expect.
Understanding Smart Sirens and Hub Compatibility
Compatibility is the first critical check. Not every smart siren speaks the same language as a given hub. Most, though, work via a few common protocols.
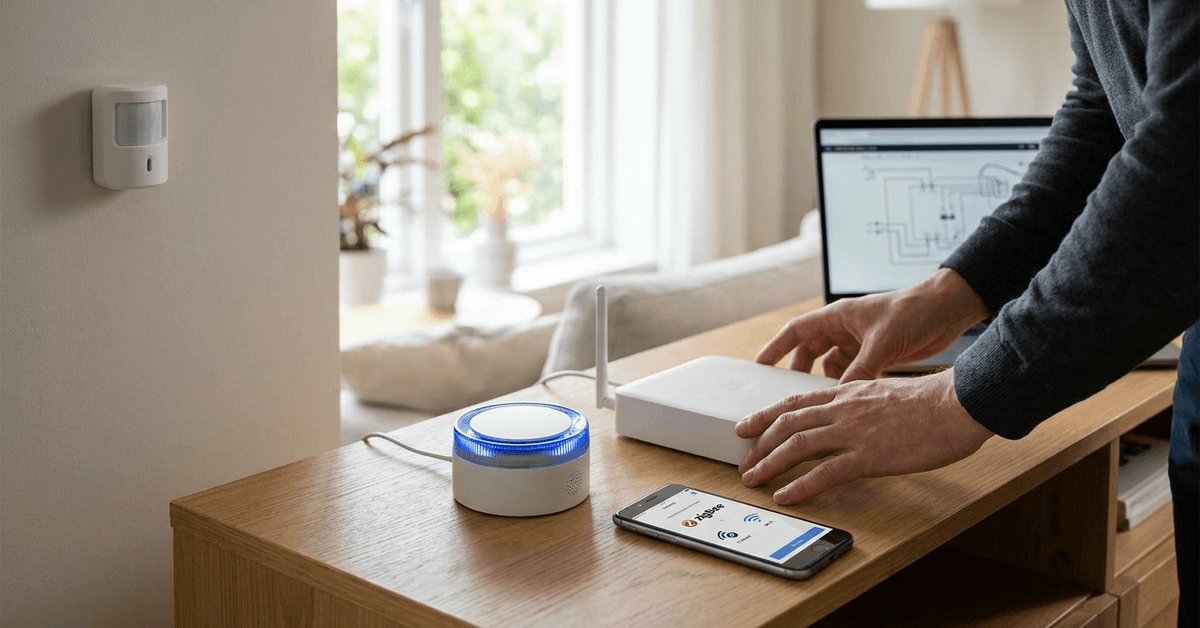
Common Smart Siren Protocols
- Z-Wave : Often preferred for home security systems due to reliable mesh networking and low power draw.
- Zigbee: Chosen for ease of pairing and fast response times in many ecosystems.
- Wi-Fi: Integrates directly with home routers, suitable for stand-alone or cloud-based systems.
Other rarer options exist but tend to need adapters or proprietary controllers. Product manuals usually note the required protocol right up front.
Checking Your Hub’s Supported Devices
A quick glance at your hub’s device list or app compatibility section clarifies your options. Search for brand names supported natively. For example, SmartThings lists Aeotec, Dome, and Everspring sirens.
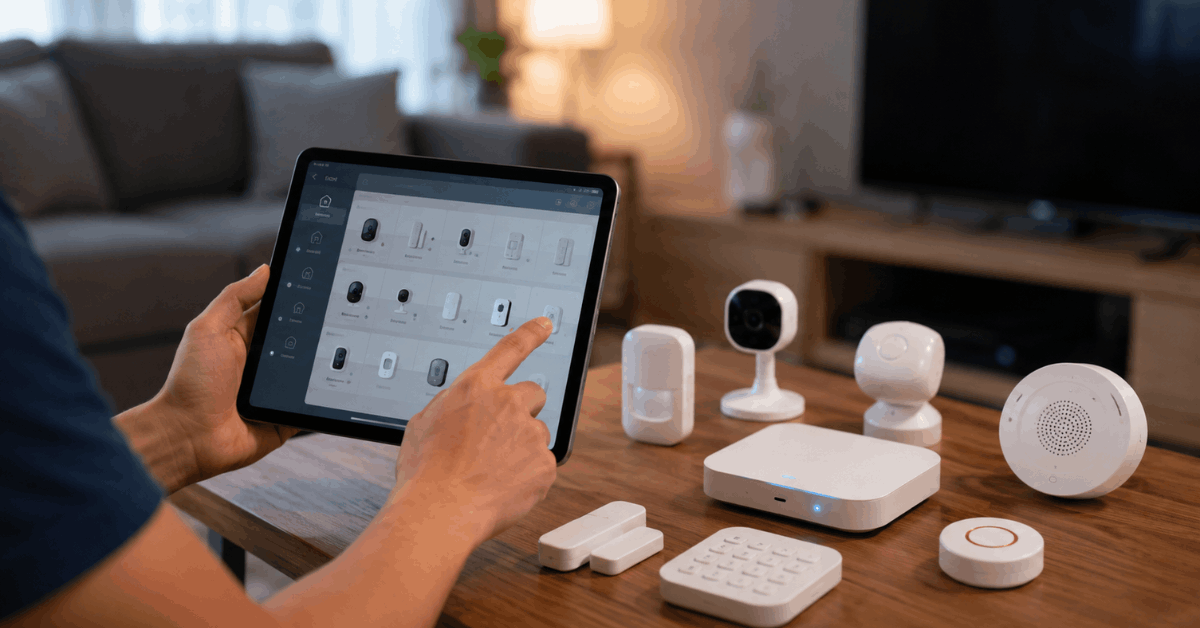
Incompatible sirens sometimes work with third-party device handlers or custom integrations. Still, native compatibility is usually more reliable.
Preparing for Installation
A successful connection starts with some upfront preparation. Missing this step causes most setup headaches.
Gathering Necessary Equipment
- The smart siren (fully powered, with backup batteries inserted if required)
- Your primary hub, plugged in and updated
- Wi-Fi password or hub app login credentials handy
- Smartphone, tablet, or PC with the relevant control app installed
It is also helpful to have a small screwdriver and reset pin near at hand. Placement matters. Walls or large metal surfaces sometimes interfere with wireless range.
Resetting Devices Before Pairing
Resetting both the siren and the hub (if issues pop up) ensures all prior pairings are cleared. Most devices use a quick button press for 5–10 seconds. Specific steps are available from the siren’s manual or the manufacturer’s support page.
Pairing Smart Sirens Using Zigbee or Z-Wave
The process for Zigbee or Z-Wave sirens often looks quite similar. Some device-specific quirks may arise, though.
Z-Wave Pairing Steps
- Set your hub to “Z-Wave Inclusion” or “Add Device” mode using its app.
- Activate add mode on the siren (method varies; some require double pressing the pairing button).
- Watch for confirmation in your app. A new siren device should appear.
- Rename the siren and assign it to a room in the app for convenience.
If nothing appears, try a full device reset and start again. Placement within 8–10 meters of the hub improves initial connections. Relocate the siren if range warnings appear.
Zigbee Pairing Steps
- Choose “Add New Device” in your hub’s Zigbee device menu. Some platforms list this as “Scan for Devices.”
- Put the siren into pairing mode (usually a hold or triple tap on the primary button).
- The hub should quickly detect the new siren. Zigbee is often more forgiving of signal obstacles.
- Customize the device in your app once connected for clear identification.
Adding Wi-Fi Smart Sirens to Your Hub
Wi-Fi smart sirens typically register through a companion app, then link to your hub platform via cloud integration. Timing during setup is more critical since registration windows can be short.
Direct Integration With Hub-Ready Wi-Fi Sirens
- Register the siren with its branded app (for example, Tuya Smart, Smart Life, or the manufacturer’s specific app).
- Enable device sharing or “link to third-party service” within the app’s settings. Popular hubs like Alexa or Google Home are commonly integrated here.
- On your hub’s app, select “Add Device.” Opt for the siren’s brand or scan for new Wi-Fi devices if prompted.
- Approve pairing requests on both mobile devices if needed.
Some platforms, such as Home Assistant, offer broader Wi-Fi siren compatibility through custom integrations or community add-ons. Most users find branded smart sirens easier to set up than generic devices.
Popular Platforms Supporting Smart Sirens
Several platforms have strong reputations for integrating sirens smoothly. Reliable performance and active community support are key advantages.
Best Known Smart Hub Brands
- SmartThings : Offers the best range of pre-tested siren integrations, from Aeotec to Dome. App automations are straightforward, and support documentation is robust.
- Home Assistant: Delivers unmatched flexibility for advanced users. YAML automation and MQTT enable creative siren triggers. Slightly steeper learning curve.
- Hubitat: Balances power with local processing. Integrations for Everspring sirens rank among the most reliable.
- Google Home and Alexa: Handle basic Wi-Fi siren integrations, though automation depth is limited compared to dedicated hubs.
Software and Apps to Know
- SmartThings App
- Home Assistant Web GUI or Companion App
- Hubitat Dashboard
- Alexa or Google Home Apps for cloud-based siren controls
Automation and Scene Suggestions
Automating your siren ensures a fast response during emergencies. Most users add triggers based on door sensors, motion detectors, or time-of-day schedules.
- Set the siren to sound when a motion sensor detects entry during armed mode.
- Pair siren activation to water leak sensors for environmental events.
- Create silent notifications to your phone simultaneously, so you know why the alarm sounded.
- Link siren duration to avoid nuisance alarms (e.g., auto-off after 60 seconds).
Automations can be complex or simple. Testing triggers is a practical way to find a setup that feels right for daily life.
Troubleshooting and Best Practices
Minor hiccups sometimes occur during setup or regular use. A systematic approach usually clears things up quickly.
Common Setup Challenges
- Signal Range: Obstacles or long distances can weaken signals. Try relocating the siren or adding repeaters.
- Inclusion Fails: Re-attempt pairing steps, or reset devices fully to clear past configurations.
- Firmware Limitations: Some older hubs may need a firmware update before adding new devices.
Maintenance Tips
- Test the siren monthly to confirm triggers work and the alert is audible in all key rooms.
- Swap batteries annually, even if not yet depleted. Battery health often deteriorates unnoticed.
- Review app-based notifications and alert history to spot missed triggers or communication errors.
Safety, Privacy, and Legal Compliance
Responsible siren use goes beyond technical configuration. Homeowners should consider local noise ordinances and privacy standards when installing audio-based devices.
Always read and follow the manufacturer’s legal guidance when exposing devices to outdoor spaces or shared entryways. Data privacy for cloud-linked sirens is managed through regular account security reviews. Strong passwords and two-factor authentication are suggested best practices.
Conclusion
Connecting smart sirens to your existing hub brings extra assurance and fast response to your smart home security. Starting with compatible devices and careful prep leads to fewer hassles.
Each platform, from SmartThings to Home Assistant, offers slightly different options for seamless integration. With regular testing and smart automations, homeowners maintain peace of mind—knowing their siren will sound when it matters most.
For those new to smart security or system upgrades, a step-at-a-time approach works best. The result is greater protection, customized alerts, and a home that responds crisply to potential threats.