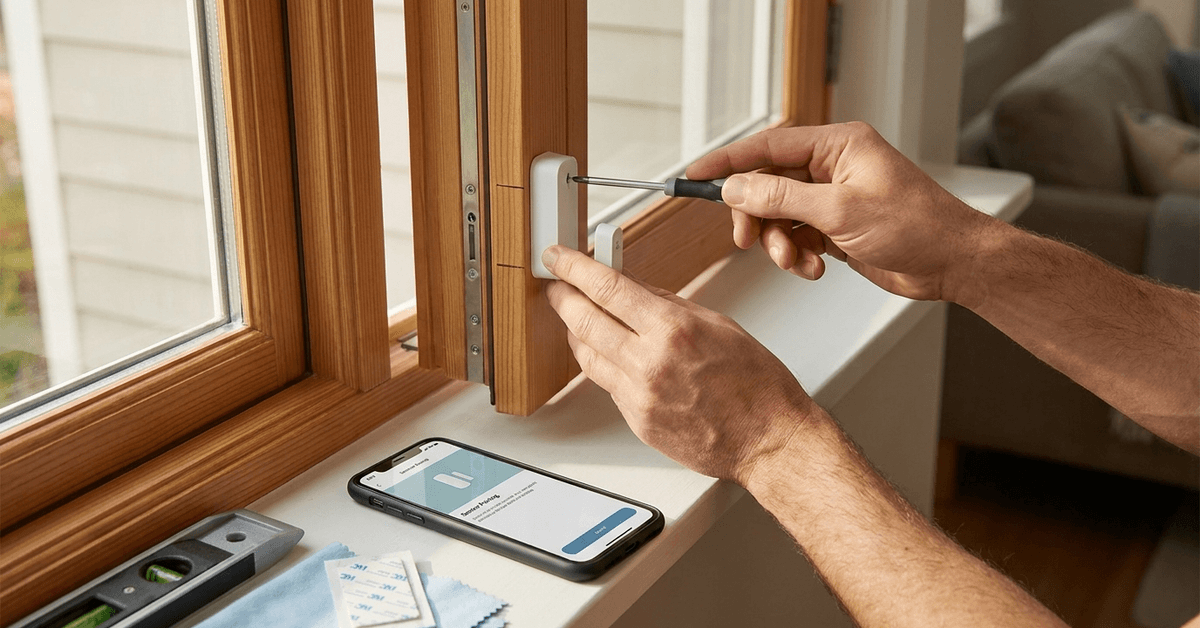
Magnetic sensors play a crucial part in any modern home security setup. For many users, proper installation directly influences sensor accuracy and peace of mind.
This guide is for homeowners, renters, and smart tech enthusiasts who want lasting, trouble-free results.
You’ll learn the complete, expert-backed workflow for correctly mounting magnetic window sensors. Expect clear, step-by-step instructions featuring real-world protocols and top-rated app guidance.
How Magnetic Security Sensors Work on Windows?
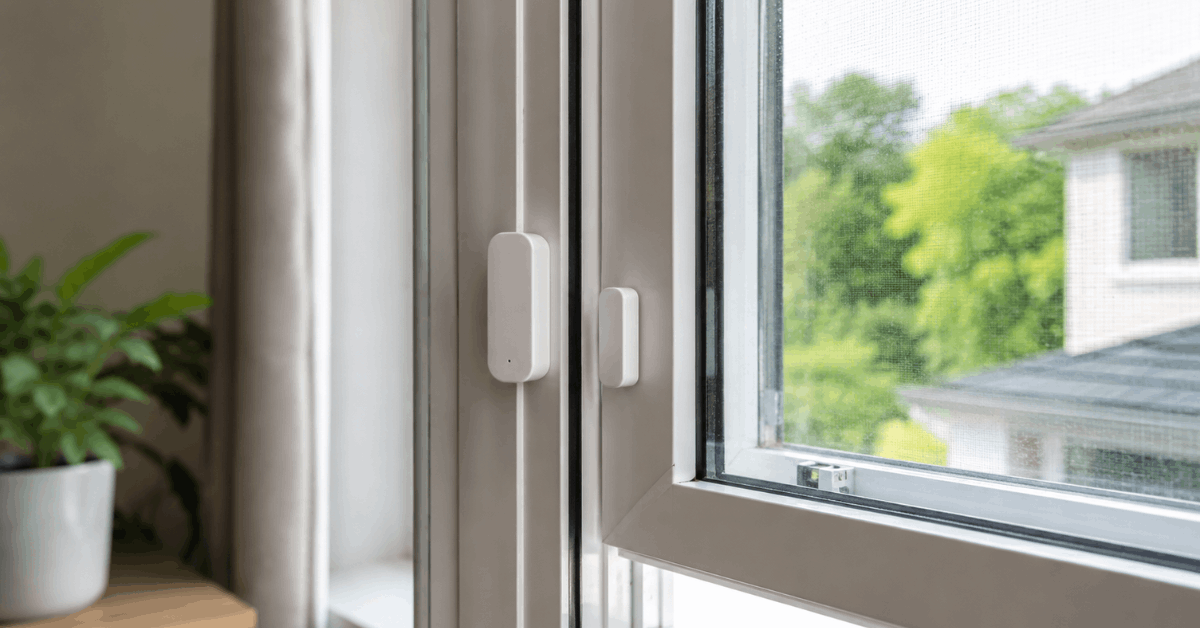
Magnetic contact sensors use a simple system. Two parts, a magnet and a switch, create a closed circuit when the window is shut.
When the window opens, the magnetic field breaks. This action triggers the security alert in your hub or smartphone app.
Core Components in a Typical Sensor Kit
- Contact sensor unit
- Magnet bar
- Mounting tape or screws
- Optional: alignment spacers
- Setup instructions or QR link for configuration
Choosing the Right Sensor and Placement
Not every window or sensor brand is the same. Profiles can be low or thick, finishes may be smooth or textured, and frame widths will influence sensor range.
Popular sensor brands for smart home systems include Aqara, Ecolink, Honeywell, and Samsung SmartThings. Most give reliable app integrations via Zigbee or Z-Wave protocols.
Evaluating Compatibility
Check that the sensor frequency matches your hub. Many smart home users rely on platforms such as SmartThings or Home Assistant for seamless integration.
Wood, PVC, and metal window frames each pose different challenges. Metal, for example, may interfere mildly with some contact sensors due to magnetic field distortion.
Where to Place the Sensor and Magnet
- Mount the sensor unit on the fixed window frame.
- Secure the magnet on the moving sash (the part that opens and closes).
- A good rule is to keep both parts below 0.6 cm apart when the window is closed.
- Keep all stickers or barcodes facing up, which helps future maintenance or troubleshooting.
Essential Preparation Before Installation
Clean surfaces yield better long-term adhesion. Alcohol wipes or a mild soap solution can remove oils and dust.
Allow the frame to dry completely. If renovating or painting recently, let paint cure for several days first.
Gathering the Right Tools
- Level tool or bubble level for precise alignment
- Pencil or painter’s tape to temporary mark positions
- Non-abrasive cloths
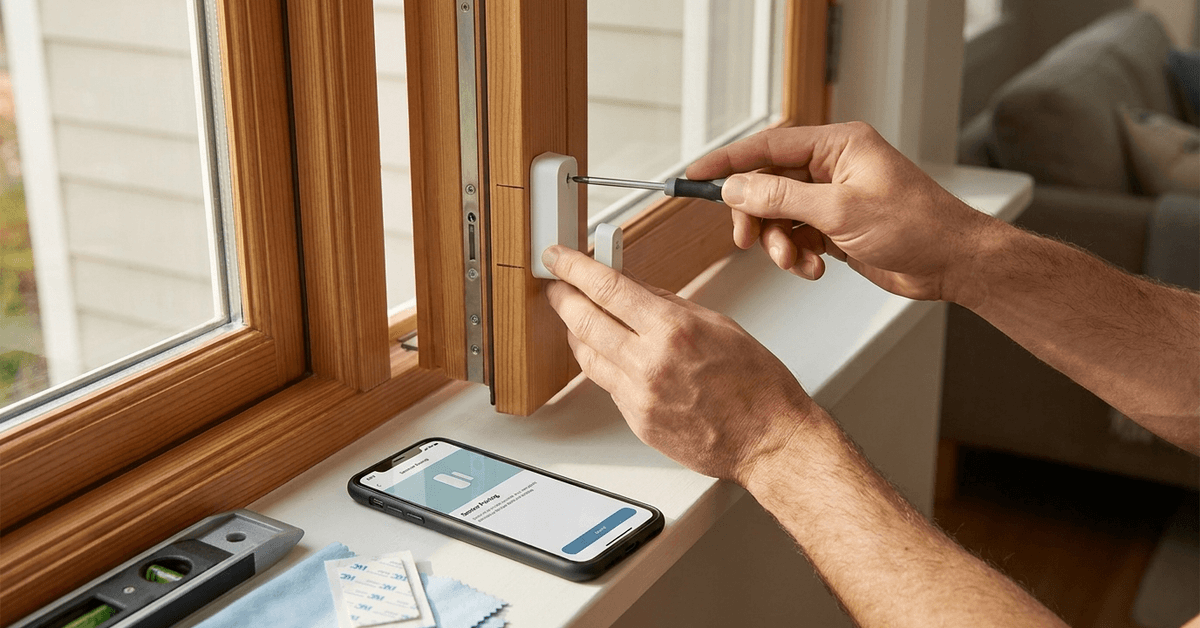
- Optional: micro screwdriver set if the sensor uses screws instead of tape
Step-by-Step: Installing a Magnetic Window Sensor
This section describes the most effective, real-world mounting procedure.
1. Prepare and Test Fit
- Visually identify the ideal mounting spot based on manufacturer guidelines.
- Most experts suggest a corner away from window handles.
- Do a dry fit, holding both pieces in place, to confirm alignment and surface quality.
2. Mark the Sensor and Magnet Positions
- Use a pencil or removable tape to outline each part.
- Verify the parts are in perfect alignment, horizontally and vertically, with the level tool.
- The magnet’s dotted or indicated side must face the sensor unit.
3. Secure the Parts
- Remove adhesive covers or prepare mounting screws.
- Press each sensor half firmly onto clean surface for 20–30 seconds.
- If using screws, lightly tighten them to hold parts flush but avoid over-tightening, which can crack plastic housings.
4. Test Functionality Before Finalizing
- Close the window and pair the sensor to your hub or app.
- Open and close the sash several times while monitoring the sensor activity in your smart home app. A great example is the Aqara Home App , which provides real-time status updates.
- If misalignment errors appear, carefully reposition the magnet slightly closer or farther as needed.
5. Tidy Up and Re-Test
- Peel away any marking tape or pencil traces.
- Confirm device status updates as expected within your chosen app interface.
App Pairing and Calibration for Smart Systems
Most window sensors come with a QR code to launch the onboarding in supported apps. Homeowners commonly use SmartThings, Home Assistant, or Apple Home for rapid integration.
Typical App Workflow
- Scan the QR code on the sensor or package to open the device pairing screen in your smart home app.
- Follow the step-by-step prompts to join the sensor to your hub or controller.
- After initial connection, test triggering alerts by opening and closing the window while monitoring the app.
- Rename the sensor with a descriptive label, such as “Bedroom Left Window,” and assign it to the right room profile.
- Some apps allow notification threshold adjustment, which can reduce false alarms caused by vibrations or wind.
Common Mounting Issues and Real-World Fixes
Even with careful setup, a few challenges still surprise homeowners. Sensor gaps or drop-outs are not rare in homes with unusual window geometry.
Issue: Sensor Won’t Register When Closed
- Magnet and sensor may be too far apart. Experts recommend a maximum gap near 0.6 cm.
- Adhesive pads may have shifted during mounting. Reapply using fresh, high-grip tape if necessary.
Issue: False Alarms or Intermittent Disconnects
- Metal frames can subtly distort magnetic fields. Adding a plastic shim under the magnet can improve reliability.
- Wireless interference is possible if many Zigbee or Z-Wave devices are nearby. Relocate the hub or add a signal repeater for better coverage.
Issue: App Pairing Fails or Drops
- Check hub compatibility and firmware updates, especially with Home Assistant .
- Restart sensor, and redo the app pairing steps. Weak batteries or fresh device out of the box can also limit discovery.
Maintenance and Long-Term Reliability Tips
Sensor systems benefit from a simple, scheduled checkup. Most brands recommend inspection every few months.
Battery replacement is straightforward. Typical window sensor batteries last 8–18 months, depending on usage and app polling frequency.
Best Practices
- Wipe sensors and magnets with a dry microfiber cloth for dust control.
- Test window sensor response in your app at least once per month. This habit helps catch early warning signs of misalignment or dead batteries.
- Store a log of install dates and battery swaps in your smart home dashboard, such as Home Assistant or SmartThings notes.
Conclusion: Secure, Reliable Windows Begin with Smart Sensor Mounting
Getting the most from your smart magnetic security sensors means careful planning and methodical installation. The process isn’t hard, but attention to detail at each step maximizes your investment and peace of mind.
Regular maintenance, suitable app integration, and a clear understanding of real-world mounting pitfalls all contribute to a safer, smarter home. The right protocol ensures your window’s first line of defense stands strong, day or night.