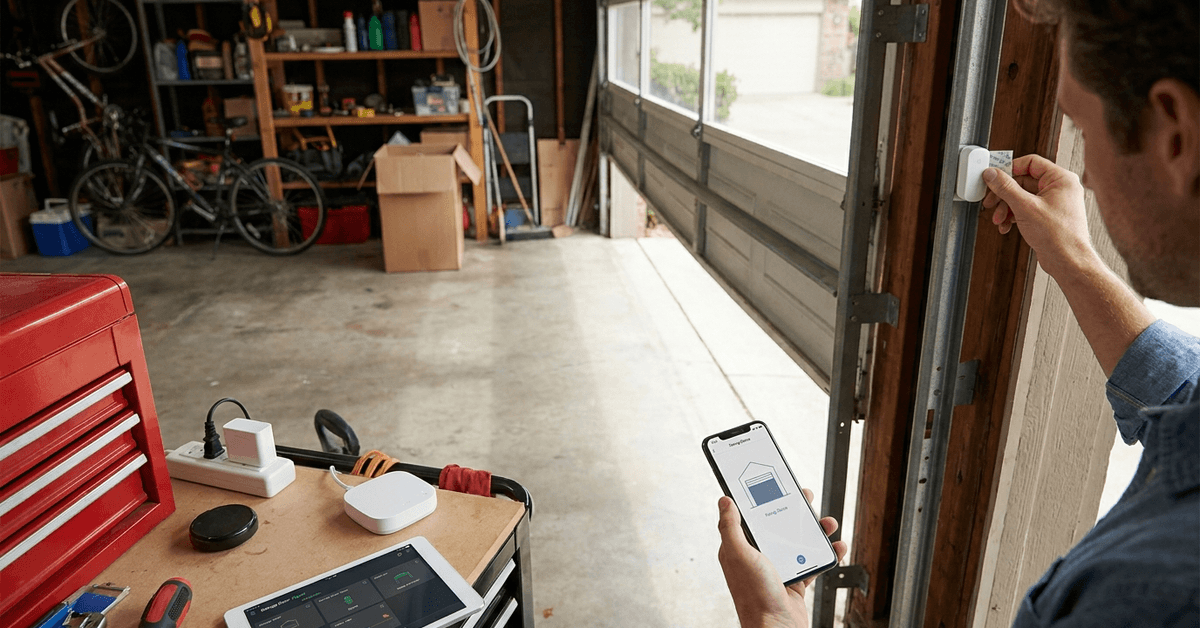
Leaving a garage door open is surprisingly easy, especially during busy routines. Yet, an open garage creates obvious risks, from theft to energy waste. Many homeowners look for a way to get notch-smart notifications if their garage is left ajar.
This guide explains how anyone can set up a reliable alert system using smart home technology. If security, automation, and peace of mind matter, these steps will help transform your garage safety habits.
Why Garage Door Notifications Matter for Home Security?
An open garage is more than a minor oversight. It permits access to tools, bikes, and even your main living area. Most break-ins that start from the garage are simply a result of forgotten doors.
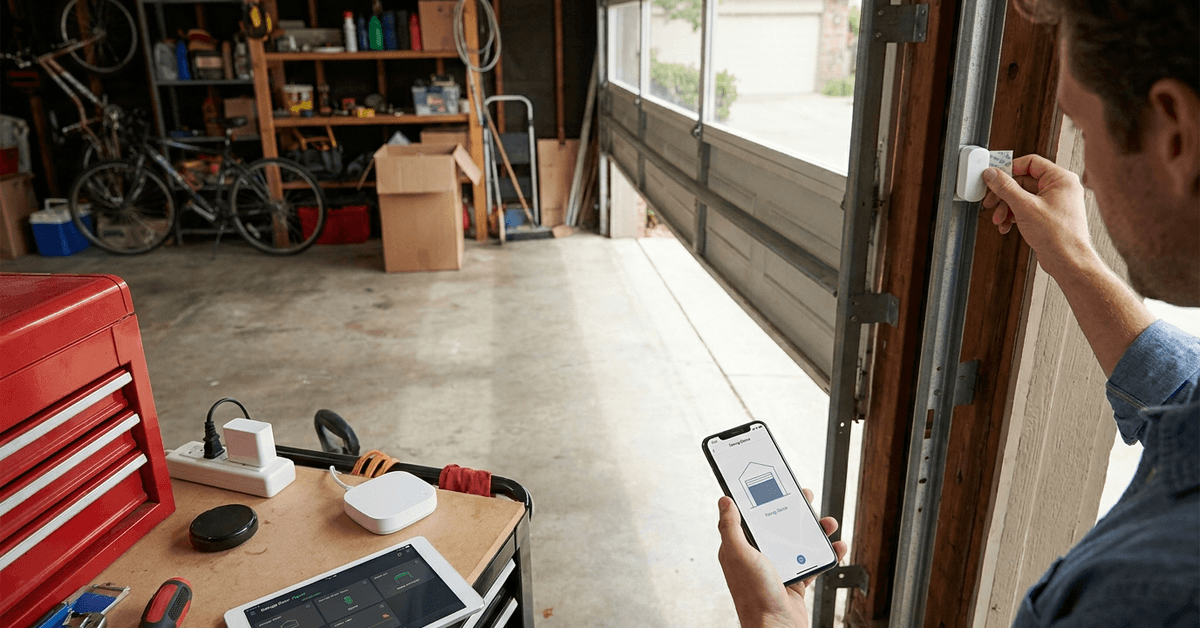
Smart notifications fill this gap. With the right setup, a garage left open too long sends a phone alert. Fast, practical, and hard to overlook. This extra layer of awareness often prevents loss and stress.
Main Components Needed for Smart Garage Door Alerts
A notification system relies on both hardware and software. The pieces must work together for seamless alerts.
- Garage Door Sensor: Senses open/closed status. Most often, magnetic door contacts or tilt sensors.
- Smart Hub or Bridge: Connects the sensor to the internet and the notification app.
- Smartphone or Tablet: Receives and displays the alert.
- Automation App: Sends notifications or triggers routines, using the sensor’s signals.
Each component is widely available. Compatibility is the one challenge homeowners mention.
Choosing the Right Sensor: Compatibility and Features
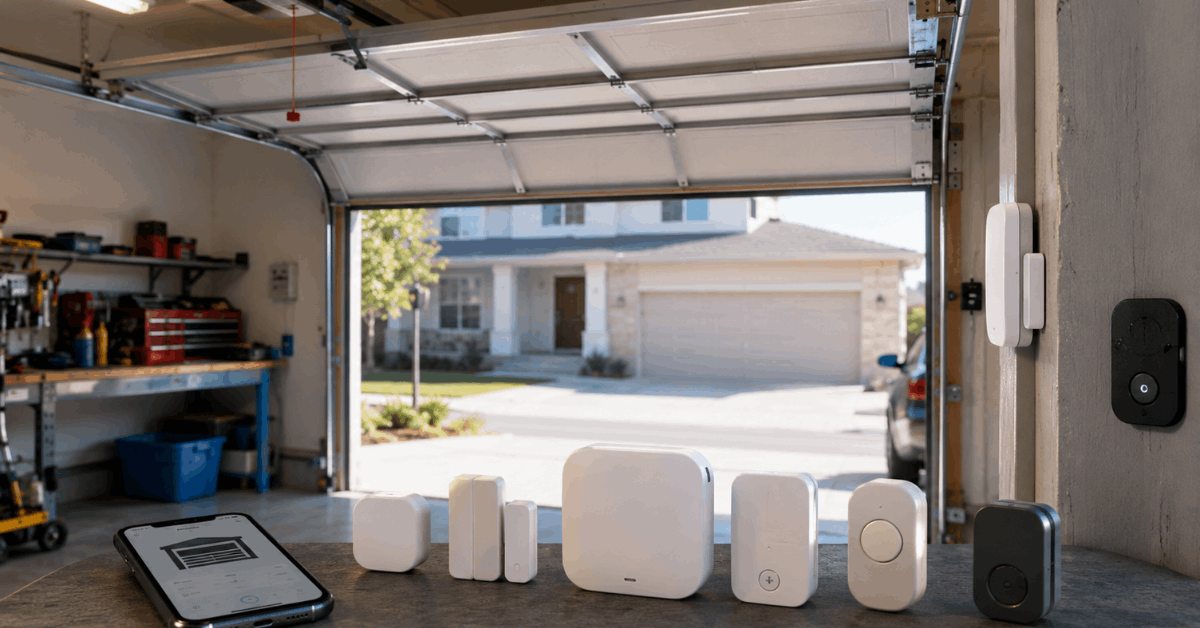
Garage sensors come in various shapes. Entry-level options include Zigbee or Z-Wave magnetic sensors. Some, like the MyQ Garage Door Sensor, are designed just for garage use and connect via Wi-Fi.
Consider These Sensor Factors
- Wireless technology: Wi-Fi, Zigbee, Z-Wave, or Bluetooth
- Battery life: Most good models last a year or longer before needing a cell swap
- Weather rating: Garages can be damp or drafty, so moisture resistance is crucial
- Brand ecosystem: If your home uses SmartThings, Apple HomeKit, or Alexa, choose a sensor that easily integrates
Step-by-Step: Installing a Garage Door Sensor
Sensor installation is usually straightforward. Always follow the manufacturer’s instructions for best results.
- Clean the mounting surface of the door with rubbing alcohol.
- Attach the sensor and its magnet, aligning both on the moving part (door) and a fixed surface (frame), separated by the recommended gap.
- Insert the batteries as directed. Wait for the indicator light or beep confirming power.
- Test the sensor by manually opening and closing the door several times. The unit’s LED indicator should change as the door moves.
Most sensors pair wirelessly to their hub within a few minutes. If needed, reset and try again, but this is rare for quality brands.
Integrating Sensors with a Smart Hub or Platform
Connecting a garage door sensor to a hub allows notifications on your device. Popular hubs include Samsung SmartThings, Apple HomeKit, and Amazon Alexa with compatible skills.
Typical Integration Workflow
- Activate pairing mode on the sensor per instructions.
- Use the smart hub app (like SmartThings) to add a new device.
- Select sensor type and follow prompts to detect and register the sensor.
- Test device status updates from the hub dashboard. Open the garage and ensure status changes to “Open” appear.
Some sensors work directly with Wi-Fi and don’t require a physical hub. MyQ, for instance, uses its own bridge and smartphone app for direct alerts.
Setting Up Notifications Using Automation Apps
Once paired, the real power comes from smart automation software. These pieces translate sensor status into actionable alerts for your phone or smart speaker.
Trusted Notification Platforms
- IFTTT: Links garage sensors to phone notifications via applets.
- SmartThings: Built-in notification options for all connected devices.
- HomeKit: Sends Apple notifications if the garage is left open after a certain time.
- MyQ App: Custom rules for door status and time-based alerts.
Basic Notification Rule Example
- Create a new routine or automation in the chosen platform.
- Set the trigger as: When garage sensor status = Open.
- Add a condition or delay (e.g., “If still open after 10 minutes”).
- Select the action: Send notification to mobile device or make a voice announcement on a smart speaker.
This logic works with Alexa Routines, SmartThings Automations, and most popular systems. Test each rule before trusting it. Settings sometimes require a tweak for your home’s Wi-Fi or device limitations.
Customizing Notifications for Your Schedule
Some users worry about notification overload. Too many alerts can train you to ignore them. Most platforms include options to set schedules or quiet times for notifications.
Typical Customization Options
- Restrict alerts to specific hours (e.g., only evenings or when everyone leaves the house)
- Set repeat reminders if the garage remains open for longer periods
- Combine with geolocation features, so notifications only trigger if all household members are away
Combining schedules and conditions ensures alerts are always relevant. Not everyone realizes how easy this feature is to use until after setup.
Popular Apps and Platforms for Garage Door Alerts
Certain names dominate the home automation market. Compatibility and reliability often determine the best app for your household.
Notable Garage Alert Solutions
- MyQ: Purpose-built for garage monitoring, direct Wi-Fi, and rich native notification options. Seen by many as the standard for DIY garage security.
- Samsung SmartThings: Connects to a wide ecosystem of sensors and offers robust automation through its app.
- Apple HomeKit: Deep integration for Apple device users, including secure notifications and automations.
- IFTTT: Ideal for tying different brands and services together using simple “if this then that” rules.
Testing and Troubleshooting Your Notification Setup
Testing each part of the system avoids one common source of frustration: false confidence. Even small misconfigurations may leave your property vulnerable.
Effective Testing Steps
- Simulate normal use by leaving the garage door open for varying intervals.
- Monitor your phone and tab for incoming notifications.
- If alerts do not arrive, check the sensor’s battery and Wi-Fi signal strength.
- Revisit app permissions: push notifications must be enabled in both the automation app and your phone settings.
Most issues stem from battery failure or Wi-Fi dead zones in the garage. Relocating hubs or using Wi-Fi extenders can minimize such problems.
Privacy and Security Considerations
Smart home devices share network access and sometimes sensitive data. Choose brands with established security reputations.
- Encrypted communication: Look for AES or TLS protocols in device specs.
- Regular firmware updates: Keep sensors and apps current to patch vulnerabilities.
- Reputable cloud providers: Trust brands that do not sell or leak user data as a business model.
It is also wise to separate smart home networks from work or entertainment Wi-Fi, just for added peace of mind.
Conclusion
Setting up a notification for when the garage door is left open is a straightforward smart home upgrade. Homeowners gain practical security, ongoing peace of mind, and more control over their home’s safety.
By choosing the right sensor, integrating it with proven automation platforms, and customizing alerts for a busy schedule, it’s easier to catch mistakes before they lead to trouble.
Testing and fine-tuning the system ensures it operates dependably—in real life, not just in theory. Combined with secure brands and privacy-conscious setups, these alerts provide a confident first line of home defense.