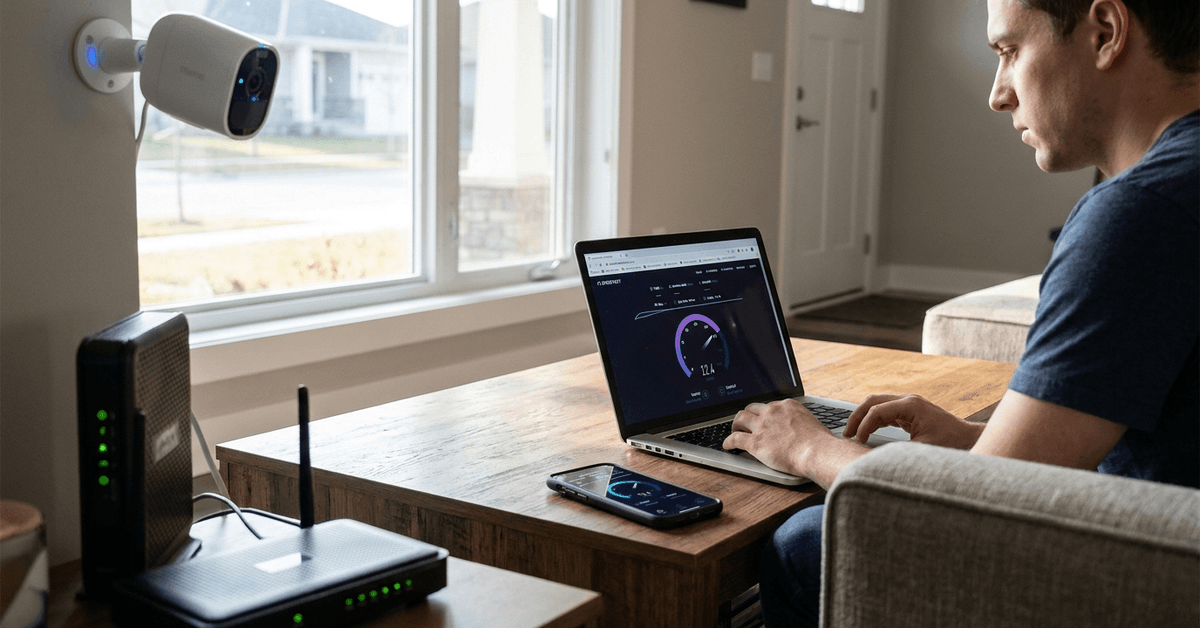
Smart cameras rely on solid upload speeds for clear video and dependable alerts. Even minor buffering can compromise security or cause delays when streaming footage.
This guide explains practical, reliable methods for testing your home internet upload speed specifically for security cameras. Owners of smart home systems, renters with DIY setups, and anyone relying on cloud storage can benefit from these proven techniques.
Why Accurate Upload Speed Matters for Home Cameras?
Video cameras, doorbells, and NVRs all use upload bandwidth to send video to your phone, cloud, or a monitoring service. Underestimating required speed often results in pixelated streams or skipped frames.
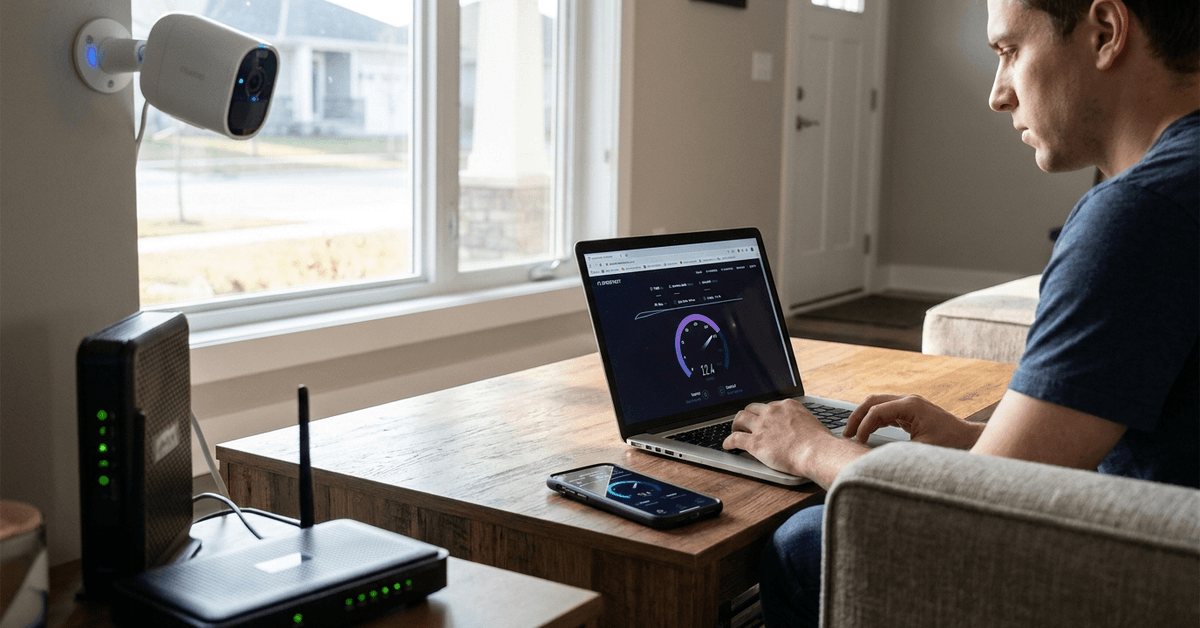
Manufacturers usually list minimums, such as 2 Mbps per camera. Still, real-world conditions rarely match theoretical speeds, so verifying with your equipment in place is essential.
How Internet Upload Speed Affects Security Camera Performance?
Clarity and Resolution Issues
If available speed drops below requirements, footage gets blurry or blocky. Cameras downgrade from 1080p or 4K to lower qualities to keep the stream consistent with bandwidth limits.
Delays and Missed Events
Slow or inconsistent upload can introduce seconds-long lags. Sometimes, clips fail to record or notifications arrive late, reducing real-time monitoring reliability.
Cloud Backup Reliability
Multiple video feeds uploading simultaneously can clog the connection. Some backups might never finish, especially for higher resolution or 24/7 recording setups.
Best Time and Place to Test Upload Speed for Cameras
Running a basic speed test when your network is idle may be misleading. Background devices and neighbors’ activity on shared lines can affect results at peak times.
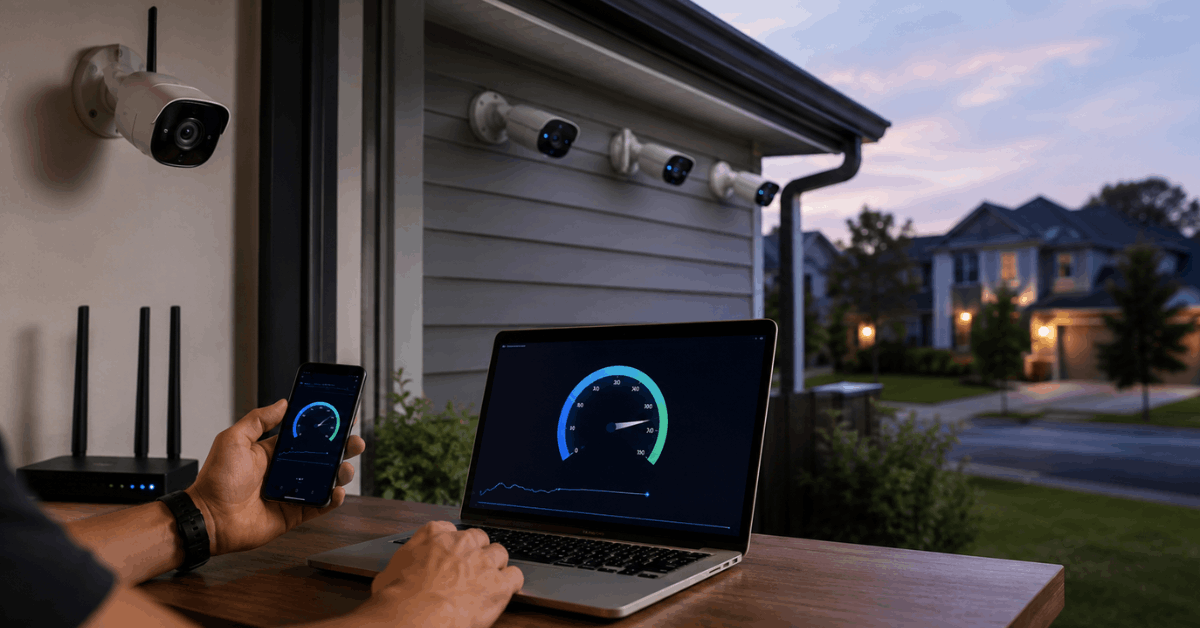
- The best approach is to test during the hours your cameras usually upload video, such as evenings or weekends.
- Connecting a laptop or phone to the same Wi-Fi or wired spot where cameras are installed offers realistic upload speed readings.
- If possible, turn on all cameras and let them stream while testing. This simulates a real load on your home network.
Essential Tools and Apps for Testing Upload Speed
Speedtest by Ookla
The most widely recognized choice is Speedtest by Ookla. Available as a browser tool, mobile app, or desktop app, it gives clear upload metrics in Mbps.
- Mac and PC users can access it via app or speedtest.net in any web browser.
- Mobile testing is simple with the Speedtest app for iOS and Android.
Fast.com
For quick, no-setup results, Fast.com (by Netflix) displays upload speed after it finishes checking download speed. Particularly useful for streaming-focused networks.
Ubiquiti WiFiman
WiFiman is helpful if your cameras run on Ubiquiti UniFi gear. The app can test speeds on local and remote network segments, providing detailed device-by-device info.
Google Fiber Speed Test
For Google Fiber users, the native Google Fiber Speed Test offers accuracy and consistency, especially in regions with high traffic.
Step-by-Step: How to Get a True Camera-Specific Upload Speed Reading
- Disable most non-camera devices from your home network. This isolates the bandwidth for the cameras under test.
- Place a laptop or phone on the same Wi-Fi band or wired port as the cameras. For Power over Ethernet cameras, plug directly into the same switch.
- Launch your speed test tool of choice. Run at least three tests, then average the upload speeds.
- Compare the result to the total bandwidth required by your installed cameras. For example, with four HD cameras, a minimum of 8 Mbps is generally needed.
- Repeat the process during different times of day, since upload performance can change.
Interpreting Results and Troubleshooting Common Issues
What Number to Aim For
Experts recommend keeping at least 20% headroom above the total required camera bandwidth. If four 2 Mbps cameras are active, aim for at least 10 Mbps upload sustained.
Not Meeting Required Speed
- Check for background uploads (cloud backups, large downloads, video chat sessions) on other devices. Pause these during testing.
- Inspect router logs. Older routers can bottleneck on heavy upload scenarios even if your ISP provides fast service.
- Try using an Ethernet cable instead of Wi-Fi to reduce interference.
- Contact your ISP if your real-world tests fall short of advertised speeds over several days and try to request a line check.
Recommended Network Settings for Smarter Camera Performance
Quality of Service (QoS)
Enabling QoS on your router permits priority upload traffic for specific devices. Many smart routers let users allocate bandwidth to camera IP addresses or MAC addresses with just a few clicks.
Upload Speed Limit Controls
Some NVRs and cameras have bandwidth or bitrate limits in their software menus. Lowering the bitrate slightly may keep multiple cameras online, even if your ISP’s line has fluctuations.
Special Considerations for Cloud vs. Local Storage Setups
Cloud-Only Solutions
Brands like Arlo, Wyze, Google Nest, and Ring depend entirely on your internet’s upload capacity. For these, stability is often more important than peak speeds.
Local NVR or DVR Solutions
Local recorders use much less upload bandwidth unless you access live feeds remotely. However, viewing footage away from home still draws from your upload allotment.
Advanced Tools for Ongoing Bandwidth Monitoring
- Network monitoring software, such as GlassWire or NetSpot, gives ongoing charts of bandwidth use by device.
- Some advanced mesh Wi-Fi systems include built-in traffic analyzers. They notify when security devices use unusual amounts of upload bandwidth.
- Periodic reviews of upload speeds using your preferred test tool help maintain consistent surveillance quality.
Conclusion
Verifying your real upload speed under everyday camera usage is the most reliable way to prevent blurry video, slow alerts, or failed cloud backups. Accuracy depends on timing, realistic testing conditions, and using trusted speed test apps like Speedtest by Ookla.
Consistently monitoring your upload capacity, configuring router settings for camera priority, and choosing the right storage method help maximize both footage quality and home security.
Adopting these practical steps provides lasting peace of mind for any smart home or DIY surveillance setup.