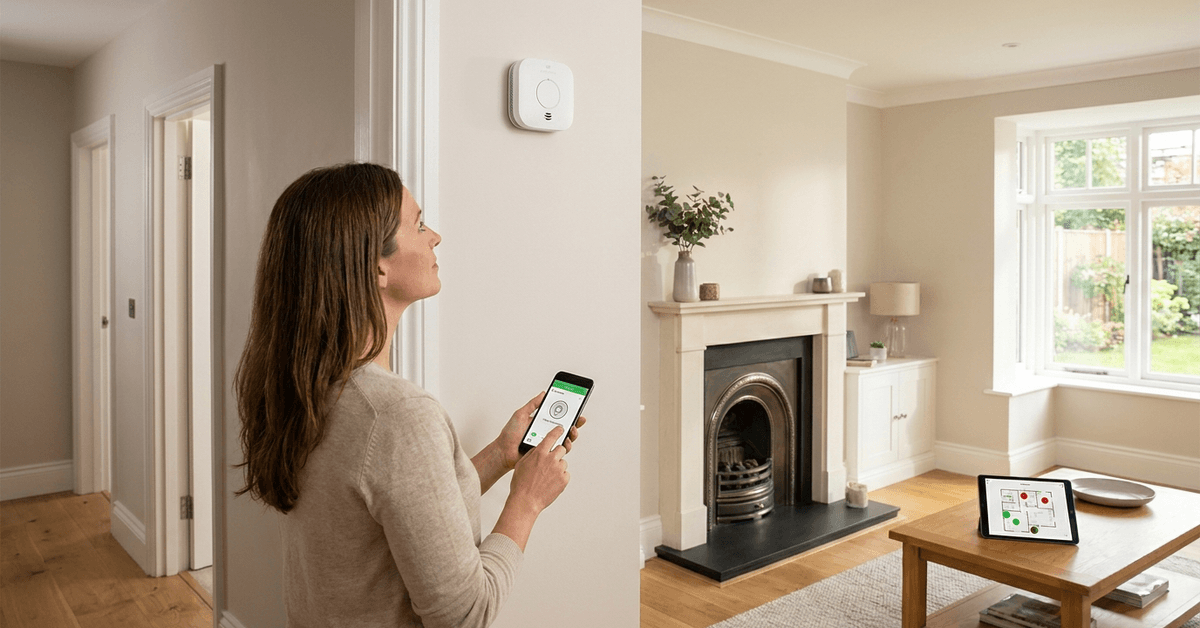
Carbon monoxide is an invisible threat. For homeowners serious about safety, detector placement plays a crucial role. This guide covers tested tips for getting it right in every room, helping reduce risk in a connected, modern home.
Why Carbon Monoxide Detector Placement Matters?
Proper positioning of detectors can mean the difference between timely alerts and dangerous delays. Not all rooms or levels in a house face the same risks. That makes placement planning especially important for multi-story, tech-enabled homes.
Even if your home features smart automation, relying on sensors alone is risky. The location of each device directly affects how fast you’ll get notified in an emergency.
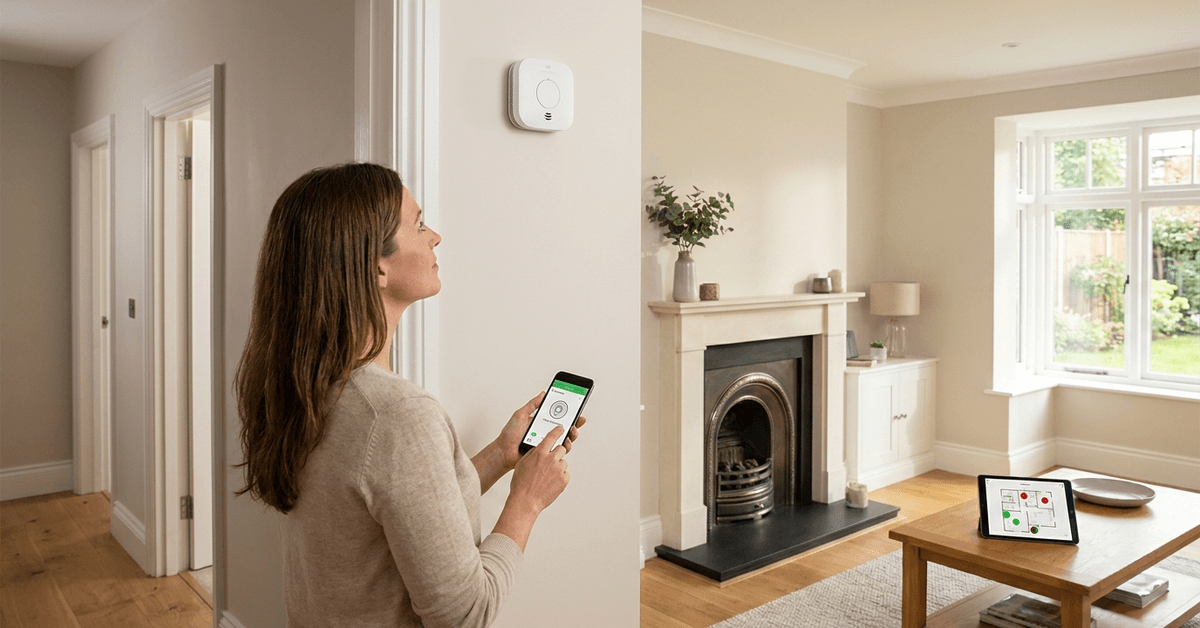
Main Risks of Incorrect Installation
Poorly positioned detectors may fail to alert the household in time. Some spaces produce higher carbon monoxide levels. Others restrict air flow, causing dangerous pockets to become undetected.
Misreading installation protocols has led to preventable incidents. A surprising number of reported cases result from units placed in the wrong location or orientation.
Where to Place Carbon Monoxide Detectors: General Principles
- Each Floor Coverage: Every story should have at least one detector, including the basement and attic if they are finished spaces.
- Near All Sleeping Areas: Position a detector within 15 to 20 feet of bedrooms. CO poisoning during sleep is especially hazardous since symptoms can go unnoticed.
- Close to Fuel-Burning Appliances: Install a detector within about 10 feet of boilers, fireplaces, or attached garages for fastest alerting.
- Avoiding Dead Air Spaces: Corners and tight cavities near ceilings or floors can lead to inaccurate readings.
Open air flow is preferable, with detectors placed at breathing height when possible. If the device is not combo smoke/CO, wall or ceiling placement should follow the instruction manual closely.
Room-by-Room Detector Positioning Tips
Living Rooms and Family Spaces
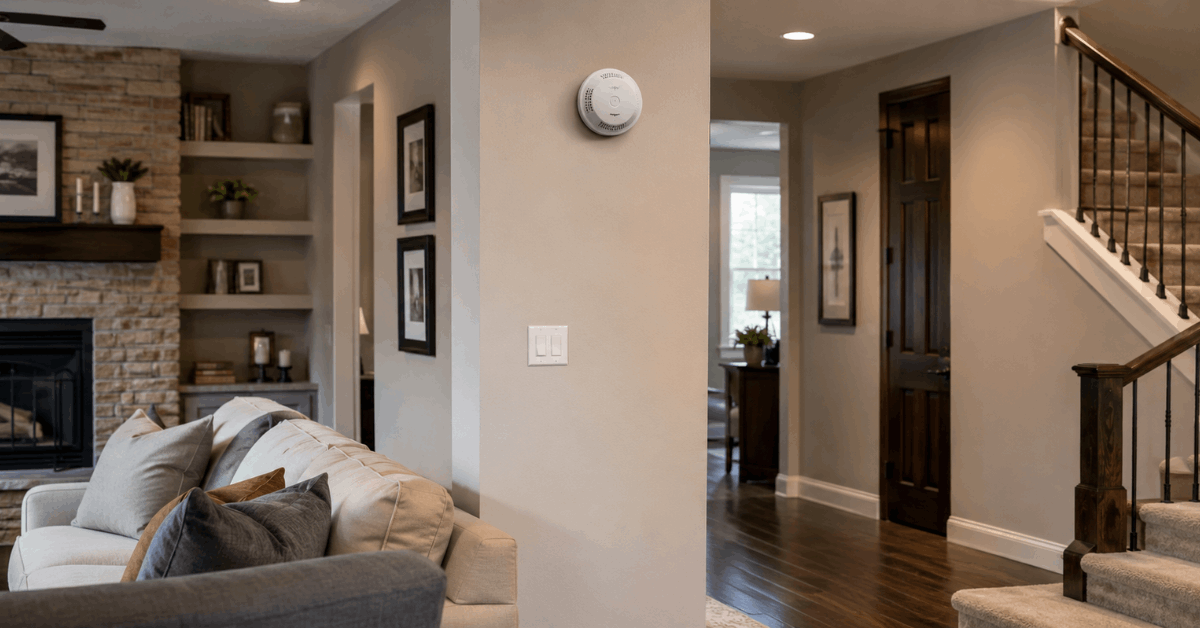
A great option is to mount detectors at least 5 feet above the floor, not right over a fireplace. Placing units on the wall often catches rising gas. Avoid windows to reduce false readings from drafts.
Kitchens
Since natural cooking can release small amounts of gases, detectors close to stoves sometimes trigger nuisance alarms. Position at least 10 feet from ovens or direct cooking zones. Never put a detector inside a pantry or directly behind kitchen doors.
Bedrooms
Placing detectors just outside or inside bedroom doors is ideal. Some homeowners prefer inside for peace of mind, although hall placement covers multiple rooms efficiently in smaller homes.
Basements and Utility Rooms
If the boiler, furnace, or water heater is in the basement, the most effective position is directly on the ceiling or high on the stairway wall leading up to the rest of the house. This ensures alerts move up with rising CO.
Garages
Homes with attached garages see higher CO risk from running vehicles. Detectors outside the garage door leading into the house often catch leaks quickly. Placing a unit directly in the garage is not generally necessary unless the garage is heated or frequently occupied.
Height: Wall vs. Ceiling Mounting Advice
The best height for mounting is usually at eye-level, but some manufacturers specify ceiling installation. If ceiling mounting is required, place the unit at least 12 inches from the nearest wall.
When mounting on walls, a position 4–6 feet above the floor is usually effective. This aligns with normal breathing zones and avoids low buildup, which is rare for CO.
Smart Home Integration: Pairing with Security Systems
Modern carbon monoxide detectors, like Google Nest Protect, support wireless alerts and mobile app integration. Connecting detectors to smart hubs allows immediate notifications to every occupant’s phone.
Some smart systems support linking with platforms like Samsung SmartThings or Apple HomeKit. A connected setup means even small leaks will trigger both sirens and mobile alerts.
For full coverage, homeowners may want to add sensors to both main living areas and near mechanical rooms. Multi-sensor networks can be managed with apps specific to each brand.
Tech Protocols and Device Compatibility
Not every model uses the same network. The most common standards are:
- Zigbee or Z-Wave Detectors: These mesh networks ensure wide coverage even in large homes. Compatible with many smart hubs.
- Wi-Fi Enabled Detectors: Units like Nest Protect connect directly to home Wi-Fi, enabling in-app status checks and remote silencing.
- Bluetooth Devices: Less common for fixed installations, but useful for mobile monitoring in small apartments or during travel.
Sensor compatibility is worth verifying before setup. Not all brands pair seamlessly with existing smart home equipment, so reviewing device lists and software version support matters.
Installation Steps: Getting It Right the First Time
- Read the manufacturer’s instructions in full and check for room-specific guidance.
- Confirm the exact mounting height (ceiling or wall) for each area. If possible, use included mounting kits for stability.
- Place the detector outside of HVAC vents, fans, and direct sunlight. High humidity or blowing air can interfere with readings.
- Test device operation after mounting by using the test button. Repeat monthly or as instructed.
- Link devices with your home’s wireless network or automation hub before finalizing physical location.
Regular testing increases reliability. Homeowners sometimes forget to test after large software or firmware updates, making this a good habit to maintain.
Ongoing Maintenance for Smart Detectors
- Replace batteries every 6 to 12 months, even where ‘long-life’ promises exist.
- Update device firmware via official apps to fix glitches or improve sensitivity.
- Vacuum the detector exterior gently every few months to reduce dust accumulation.
- Check carbon monoxide readouts if your model gives digital displays. Persistent low readings can indicate sensor issues or other air quality irregularities.
What to Avoid When Installing Carbon Monoxide Detectors?
- Never put detectors in direct sunlight or high humidity areas like above showers. Moisture and heat can cause false alarms or degrade sensors.
- Avoid installation behind curtains, doors, or heavily insulated surfaces. Blocked airflow reduces the detector’s ability to sense subtle changes in gas concentration.
- Avoid placing units in crawl spaces or unconditioned attics unless specified as rated for such environments.
Legal Guidelines and Local Codes
Many cities require one carbon monoxide detector per floor. Detectors are mandated by building codes in new construction and renovations in most regions. Check with local authorities or code enforcement offices for up-to-date placement rules.
Some insurance providers require documented installation at all recommended points. Not meeting placement standards may affect claims after an incident.
Recommended Apps for Monitoring and Configuration
- Google Home app: For integrating Nest Protect, setup, mobile alarms, and device health checks.
- Ring app: Supports compatible CO detectors linked with Ring security systems, offering combined alarm notifications and emergency contacts.
- SmartThings: For advanced configuration and automation with Zigbee or Z-Wave detectors, including scenes and routines for broader alerts.
Routine status checks via these apps help maintain both digital records and peace of mind, especially for tech-forward homes.
Conclusion
Effective carbon monoxide detector placement protects not just property but the lives within it. Each home—traditional or smart—faces unique risk points, so thoughtful positioning is the single most critical step for safety.
Connected detectors and routine maintenance bring confidence, especially as homes become more automated and complex.
Staying proactive with tech updates, app integration, and code compliance will ensure you gain the full benefits of modern carbon monoxide protection. Positioning detectors correctly might seem like a small detail, but in a real emergency, it is what can make all the difference.