Blog

  • Why Your Smart Devices Keep Disconnecting and How to Fix It

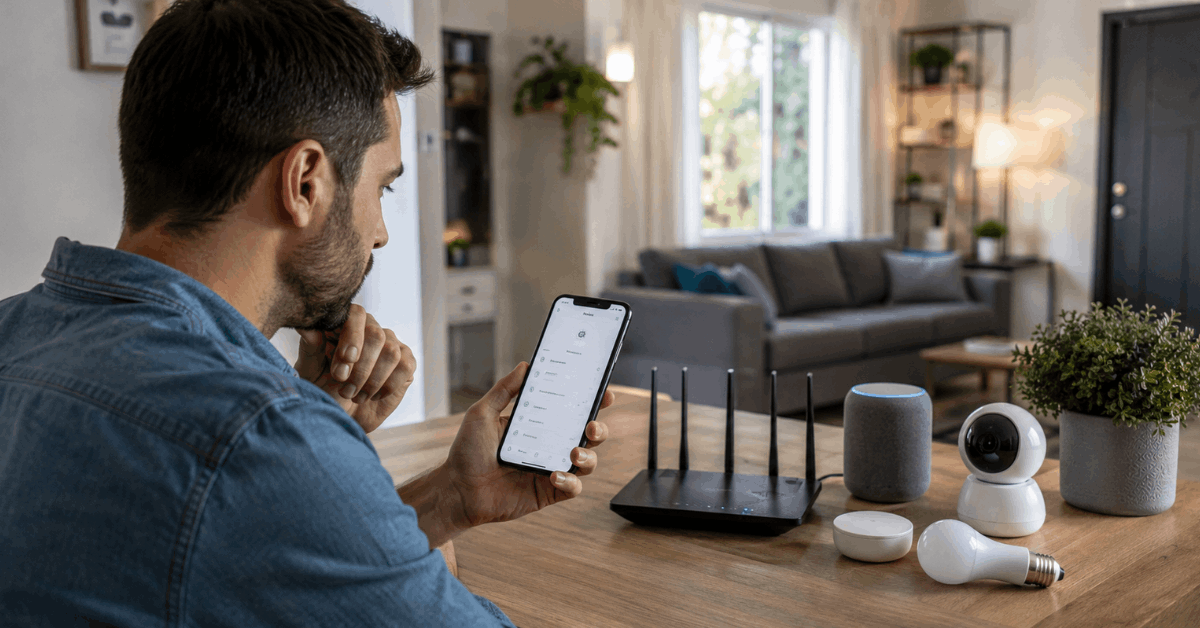
    Why Your Smart Devices Keep Disconnecting and How to Fix It

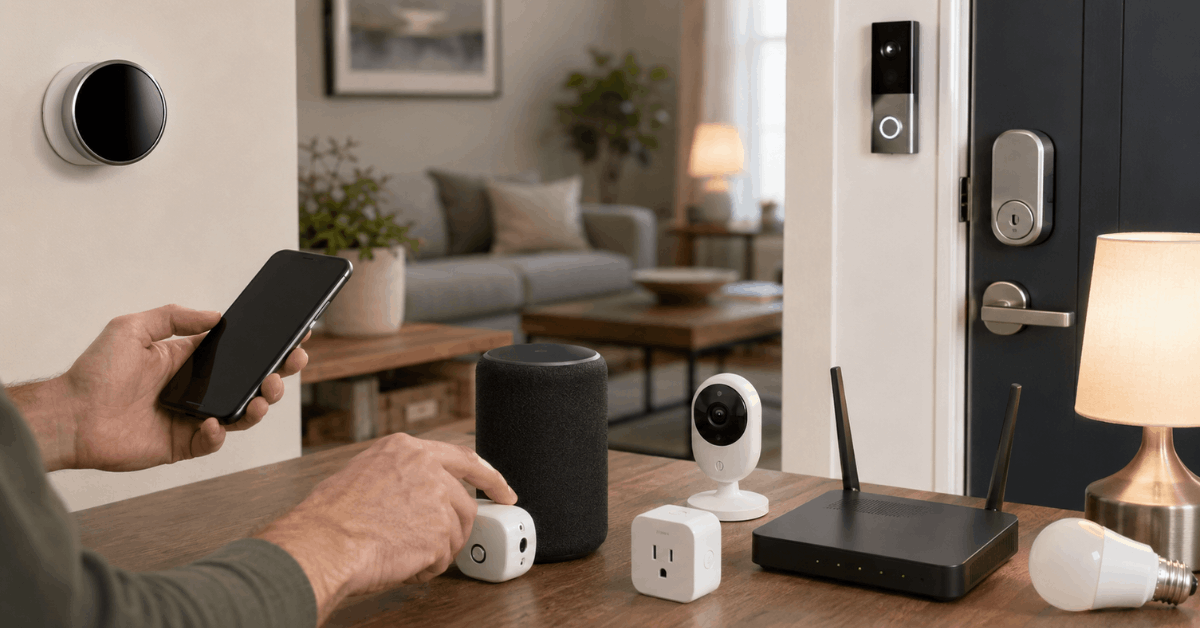
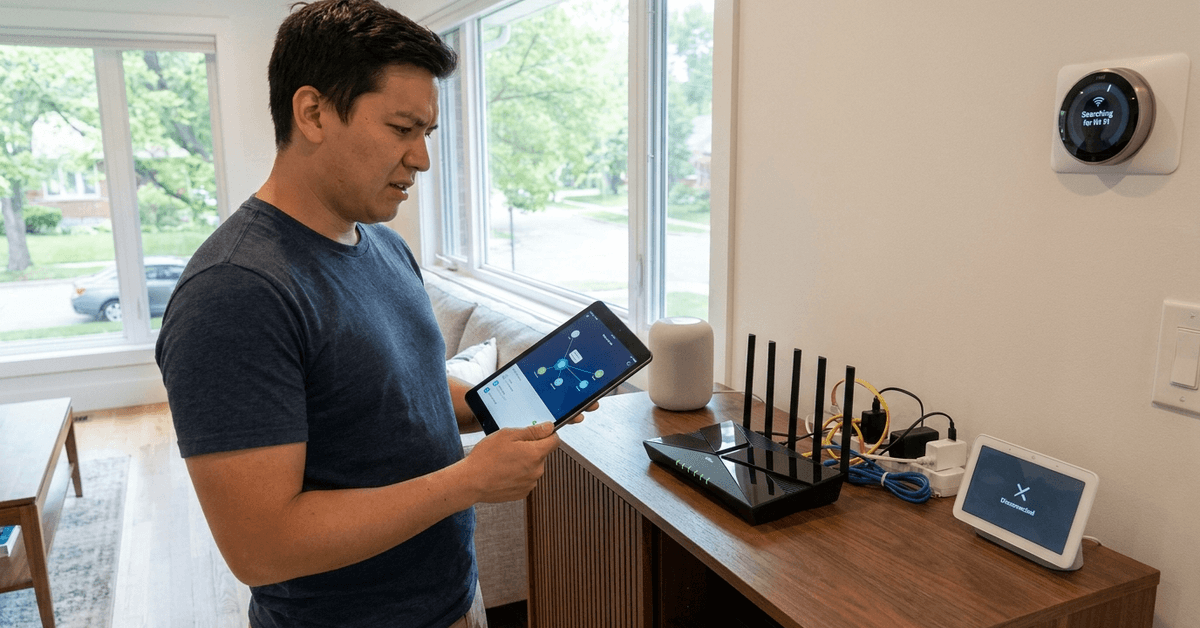
    Smart home technology offers more convenience than ever, but frequent device disconnections can seriously disrupt daily routines.

    This guide is built for homeowners and renters who want hassle-free, always-on smart devices for security, entertainment, or automation.

    Learn expert-tested fixes, understand your tech’s limits, and discover smart ways to ensure fewer dropouts in your connected home.
    Why Your Smart Devices Keep Disconnecting and How to Fix It

    Why Smart Devices Disconnect: Common Causes?

    The Weakest Link: Wi-Fi Instability

    Wi-Fi networks form the backbone of most home automation setups.

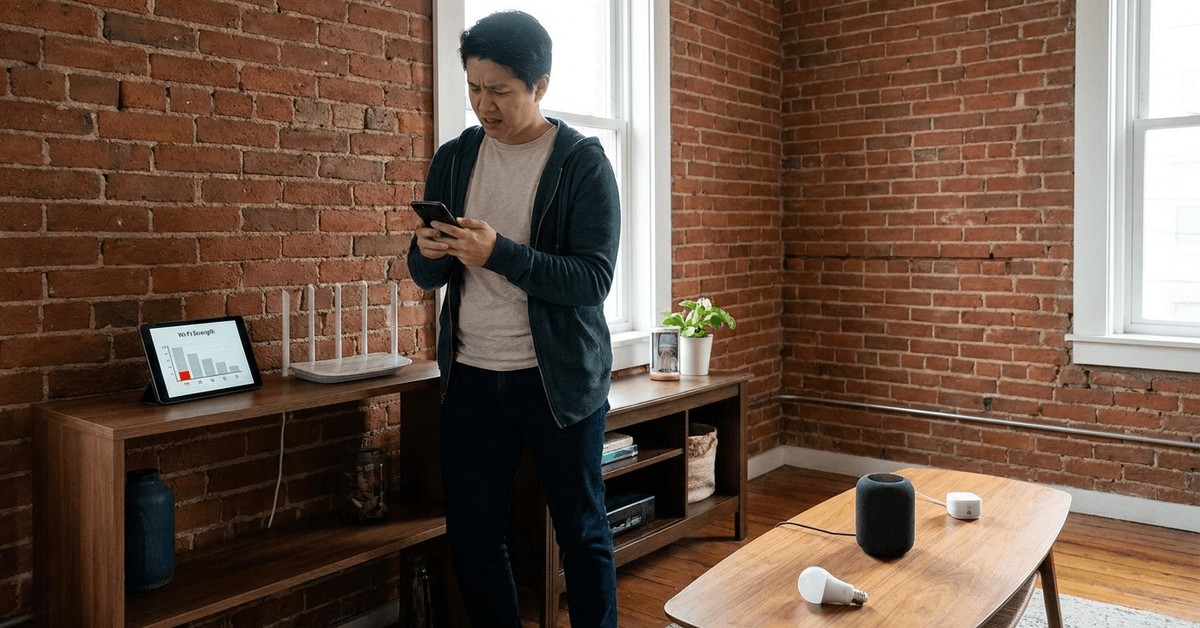
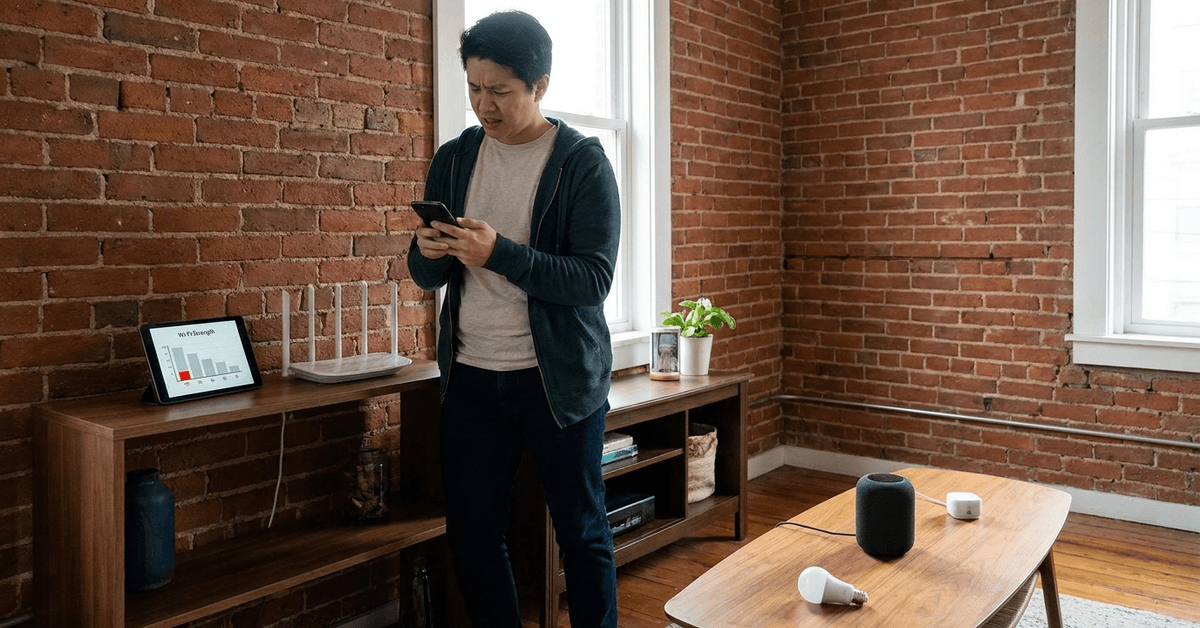
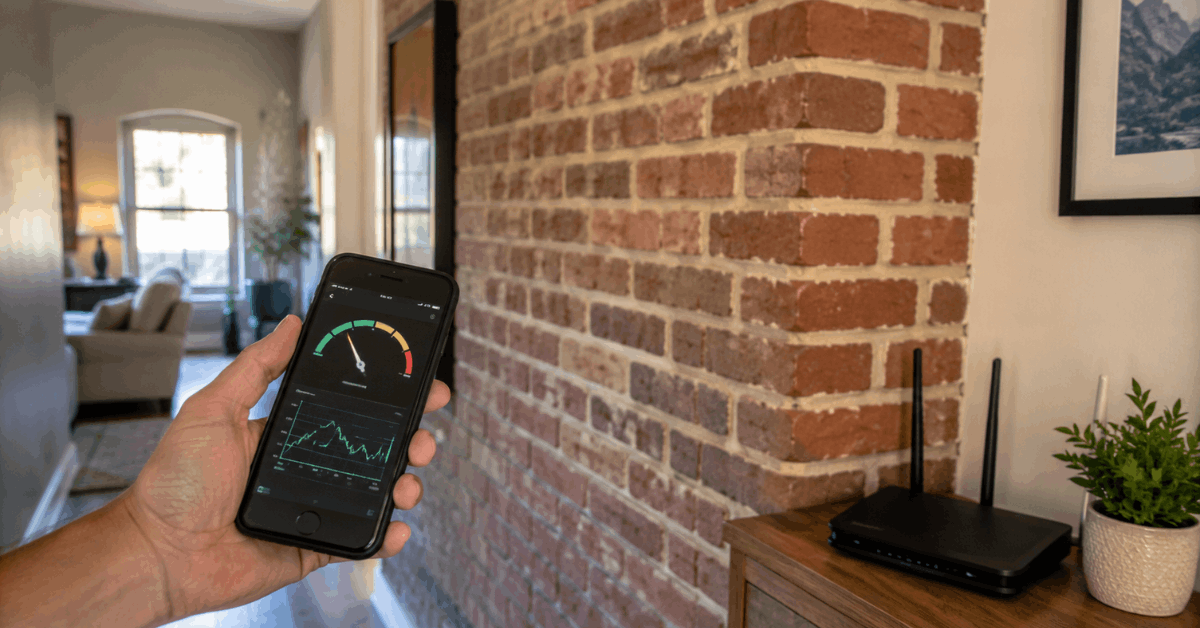
    The majority of smart device disconnections, in my experience, relate to unstable Wi-Fi signals.

    • Concrete walls can block the signal between your router and tech.
    • Microwaves, baby monitors, and even Bluetooth devices might cause interference.
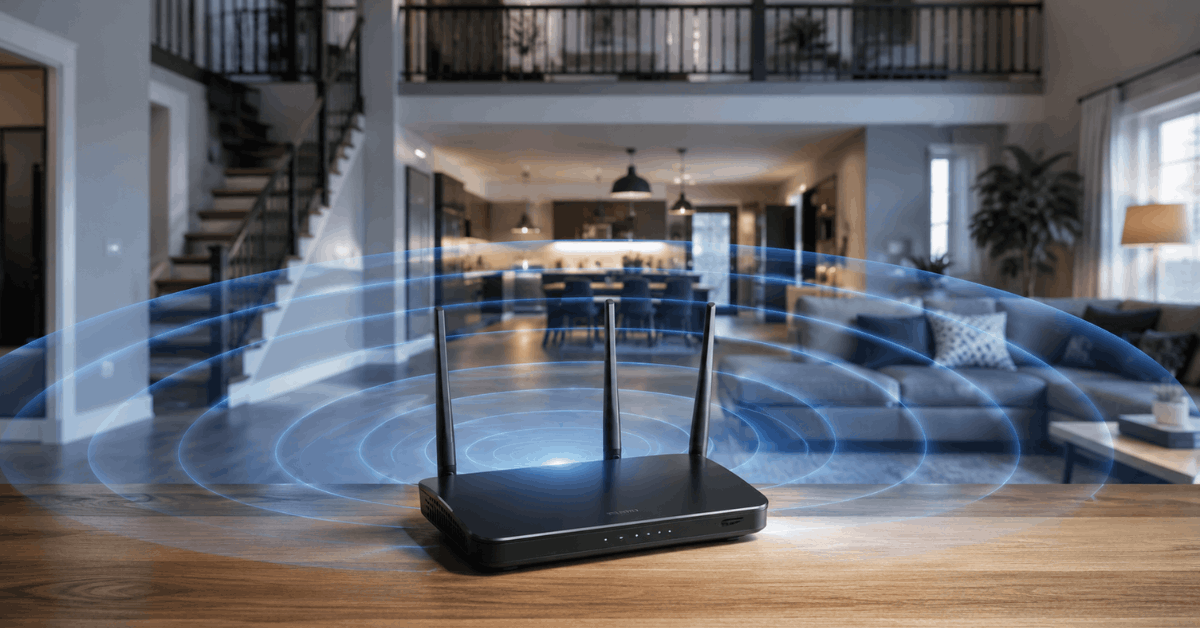
    • Large homes sometimes feature ‘dead zones’ where the signal is simply too weak for reliable operation.

    Too Many Devices on One Network

    Modern routers claim to support dozens of devices, but congestion becomes a real problem.

    Once you approach the maximum connections, loss of performance or dropped devices often follows.

    Software Updates and Compatibility Gaps

    Older smart bulbs, locks, or plugs may lose connection after an update to your hub or app.

    Frequent protocol changes mean some devices are not supported after firmware upgrades.

    Power Fluctuations and Hardware Issues

    An unstable power supply or failing device can trigger constant resetting or loss of contact with your setup.

    Some gadgets may simply be at end-of-life, especially if they’re several years old or exposed to power surges.

    Diagnosing Disconnection Problems

    Pinpoint the Pattern

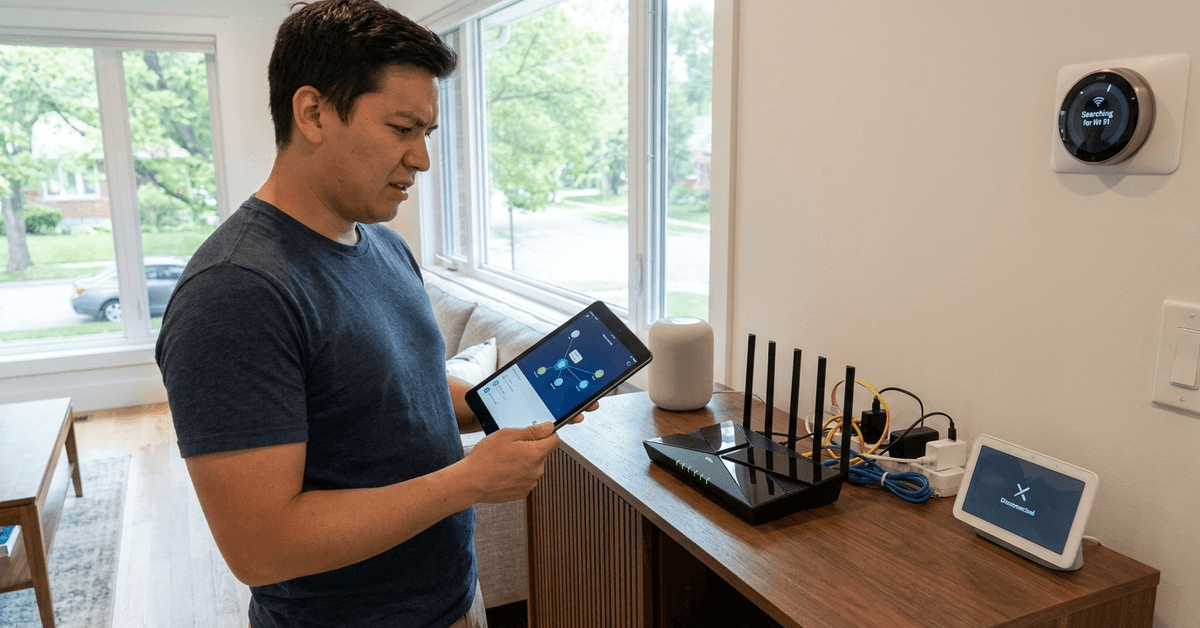
    Try to observe when and where your device usually disconnects.

    • Does it always lose connection at midnight?
    • Is it only certain rooms or just one brand?
    • Are multiple devices affected at once, or just a single light, lock, or camera?

    This basic pattern spotting narrows down whether the issue is network, power, or device-specific.

    Checking Network Health

    Running a speed test (like speedtest.net ) from smartphones or laptops can help assess if your Wi-Fi is reliable where the device is installed.

    If the Wi-Fi drops for other gadgets in the same spot, signal quality is likely to blame.

    Router, Hub, and Device Logs

    Email notifications, app logs, or web portals provided by systems like Google Home, Alexa, or SmartThings can be useful.

    Look for error details or timestamps that might hint at routine maintenance, interference, or update failures.

    How to Fix Smart Device Disconnects?

    Optimize Your Wi-Fi or Network

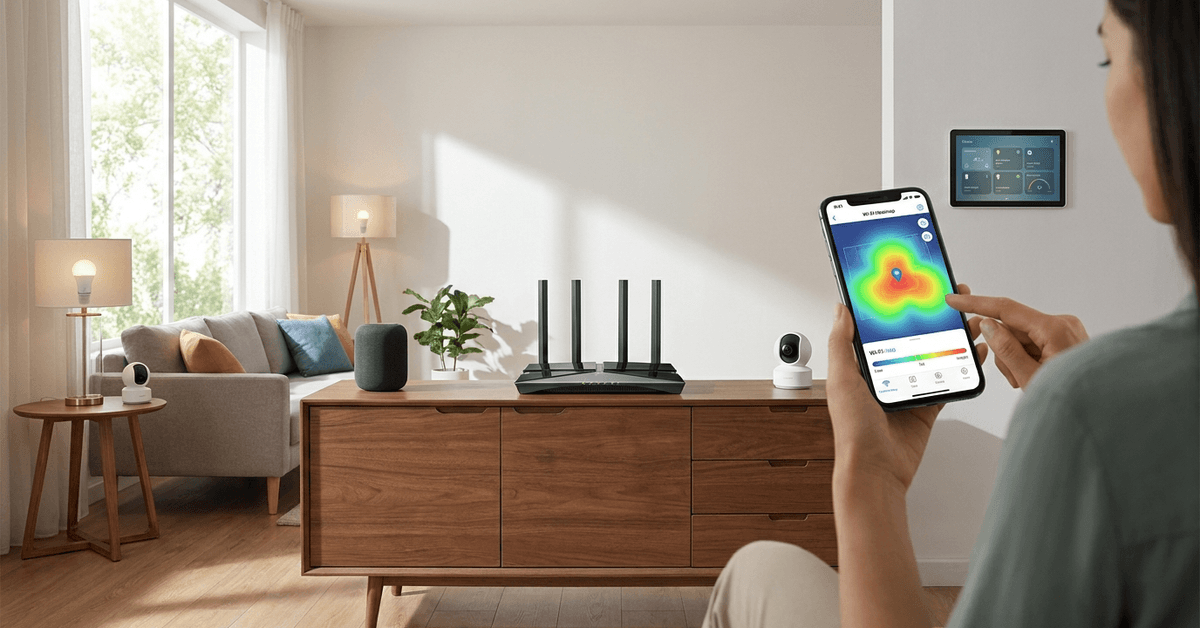
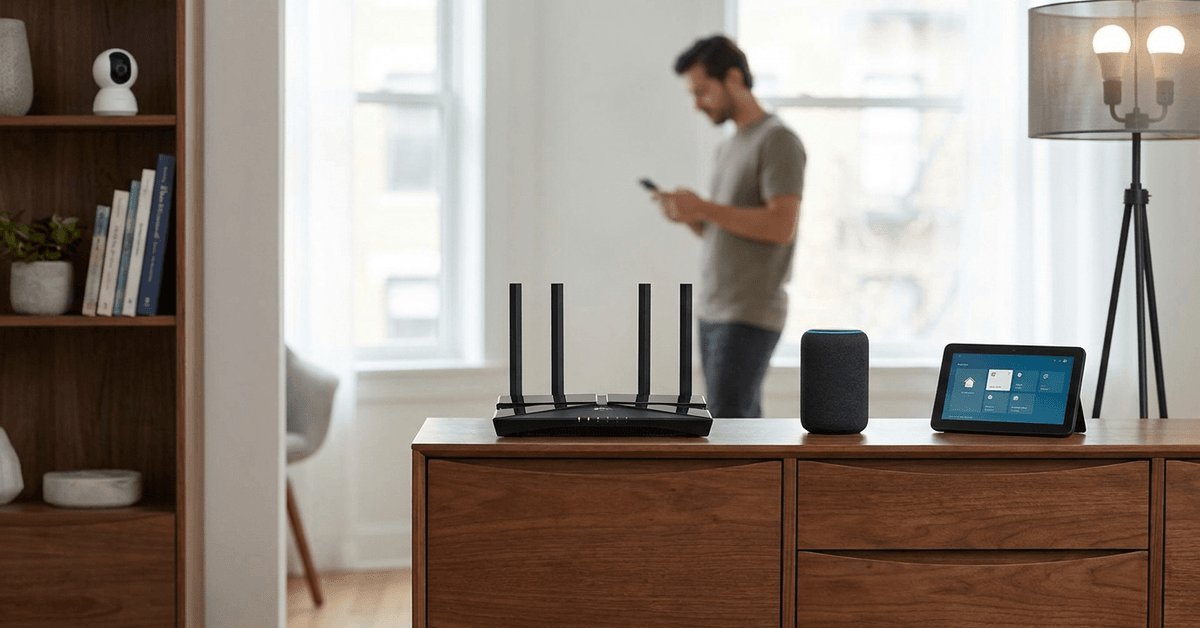
    • Place your router centrally, away from thick walls and obvious sources of interference.
    • Consider upgrading to a mesh Wi-Fi system, such as the Google Nest Wifi or Eero, for more even coverage in large homes.
    Why Your Smart Devices Keep Disconnecting and How to Fix It

    Switching to the 2.4GHz band can also help, since most smart gadgets use this frequency for better range.

    Reduce Network Clutter

    • If your router allows, split smart devices onto a dedicated guest or IoT network (some routers label this as “guest network”).
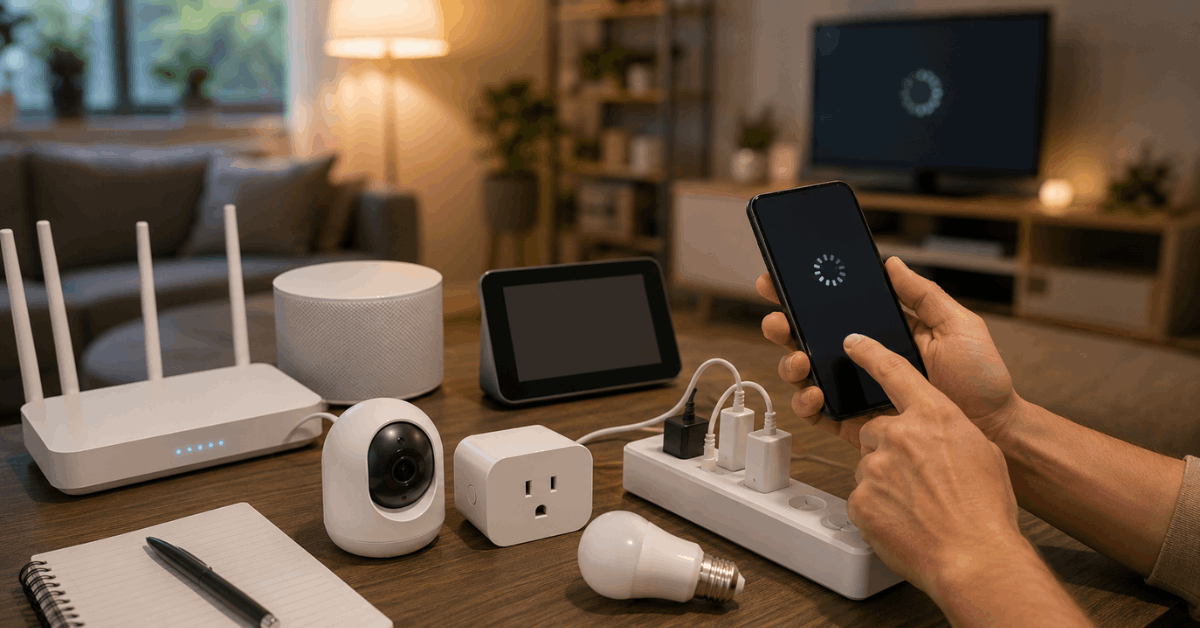
    • Restart your router every week or two to help it manage multiple connections more robustly.

    Update Firmware and Apps

    Manufacturers frequently patch connection issues through firmware updates .

    • Open the manufacturer app (like Philips Hue or Ring), go to device settings, and check for available updates.
    • Update router and hub firmware as well, usually through their web dashboard or app.

    Address Power Issues

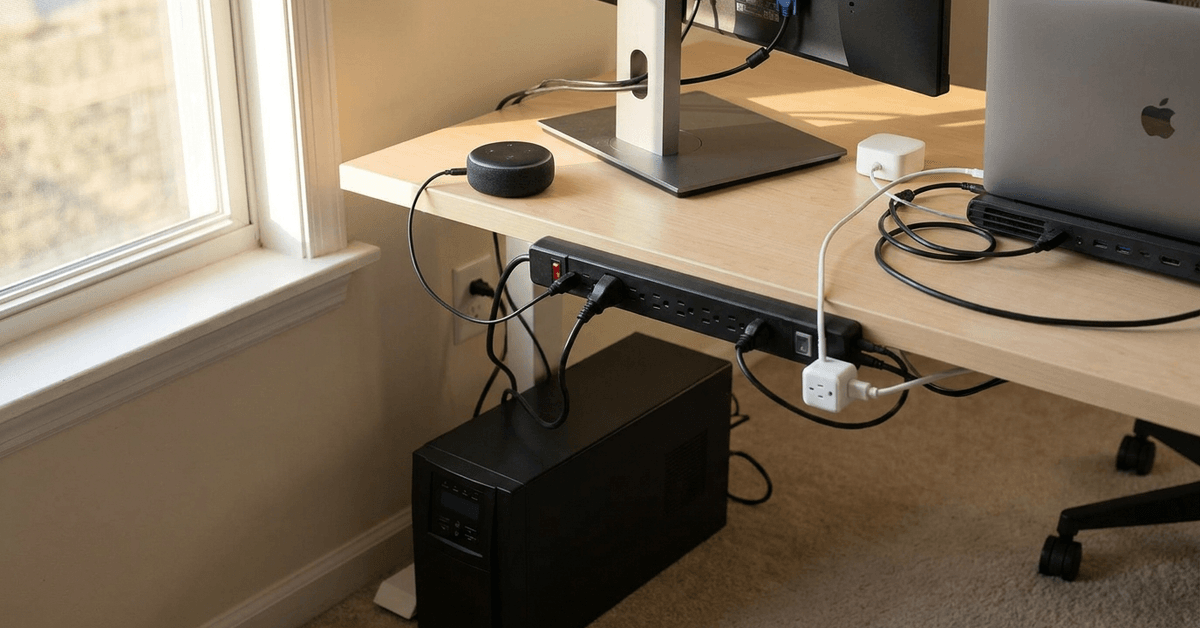
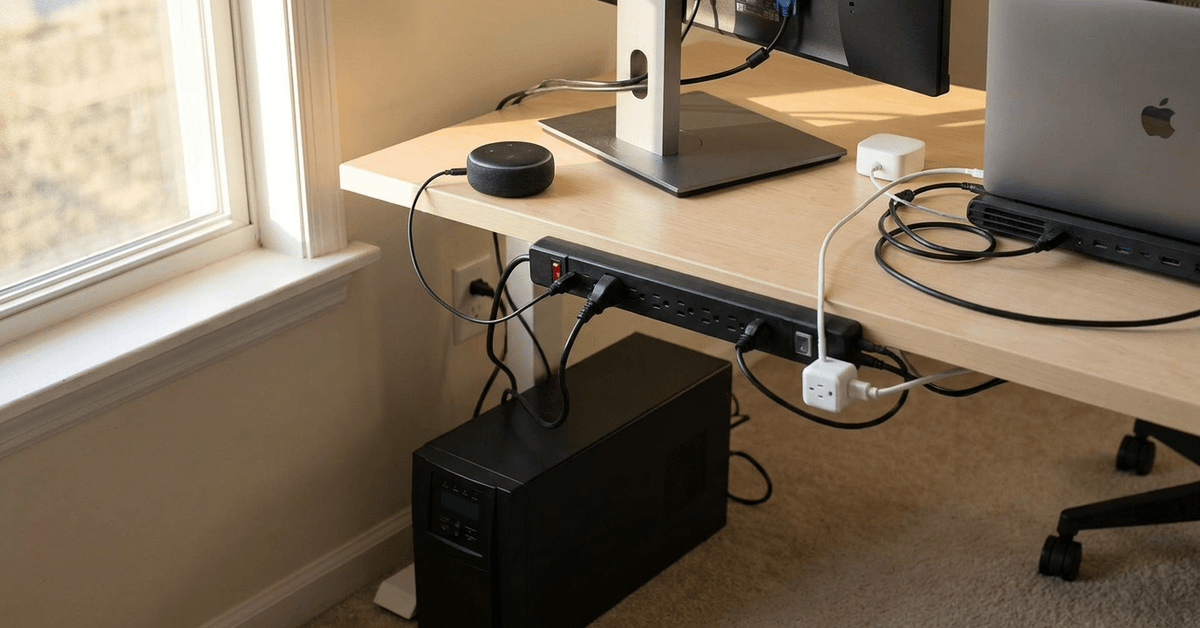
    • Plug sensitive gadgets into surge protectors.
    • Replace power adapters showing signs of wear or excessive heat.
    • If power cycling the device restores function, but only temporarily, consider a hardware replacement.

    Reset and Reconnect Devices

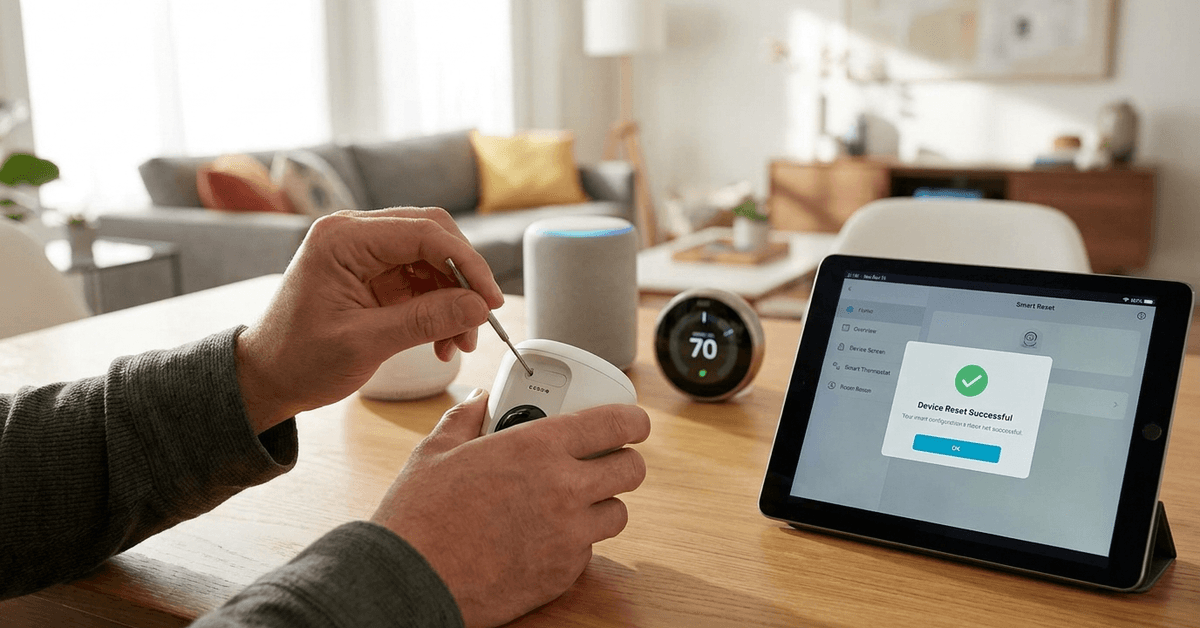
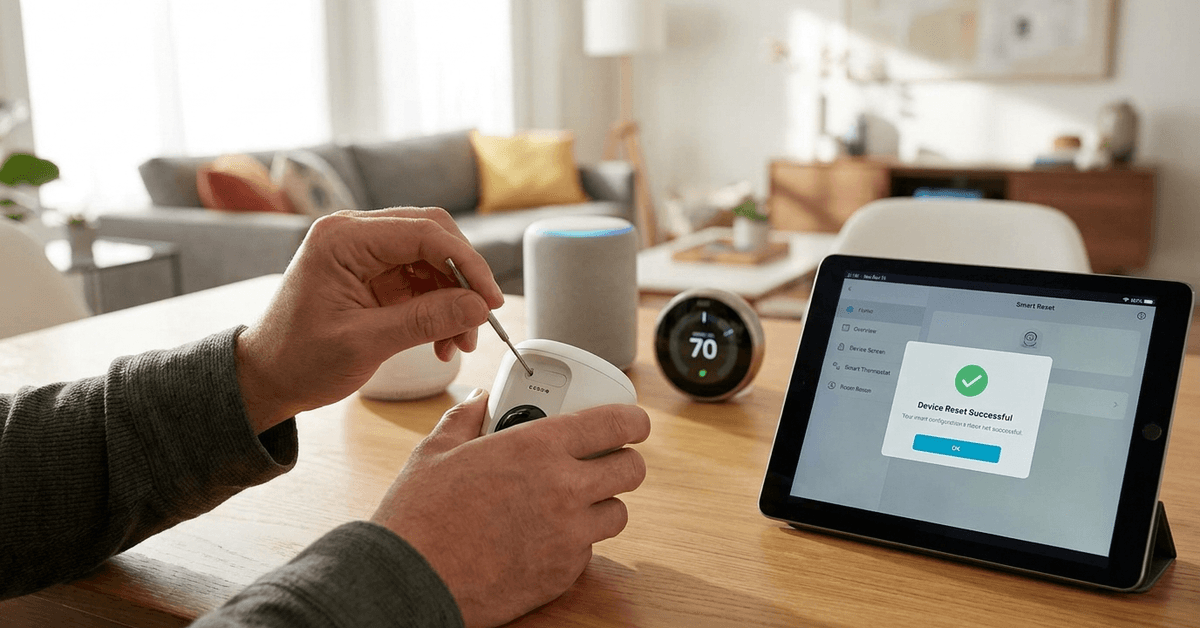
    • Remove the device from your app, then factory reset it according to the manual.
    • Reconnect it as a new device, entering Wi-Fi or hub details from scratch.

    This clean process often resolves stubborn disconnects, especially with legacy hardware.

    Consider Wired Alternatives for Key Devices

    While most people prefer wireless, important cameras or hubs could be connected via Ethernet for a permanent fix.

    Many mesh Wi-Fi nodes offer a port for wired-in mission-critical devices.

    Advanced Troubleshooting Techniques

    Use Wi-Fi Analyzer Tools

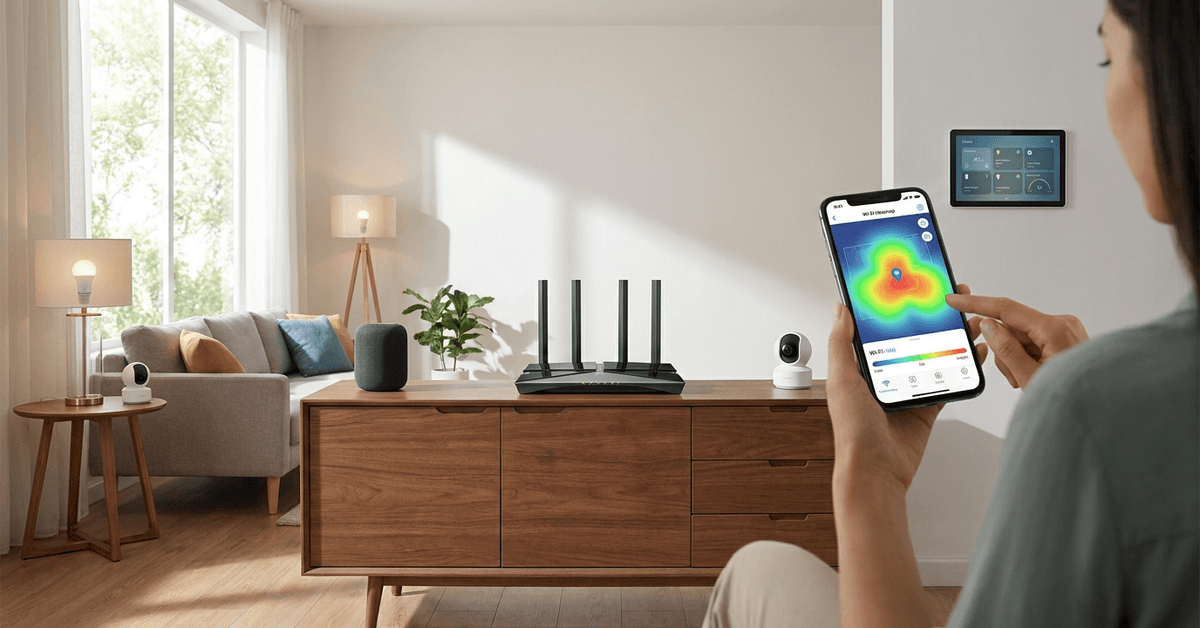
    Apps like WiFi Analyzer (Android) or NetSpot (macOS, Windows) can map your signal and highlight interference channels.

    Changing your router’s channel might solve random disconnects if a neighbor’s Wi-Fi is causing congestion.

    Investigate Home Automation Protocols

    Not all smart devices use Wi-Fi. Zigbee, Z-Wave, and Thread operate differently than traditional networks.

    For devices on Zigbee (like many Philips Hue bulbs), ensure your hub is centrally located to maintain a mesh network effect.

    • Remove or move large metal objects that could physically block Zigbee or Z-Wave mesh hops.
    • Consider using powered repeaters, such as smart plugs using the same protocol, to expand mesh coverage.

    Pairing Smart Devices to New Routers or SSIDs

    If you recently upgraded your router and kept the same network name, confusion between old device settings and the new system may occur.

    • A complete device reset and re-pairing is often required for each affected gadget.

    Preventive Tips for Reliable Smart Device Connections

    Regular Maintenance

    • Set reminders to update firmware, router software, and app versions monthly.
    • Review connected device lists every quarter. Remove any devices you no longer use.

    Choose the Right Brands and Protocols

    Opting for broad compatibility (like devices with Matter support) reduces the risk of future dropouts when tech standards change.

    Platforms such as Home Assistant offer vendor-agnostic control to keep all smart gadgets working under one interface.

    Optimize Device Placement

    • Keep smart hubs, routers, and gateways at least one meter away from major appliances and other electronic devices.
    • Avoid tucking smart speakers or cameras deep into shelves where the signal gets squeezed.

    When to Contact Support or Replace Devices?

    Recognize Persistent or Hardware-Related Problems

    If resets and network fixes do not solve the issue, the device may be failing internally.

    • Contact the original vendor support, like Samsung SmartThings or Amazon Alexa help desk, for warranty or troubleshooting guidance.

    Swapping a stubborn smart device out for a new model might be the only real solution in rare cases.

    Conclusion: Building a More Reliable Smart Home

    Smart device disconnections can be frustrating, but a methodical approach makes a big difference.

    Most connectivity problems are tied to Wi-Fi instability, overloaded networks, or aging gear.

    By testing network strength, updating firmware, and choosing placement wisely, most homeowners find long-term stability and peace of mind.

    Staying proactive with maintenance and product selection will help your smart home run with fewer interruptions and greater reliability over time.
  • How to Protect Your Smart Home Hub From Power Surges

    How to Protect Your Smart Home Hub From Power Surges

    Power surges may not seem like a major hazard at first glance. Yet for homeowners with smart home hubs and sensitive equipment, they represent a real risk to security, investment, and convenience.

    Anyone with a smart hub—whether it’s a Google Nest, Amazon Echo, Samsung SmartThings, or Apple HomeKit—is vulnerable. Power issues can cause data loss, system failures, and even hardware replacements.

    Understanding effective strategies for protecting your smart home hub helps maintain automation, safety, and peace of mind.

    How to Protect Your Smart Home Hub From Power Surges

    Why Smart Home Hubs Are Sensitive to Power Surges?

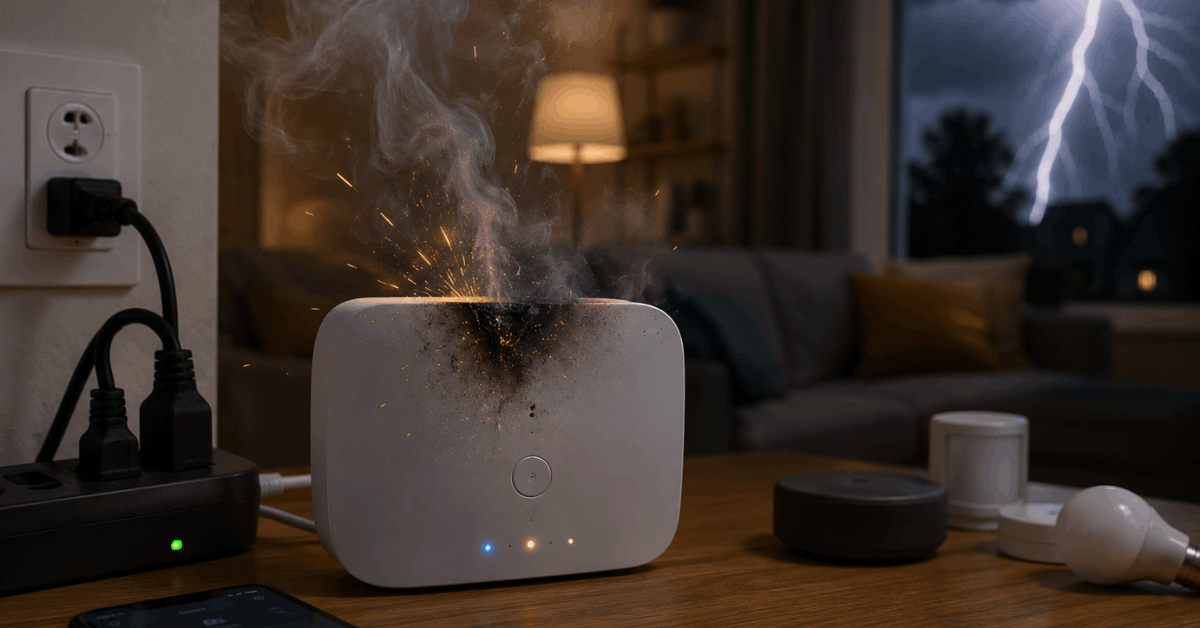
    Smart hubs often contain delicate circuits and critical software. Power spikes from lightning, grid switching, or faulty wiring may interrupt devices instantly.

    Uninterrupted operation is essential. Losing a hub disrupts connected locks, sensors, cameras, and alarms. Recovery is not always as fast or simple as rebooting.

    Common Power Surge Triggers

    • Lightning storms near your area
    • Grid supply changes or maintenance activity
    • Large appliances cycling on and off (like air conditioners or washing machines)
    • Outdated or poorly installed home wiring

    These events rarely occur on a set schedule. Some homeowners notice a pattern, others experience a sudden failure without warning.

    What Actual Power Surges Do to Smart Hubs?

    Surge energy seeks the fastest path to ground. In doing so, it may burn out circuit boards or memory chips inside a smart hub.

    How to Protect Your Smart Home Hub From Power Surges

    Results range from random software glitches to total hardware failure. Corrupted settings could require a complete system reconfiguration.

    Sometimes, a hub will restart but lose all its automation rules. That means re-pairing dozens of devices.

    Signs of Surge Damage in Smart Hubs

    • Hub not powering up at all
    • Random restarts during operation
    • Sensors or devices vanishing from the app
    • Loss of Wi-Fi, Bluetooth, or Zigbee/Z-Wave connectivity

    Occasionally, the effects are subtle—perhaps requiring days or weeks before the full problem appears.

    Practical Ways to Protect Your Smart Home Hub

    There are several well-proven methods for preventing surge damage in connected homes. Homeowners often layer them for greater peace of mind.

    Install a Surge Protector

    A basic but essential step: plug the hub into a high-quality surge protector. Buried inside these devices are components that divert high voltage away from electronics.

    • Look for units rated at least 2,000 joules
    • Choose models with indicator lights to confirm protection is active
    • Replace units after any known surge or every five years

    Many people are surprised by how affordable basic surge protectors are. Yet spending a bit more on a trusted brand is usually wise for mission-critical gear.

    Consider a Uninterruptible Power Supply (UPS)

    A UPS provides both surge filtering and backup battery power. This helps stabilize power during both spikes and brief outages.

    APC and CyberPower offer models suited for smart hubs or routers. Features to watch for include:

    • At least 300W output for most standard hubs
    • Automatic voltage regulation (AVR) to smooth small fluctuations
    • User-replaceable batteries

    Many find a UPS keeps both the hub and modem/router alive long enough to shut down or ride out short blackouts.

    Whole-House Surge Protection

    Homes with several connected devices might consider installing a whole-house surge protector. Electricians typically mount these at the main electrical panel.

    • Protects all outlets and large appliances
    • Reduces risks from direct lightning strikes or grid issues
    • Requires professional installation

    This approach may be more common in areas prone to storms, or in houses with expensive home automation setups.

    Use Dedicated Smart Plugs with Surge Filtering

    Increasingly, brands like Kasa Smart Plug or TP-Link HS300 power strips build surge protection and Wi-Fi control into one device.

    • Allows remote rebooting after an outage
    • Monitors current and power usage for excess draw
    • Integration with routines for added redundancy

    These can be useful for smaller setups, or as a backup to larger surge protectors.

    Configuration Settings to Minimize Damage

    Some software-based settings can help reduce risks or simplify recovery. Not everyone realizes smart hubs often include backup or auto-restore options.

    Enable Cloud Backups

    Most major hub platforms—such as Samsung SmartThings or Apple HomeKit—offer cloud-based backup and sync capabilities.

    • Regularly backing up automation and device lists prevents manual reconfiguration
    • Set automatic backup frequency weekly for more complex systems

    This simple action often makes a big difference if a hub motherboard must be replaced.

    Check for Auto Recovery Features

    Firmware updates might add surge-recovery options or self-repair routines. Sometimes these are found deep within the app settings menu.

    Many users never explore these areas until after something fails. Reviewing settings now is usually worthwhile, even if you never need them.

    Proven Maintenance Tips for Surge Safety

    Regular inspection and a few mindful habits can reinforce your home’s surge defense. Consistency is key.

    Inspect Cords and Protectors Frequently

    Wear and tear, plus build-up of dust or corrosion, may reduce protection. Unplugging and checking connections every three to six months is a good habit.

    If any smell of burning plastic or visible damage appears, replace immediately.

    Update Device Firmware

    Updated firmware in hubs or smart plugs might contain new surge-handling or fault-recovery features.

    Automated update settings help, but sometimes manual checks reveal pending critical patches. Staying current can prevent future headaches.

    Document Automation Routines

    Cloud backups are not always foolproof. Writing down or screenshotting critical automation flows helps if you must rebuild after surge-related resets.

    This is especially true for complex rules involving multiple brands or protocols.

    Legal and Insurance Considerations

    Smart home owners sometimes forget home insurance may cover surge damage. Reviewing policy terms before an incident occurs is wise.

    Whole-house surge protection might entitle users to lower insurance premiums. Some providers require professional proof of installation.

    Whenever possible, keeping receipts and documentation of protections can speed up damage claims.

    Conclusion: Securing Your Smart Home’s Nerve Center

    Smart home hubs are the gateway to modern secure living. Their vulnerability to unpredictable power surges is an often-overlooked threat.

    Combining layered surge protection, regular backup routines, and diligent inspection creates robust, practical security. These steps don’t just guard your hub—they safeguard your comfort, automation, and investment.

    A thoughtful approach today means fewer surprises tomorrow, and a smart home truly worthy of the name.

  • How to Safely Reset a Smart Home Device Before Selling It

    How to Safely Reset a Smart Home Device Before Selling It

    Smart home devices are now part of daily life for many homeowners. These connected gadgets store personal data, Wi-Fi credentials, and even audio or video files.

    Before handing a device over to someone else, it’s essential to wipe all traces of personal information.

    How to Safely Reset a Smart Home Device Before Selling It

    This guide is designed for anyone planning to sell or give away their smart home products, from security cameras to smart bulbs.

    The main benefit? Peace of mind knowing no sensitive settings or accounts remain on the device.

    Why Is a Secure Reset Important for Smart Home Devices?

    Smart gadgets typically hold more than just user preferences. They can store footage, command logs, or access codes that could compromise household security.

    A safe reset clears this data and also disassociates the hardware from cloud accounts. Leaving a device unreset risks giving strangers access to personal records or network information. Privacy protection is the key motivation behind a proper reset process.

    Types of Smart Home Devices That Need Resetting

    The variety of devices requiring attention before resale is quite broad. Generally, these include both connected and standalone gadgets.

    How to Safely Reset a Smart Home Device Before Selling It
    • Smart speakers (like Amazon Echo, Google Nest Audio)
    • Security cameras (Arlo, Ring, Wyze, etc.)
    • Video doorbells (Nest Hello, Ring Video Doorbell)
    • Smart locks (August, Yale Assure, Schlage Encode)
    • Smart thermostats (Ecobee, Nest, Honeywell Home)
    • Connected plugs, bulbs, and appliances
    • Wi-Fi routers with built-in home automation

    Each device may require a unique reset process. Manufacturers often publish device-specific instructions online for these actions.

    Preparation Before Resetting a Device

    Owners sometimes forget simple pre-reset steps. Handling these basic actions first avoids issues and ensures a smoother reset process.

    • Unlink the device from its mobile app or cloud account
    • Record model numbers or serial codes for reference
    • Back up any footage or logs if required for insurance or other needs

    Backing up data is not always necessary, but it may help in certain circumstances. Unlinking beforehand prevents accidental re-association with the old account.

    How to Reset the Most Common Smart Home Devices?

    While general guidelines exist, every device model operates a little differently. Below are product-specific reset highlights organized by device category.

    Resetting Smart Speakers

    Amazon Echo: Most Echo devices have a reset button, sometimes combined with the microphone or volume controls.

    1. Press and hold the ‘Action’ button for about 25 seconds.
    2. Wait for the light ring to turn orange, then blue, then off.
    3. Release when the ring turns off, indicating factory reset.

    Google Nest Audio: Each device may feature a hidden button or a reset combination.

    1. Press and hold the back reset button for about 10 seconds.
    2. The assistant will say when it begins the reset process.
    3. Release only after the confirmation sound.

    Resetting Security Cameras

    For most brands, the reset process involves sync or reset buttons.

    Ring cameras: There is a small button near the battery compartment.

    1. Hold the button for 15 seconds.
    2. Release and watch for the LED to change color.
    3. The device will reboot and clear stored credentials.

    Wyze Cam: Under the camera, users usually find a setup button.

    1. Press and hold this for 10 seconds.
    2. Wait for the light to change, confirming a reset.

    Resetting Video Doorbells

    Products like Nest Hello or Ring Doorbells need both app-based and physical actions.

    1. Open the device’s app, unlink the account or remove the device.
    2. Physically press the reset or setup button for the required time.

    Final confirmation usually occurs with a color change or voice prompt.

    Resetting Smart Locks

    Locks contain sensitive codes. Their reset process often requires removing the device’s battery cover.

    For example, an August Smart Lock :

    1. Open the August app, disconnect and remove access for all users.
    2. Physically remove one battery, then hold the reset button as the remaining batteries are reinserted.

    Resetting wipes all stored PINs and mobile app access.

    Resetting Smart Thermostats

    Ecobee or Nest thermostats provide in-app or menu-based options.

    1. Visit settings on the unit, then navigate to factory reset.
    2. Follow prompts to confirm, which usually erases network and schedule data.

    The hardware often displays a progress indicator during this process.

    Final Device Unlinking and Cloud Detachment

    Even after a hardware reset, some accounts remain linked online.

    Cloud account detachment must be checked using the smart device app or online dashboard.

    • Remove the device from the cloud account or authorized devices section
    • Sign out of remnant integrations (like Google Home or Alexa skills)
    • Double-check for lingering shared user permissions

    Skipping these steps may leave access behind, even after physical resets.

    This scenario arises especially with family-sharing features or third-party integrations.

    Tips for a Truly Clean Slate

    Protecting your next owner’s setup is as important as keeping your data safe.

    • Avoid factory resets when the device is offline, as cloud sync may not clear until online again
    • Test the device using a secondary account after reset if possible
    • Consult the device user manual or manufacturer’s reset documentation for any model-specific quirks

    When in doubt, visiting a brand’s support page gives the most current reset instructions.

    If privacy functions seem limited or confusing, manufacturers’ support hotlines are worth a call.

    Best Apps and Tools for Managing Device Resets

    Some brands offer special mobile apps to help with secure device removal or reset.

    The SmartThings App works well for many Samsung and compatible third-party devices.

    • Often allows unlinking devices remotely
    • Gives error messages if wipes are incomplete

    The Google Home app, Amazon Alexa app, Apple Home, and MyQ for smart garage systems all offer similar remote account management functions.

    The main challenge? Not all brands offer these features. Manual button resets remain necessary for many products.

    Potential Risks If Smart Devices Aren’t Properly Reset

    In practice, skipping a secure reset creates multiple risks.

    • Personal voice commands and security footage could be retrievable by others
    • Wi-Fi network credentials might become exposed
    • Future device malfunctions if lingering accounts interfere with set up

    Rarely, smart locks and video doorbells have been known to remain accessible to previous owners after routine resets if cloud permissions are left unchecked.

    Erring on the side of caution protects both parties in the handoff process.

    Conclusion

    Resetting a smart home device before selling is more than a formality. It’s a core privacy and ownership step.

    Every major device—whether a camera, speaker, or thermostat—has its own approach for secure reset. Most importantly, unlinking from the cloud is non-negotiable.

    A methodical approach ensures no sensitive data or private settings remain. For the new owner, this reduces problems when pairing the device to their home network or deleting your old preferences.

    Combined with short, device-specific instructions and careful cloud account checks, homeowners can move forward confidently. Extra caution today means no regrets later for either party.

  • How to Use a Network Cable for Smart Tvs to Reduce Buffering

    How to Use a Network Cable for Smart Tvs to Reduce Buffering

    Buffering can interrupt even the best movies or sports events on smart TVs. Many users find this issue frustrating when relying on Wi-Fi connections at home. 

    Anyone who loves seamless streaming and optimal smart home setups may notice the difference a stable connection makes.

    Using a network cable often provides greater reliability and speed than wireless connections. This article explores how to use a wired network option for smart TVs, the specific advantages, and actionable installation advice.

    Why Wired Connections Reduce Buffering on Smart TVs?

    Streaming in high definition places strong demands on your network. Even upgraded Wi-Fi often competes with other devices, causing sudden lags or dropouts. Wired Ethernet, by comparison, delivers signals more directly to the TV.

    How to Use a Network Cable for Smart Tvs to Reduce Buffering

    Consistent Bandwidth for Streaming

    Ethernet transmits data more steadily than Wi-Fi. Fewer interruptions occur because there’s less competition for the wireless spectrum. Homeowners with multiple connected gadgets typically see improvements when TVs are wired.

    Lower Latency and Signal Stability

    Network cables reduce latency, or delay, in video delivery. Streaming platforms like Netflix or Prime Video benefit from fewer buffering circles. This approach often supports more stable, predictable internet speeds.

    Less Interference From Other Devices

    Wi-Fi signals can suffer from interference, especially in smart homes filled with internet-enabled gadgets. Wired connections avoid most obstacles, providing each device its own direct pathway. This aspect makes a difference during busy evening hours.

    Choosing the Right Network Cable for Smart TVs

    Not every cable is equal in performance. Selecting the correct type ensures your setup performs at its best, matching the speed of your home internet plan. Some users realize a minor upgrade here makes a major impact.

    How to Use a Network Cable for Smart Tvs to Reduce Buffering

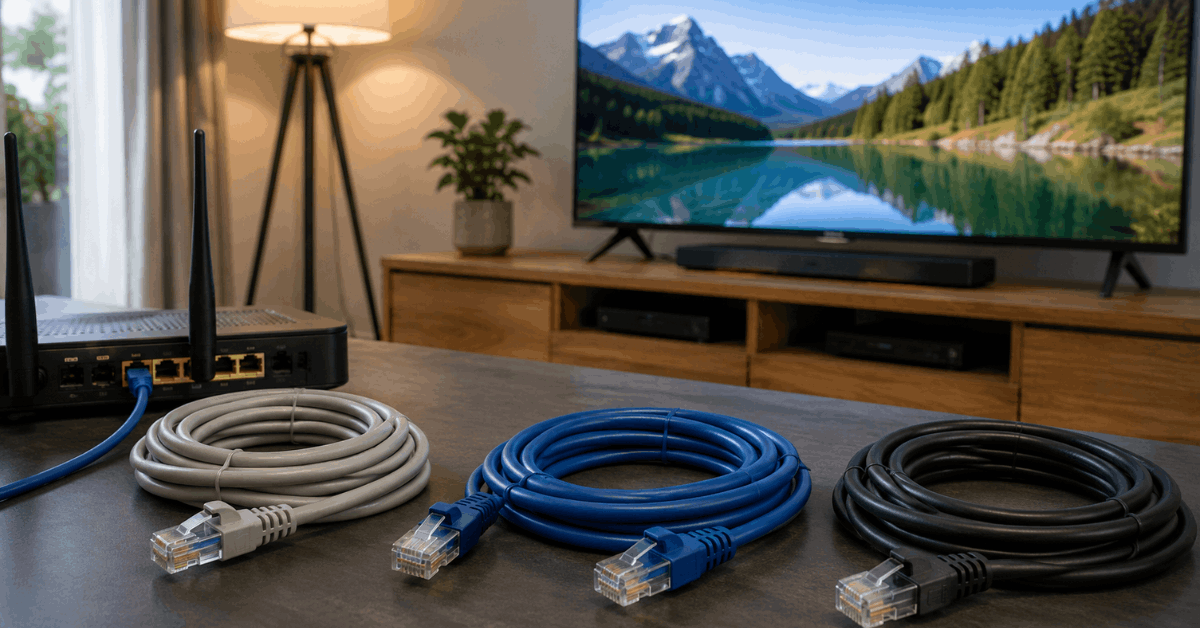
    Cat 5e, Cat 6, and Cat 7 Compared

    • Cat 6: Most smart TV owners find this offers sufficient speed and shielding. It’s capable of gigabit speeds, supporting modern 4K or HDR content.
    • Cat 5e: Good for basic streaming. Slightly cheaper, but future-speed compatibility is limited.
    • Cat 7: Provides even more shielding. Perhaps slightly overkill in typical home use, but may suit complex setups.

    Checking the specs on your home router and TV will help determine the right match. Most smart TVs made after 2017 support at least Cat 6 speeds.

    Recommended Cable Length and Quality

    Standard Ethernet cables often reach up to 100 meters, but shorter lengths reduce the risk of signal loss. Users commonly select flat cables for easy wall routing. Reliable brand names, such as Belkin or Cable Matters, are something to consider for quality.

    Locating the Ethernet Port and Preparing the TV

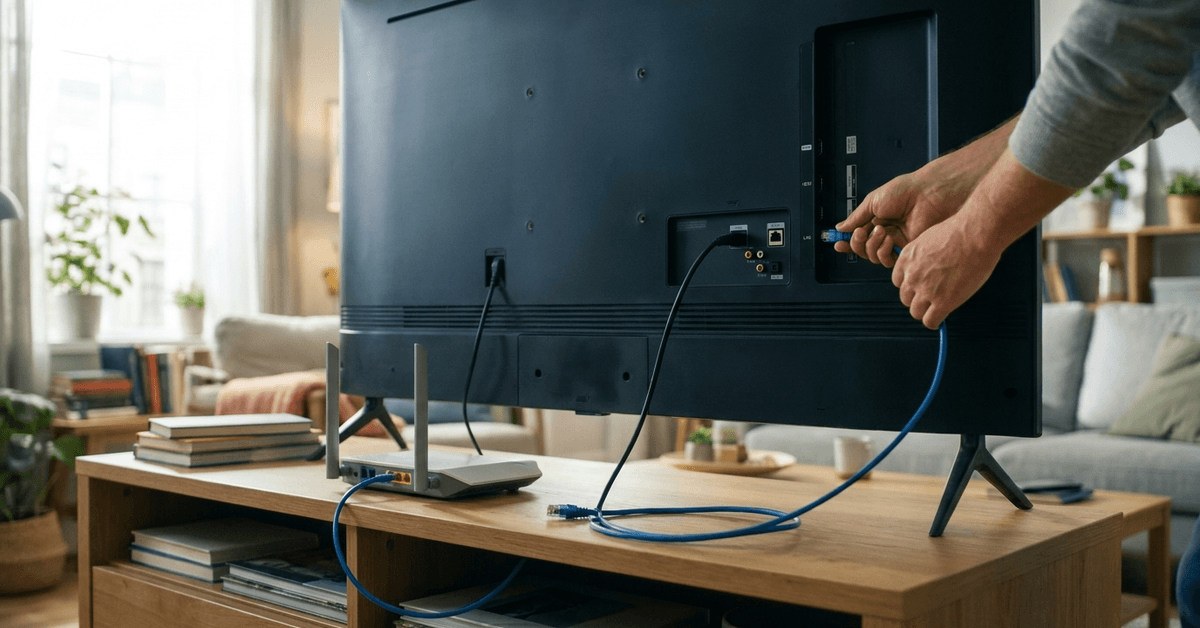
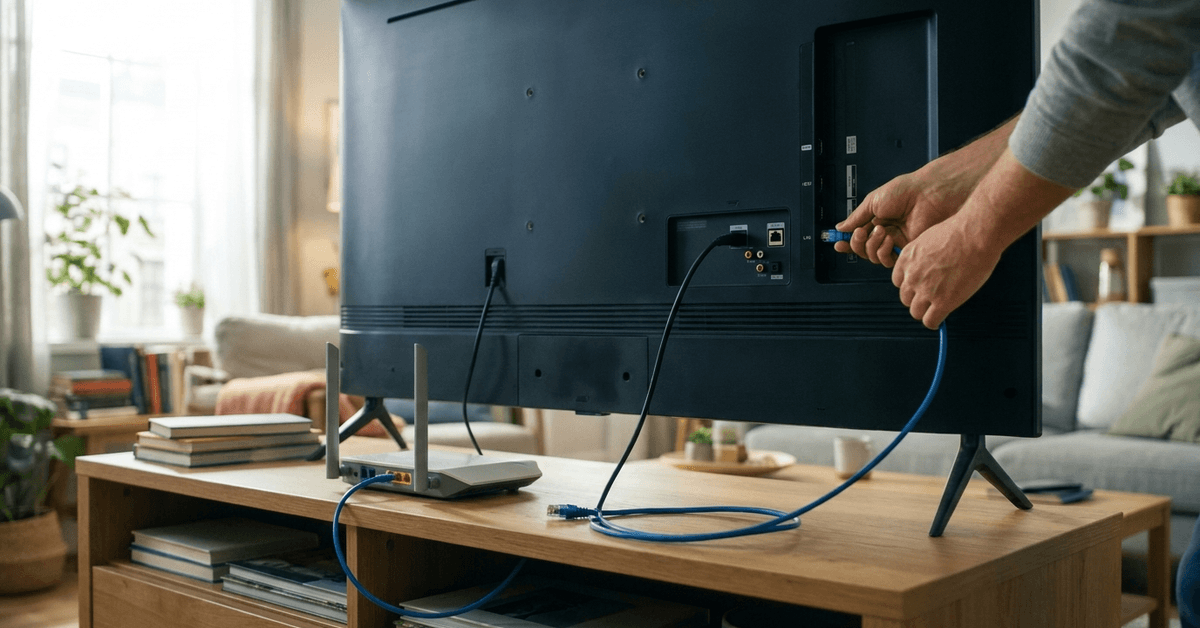
    Most smart TVs have a dedicated RJ45 Ethernet port on the back or side panel. Some models may display a small network symbol or the word ‘LAN’ nearby. When in doubt, the owner’s manual usually provides a location diagram.

    Checking TV Compatibility

    Nearly all recent Samsung, LG, Sony, and TCL smart TVs include wired network support. If using a smaller or older model, searching for ‘Ethernet’ or ‘LAN port’ in the product manual will clarify its options.

    Router Placement and Easy Cable Routing

    • Position your router as close to the TV as possible to minimize cable clutter.
    • If distance is unavoidable, consider adhesive cable clips or trunking for tidy installation.
    • Where cable routing becomes difficult, a network switch in the same room can split the signal without loss.

    Step-by-Step Guide: Connecting Your Smart TV With a Network Cable

    Setting up a wired Ethernet connection involves just a few targeted steps. The improvement in streaming performance may become clear right away.

    1. Unplug your smart TV and router for safety before handling any cables.
    2. Insert one end of the Ethernet cable into the router’s LAN port.
    3. Connect the other end to the TV’s Ethernet or LAN port.
    4. Reconnect devices to power and power them on.
    5. Navigate to the TV’s “Network Settings” menu, found under “Settings” or “Connections.”
    6. Select “Wired Connection” or “Ethernet.” The TV should detect the network automatically.
    7. Test the connection using the TV’s built-in network test tool, usually under ‘Network Status’.

    Troubleshooting Basic Connection Problems

    • If “No Network Detected,” check that both cable ends click securely. Swapping ends may solve problems.
    • If performance still seems slow, try using a different port on the router, or test with a second cable to eliminate faults.
    • Older TVs may need a firmware update for best compatibility. Manufacturer support pages often provide direct downloads.

    Advanced Network Optimizations for Buffer-Free Streaming

    Even after connecting your TV directly, some users want to push streaming quality further. A few tweaks using router or TV features can optimize performance.

    Quality of Service (QoS) Settings

    Many modern routers include QoS or traffic prioritization. Adjusting these settings allows you to favor streaming over other background downloads. Setup details depend on the brand: for example, TP-Link and ASUS offer simple toggle options in their web setup interfaces.

    Static IP Assignment

    Some find manually assigning the TV a static IP address creates a more reliable connection. This step can prevent occasional drops if your home network resets. The process is usually under “Network Settings,” look for “Manual Setup” or “Static IP”.

    Software and App Choices

    For streaming apps on smart TVs, updating to the latest versions ensures smoother performance. Platforms like Netflix, YouTube, and Disney+ release regular fixes that improve buffering with each release. Auto-update options are found within each app’s settings menu.

    When Wi-Fi Is Unavoidable: Ethernet Alternatives?

    In homes where running a cable is impossible, powerline adapters present a reliable solution. These send the network signal through the existing electrical wiring, delivering near-wired speeds without new holes or major changes. Some users prefer products from TP-Link or Netgear for ease of use.

    • Plug one adapter into a wall outlet near your router, connecting it via Ethernet.
    • Plug the second adapter into an outlet near your TV, then connect via Ethernet cable.
    • Pair the devices using the sync button. Most kits complete this in under 3 minutes.

    Though Powerline is not entirely equivalent to pure Ethernet, it’s often the next best thing for minimizing buffering in distant rooms.

    Best Practices for Smart TV Network Security

    Smart TVs should always connect to a secure, private network. Using a physical cable actually provides added safety, as signals cannot be intercepted over the air like traditional Wi-Fi.

    • Always enable strong encryption (WPA2 or WPA3) at the router, even if the TV is using Ethernet.
    • Disable unused Wi-Fi networks and guest networks to reduce risk.
    • Periodically check for TV and router firmware updates for continued protection.

    Network security in the smart home world can always use an extra layer of attention. Practical steps support not just smooth streaming but overall privacy at home.

    Tips for a Smoother Wired TV Setup

    A few setup choices can improve stability and keep the connection organized.

    • Use a Cat 6 cable.
    • Secure both cable ends.
    • Keep cables away from heat.
    • Update the TV firmware.
    • Test the network speed.

    Conclusion: The Practical Payoff of Wired Connections

    Using a network cable for your smart TV remains one of the most dependable methods to reduce buffering and lag. Real-world experiences show dramatic improvement in stability, speed, and viewing satisfaction for most home setups.

    The process is generally straightforward, requiring just a little advance planning and the right cable type. Even in challenging layouts, alternatives such as powerline adapters keep options open for those seeking more reliable performance.

    For anyone aiming to create the most secure, frustration-free smart home environment, connecting a smart TV over Ethernet may be the simplest upgrade that makes a massive difference. 

    With tech evolving quickly, wired solutions continue to offer timeless dependability and lasting peace of mind.

  • The Beginner’s Guide to Disabling Universal Plug and Play for Safety

    The Beginner’s Guide to Disabling Universal Plug and Play for Safety

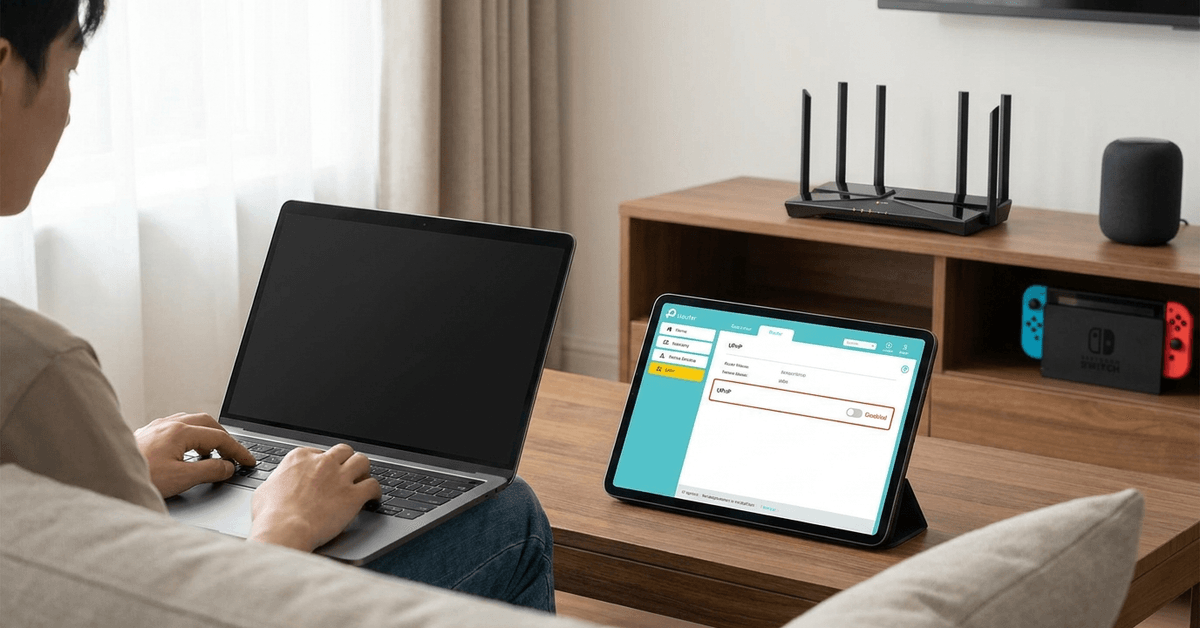
    Universal Plug and Play (UPnP) is a protocol designed to help smart home devices connect easily to your network. Many homeowners use it unknowingly because it works quietly in the background.

    However, this convenience sometimes leaves the door open to cyber risks. Devices exposed through UPnP can become easy targets for attackers seeking vulnerable networks.

    What is Universal Plug and Play (UPnP)?

    UPnP helps computers, smart TVs, consoles, and cameras find each other and communicate on your local network. It handles tasks like port forwarding without much user input.

    The Beginner’s Guide to Disabling Universal Plug and Play for Safety

    Enabling UPnP means new devices can connect without much setup. While this feels smooth, it may also allow malware or unauthorized apps to automatically open network ports.

    Common Devices Using UPnP

    • Smart speakers like Amazon Echo
    • Wi-Fi printers
    • IP security cameras
    • Game consoles such as PlayStation and Xbox
    • Media servers

    Not every device needs UPnP. In fact, most work with manual setup or with no port forwarding at all.

    Why Disabling UPnP Increases Security

    UPnP lacks authentication. This means malware from one infected device can potentially open ports for outside attackers, changing your home firewall settings without direct approval.

    Disabling UPnP closes this automated access. Only devices that you explicitly configure will communicate with the internet through certain ports.

    Real-World Risk Examples

    • Home routers targeted by botnets, like Mirai, often fall victim because UPnP opens ports without warnings.
    • In 2021, UPnP vulnerabilities were found in millions of home routers, putting smart homes at risk of remote hacks.

    For anyone with IoT gadgets, cameras, or kids using gaming systems, the risks become even more real. Reducing your attack surface is simply safer practice.

    How to Check If UPnP Is Enabled?

    Finding your UPnP setting is not always obvious. Most routers have it in their web interface, sometimes under advanced or security menus.

    The Beginner’s Guide to Disabling Universal Plug and Play for Safety
    1. Open a browser and enter your router’s IP address. Common addresses include 192.168.1.1 or 192.168.0.1.
    2. Log in using your admin credentials. If unsure, check the device label or manual for the correct username and password.
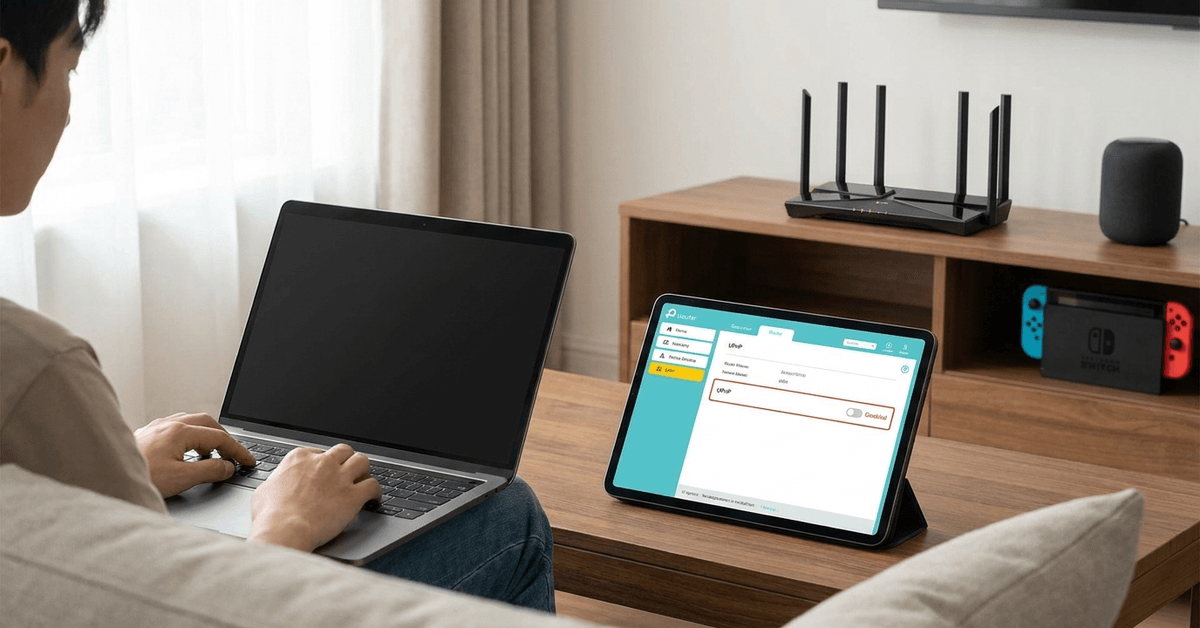
    3. Look for a section like Advanced Setup or NAT Forwarding.
    4. Find the UPnP setting. It may be listed as simply “UPnP”, “UPnP IGD”, or within a firewall menu.

    If you cannot find the setting, your router’s support site often provides model-specific support pages. Searching your router model and “disable UPnP” typically brings up answers.

    Steps to Disable UPnP on Popular Routers

    TP-Link Routers

    1. Access your router’s dashboard in a browser.
    2. Log in as admin.
    3. Navigate to Advanced > NAT Forwarding > UPnP.
    4. Disable the UPnP toggle or setting.
    5. Save your changes and restart the router.

    Netgear Routers

    1. Go to your router login page and enter credentials.
    2. Under Advanced Setup , select UPnP settings.
    3. Uncheck or turn off Enable UPnP.
    4. Click Apply, then reboot if prompted.

    Asus Routers

    1. Sign into the web interface.
    2. Open WAN on the left menu, then click on Internet Connection.
    3. Scroll to UPnP and turn it off.
    4. Save and reboot the router.

    Other brands such as Linksys, D-Link, or Ubiquiti use similar steps. If needed, refer to their official documentation for any special interface quirks.

    How to Confirm UPnP Is Disabled?

    After disabling, a quick scan can help check that risky ports are no longer automatically open.

    • Try an online tool such as GRC ShieldsUP! to verify port status
    • Within your router’s settings, review the port forwarding or UPnP table—active UPnP should be empty

    No entry means automated port creation is stopped and your smart home is more secure from outside threats.

    Possible Side Effects and Alternatives

    The main impact of disabling UPnP is that devices like Xbox or PlayStation might give NAT warning messages, especially for gaming or video chat.

    To address this, manual port forwarding is sometimes used. Homeowners can follow manufacturer documentation to forward only the needed ports, keeping their setup safe but functional.

    Manual Port Forwarding: A Safer Approach

    1. Identify the ports your device or application needs (for example, Xbox Live uses ports 88 and 3074).
    2. Log in to the router dashboard and locate the Port Forwarding section.
    3. Manually enter the port numbers and assign them to the device’s IP address.
    4. Save and test the connection.

    Though it takes extra steps, manual port forwarding puts decisions in the user’s hands rather than allowing devices to open ports automatically.

    Extra Security Tips After Disabling UPnP

    • Change the default admin credentials on your router to something unique and strong
    • Enable automatic firmware updates where possible
    • Turn off remote administration unless absolutely required
    • Set a guest network for untrusted devices or visitors

    These moves, combined with disabling UPnP, close most of the common avenues attackers exploit to breach home networks.

    Useful Apps and Tools to Audit Your Network

    • Fing (available on iOS and Android) helps scan for devices and open ports on your home network
    • Advanced IP Scanner is a Windows tool for mapping devices and checking for unfamiliar connections
    • RouterCheck app can analyze basic router vulnerabilities and unsafe settings

    Checking your network regularly shows which devices are connected and flags suspicious activity early.

    When Should UPnP Stay Enabled?

    In highly controlled networks, like those used for gaming tournaments or large smart homes with trusted users, UPnP might still have a place. For most families and individuals, though, the security trade-off is rarely worth it.

    If someone is unsure, it can be informative to temporarily disable UPnP and see if any daily devices or services are noticeably affected. Most find no impact outside of specialized use cases.

    Powerful Takeaway for Safer Smarthomes

    Disabling UPnP offers a straightforward way to protect your digital life from many common threats. Fewer open ports means fewer entry points for malicious actors.

    This quick tweak, combined with strong router passwords and up-to-date firmware, can drastically reduce network exposure. A little invest­ment in safety today often prevents headaches tomorrow.

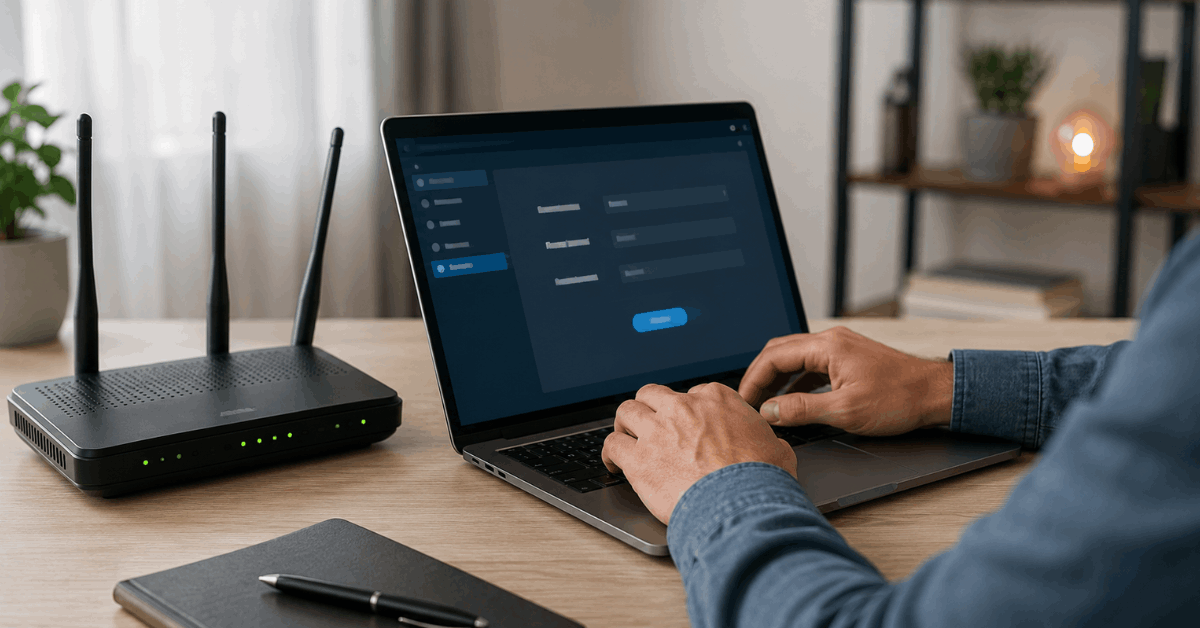
  • Simple Steps to Change Your Home Router’s Default Login Info

    Simple Steps to Change Your Home Router’s Default Login Info

    Updating your router login details improves your smart home’s security. Many people forget to change these default credentials after setup. This simple task can stop outsiders from accessing your network.

    Entry-level homeowners and smart home enthusiasts who value privacy will benefit from understanding this process. With the right steps, your home Wi-Fi stays protected and reliable.

    Why it matters to change your router’s default login info?

    Routers are shipped with standard usernames and passwords set by the manufacturer. Details like “admin” or “password” are easy for attackers to guess. Once compromised, your personal and device data may be at risk.

    Simple Steps to Change Your Home Router’s Default Login Info

    Changing credentials reduces the risk of unauthorized access. It also helps ensure only trusted users can manage smart gadgets and connected appliances.

    What you need before starting?

    • Router make and model for finding its admin page
    • A device connected to your network (phone or computer)
    • Access to your router’s power adapter or reset button
    • Internet browser installed (Chrome, Firefox, or Safari work well)

    It’s helpful to have the router’s manual. For digital copies, check the support site of your router brand, such as Netgear, TP-Link, or Asus. Manuals offer specific menu labels when steps differ.

    Finding your router’s local IP address

    The first step involves accessing your router’s admin dashboard. Usually, this interface is reached through a browser on your local network.

    • On Windows: Press Windows+R, type cmd and press Enter. Type ipconfig and look for “Default Gateway”. This value is usually your router’s IP address (like 192.168.1.1).
    • On macOS: Open Terminal, enter ifconfig or netstat -nr | grep default. The number shown by “gateway” is what you need.
    • From a smartphone: Use apps like Fing for Android/iOS to display your network details, including the router’s IP.

    If standard methods don’t show the address, check the label under the router. Brands often print access information there.

    Accessing your router’s admin interface

    Once you have the IP, open your preferred browser. Type the address into the address bar. Avoid using search engines at this step. Direct entry is safer and more reliable.

    This brings up the login screen. Most brands use usernames like “admin” and common passwords like “admin” or “password”. These must be changed for security.

    • Required: Use the default login if you haven’t changed it previously.
    • If unsure, check the bottom of your router for credentials or find specific guides on sites like routerpasswords.com.

    Navigating to the credentials page

    Admin dashboards differ across brands. However, credentials are often found under headings like Administration, “System Tools”, or “Maintenance”. Some interfaces may refer to this as the “Management” tab.

    Typical menu options to look for include:

    • “Account management”
    • “Change password”
    • “Advanced settings” with sub-items relating to passwords or users

    If your dashboard is unclear, the manufacturer’s help website is a reliable resource with diagrams and screenshots.

    How to change your router’s admin username and password?

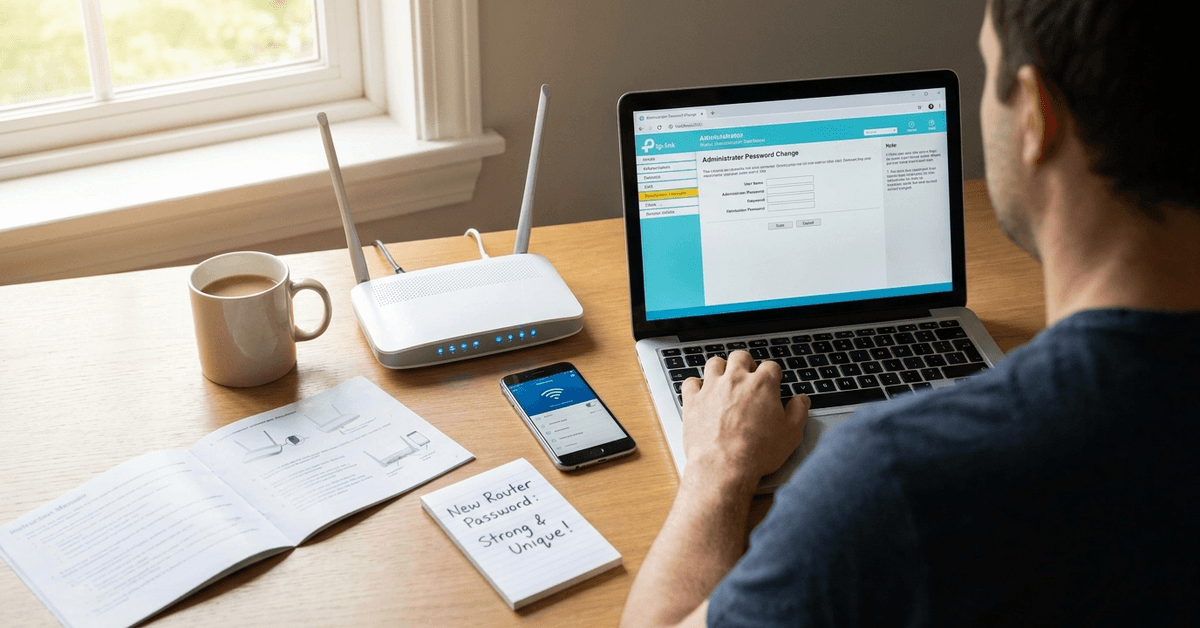
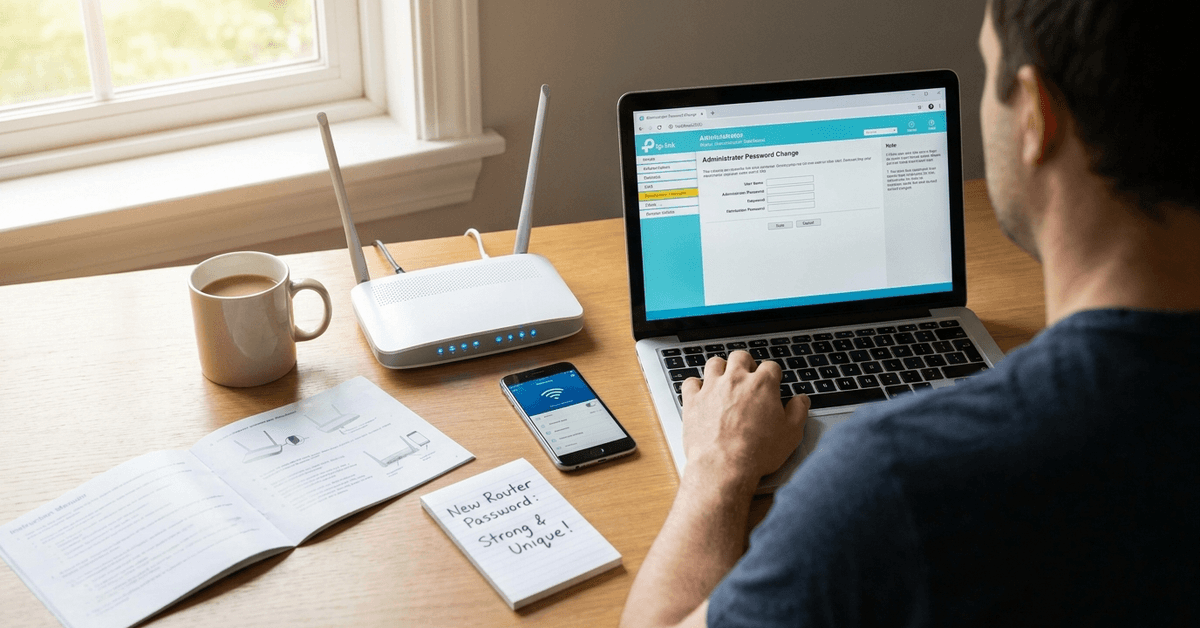
    After reaching the credential settings page, a simple form is usually presented. Homeowners often find these labeled as old password, new password, and confirm new password fields.

    Simple Steps to Change Your Home Router’s Default Login Info
    • Enter your current login credentials first if required.
    • Choose a new username. Short but unique is best. Avoid “admin” or names that reveal your identity.
    • Set a strong password . Use at least 12 characters, combining letters, numbers, and symbols. Tools like 1Password or Bitwarden can generate secure suggestions.
    • Save or confirm changes. Some routers will prompt a reboot to apply the updates.

    Document your new login details in a secure place. Avoid sticky notes or unsecured files. A trusted password manager keeps things organized and safe.

    Tips for choosing and safeguarding new login info

    • Avoid personal info like birthdays or pet names.
    • Generate passwords that don’t resemble common dictionary words.
    • Rotate your password for the admin panel at regular intervals, perhaps every six months.
    • If your router supports it, enable two-factor authentication (2FA) . Some newer models from Asus, Linksys, or Netgear offer this in advanced menus.

    Password managers are helpful for creating, updating, and storing credentials. Services such as LastPass or 1Password handle this securely.

    Special considerations for mesh and cloud-controlled routers

    More homeowners now use mesh systems, like Google Nest Wifi , Eero, or TP-Link Deco. These platforms often use mobile apps instead of web dashboards for security settings.

    Steps for these models usually include:

    • Open the dedicated management app (like “Google Home” or “Eero”).
    • Navigate to network settings, then select the administrator profile.
    • Update login email, password, and tap to confirm. Changes take effect across the entire network.

    Cloud-controlled routers frequently tie access to your online account. Keep this email account secure with strong, unique passwords and 2FA wherever possible.

    What to do if locked out or you cannot remember credentials?

    Getting locked out is fairly common. Most routers have a physical reset button, often marked “RESET,” on the back or bottom. Using a pen tip, hold this for about 10 seconds while powered on to restore defaults.

    • Consult the manufacturer’s support page for exact reset steps. Each brand handles resets slightly differently.
    • After reset, log in using the default credentials printed on the device or in the manual.
    • Repeat the credential change process immediately to keep your network protected.

    Maintaining a secure router going forward

    Routine security checks are important. Set calendar reminders to review your admin credentials and update them periodically.

    • Review who has access to your admin panel.
    • Apply firmware updates offered by your router brand. Keeping firmware up to date is as vital as changing credentials.
    • For added control, consider setting up guest Wi-Fi networks so visitors do not need main credentials.

    Conclusion

    Regularly changing your router’s default login info is essential for any smart home aiming to defend against intrusion risks. These steps are straightforward for most brands and models. 

    Remember, this basic task can make a real difference in how well your home network stays protected. Taking a few minutes for an update is a wise habit for maintaining a secure, reliable smart environment every day. 

    For more guides on home network security and smart automation, exploring resources on Fortressmate.com could further enhance your digital peace of mind.

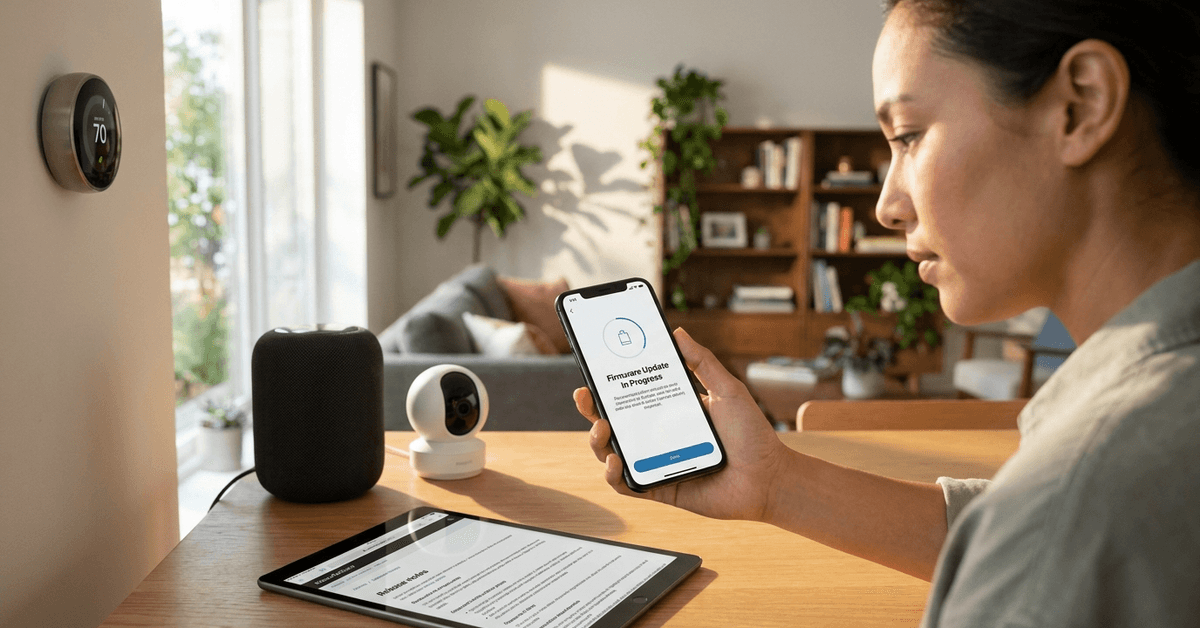
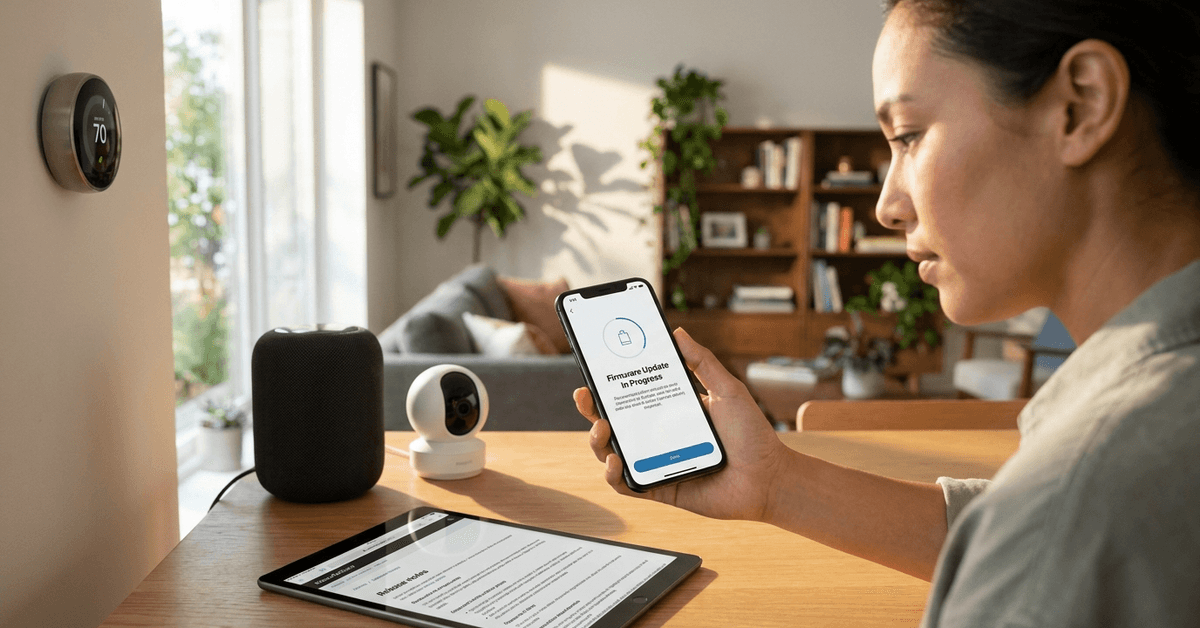
  • How to Update Your Smart Home Device Firmware to Fix Glitches

    How to Update Your Smart Home Device Firmware to Fix Glitches

    Smart home devices can transform daily life. Yet, like any tech, they sometimes develop issues. These glitches often relate to firmware—that’s the internal software running your gadgets. Reliable firmware is the backbone of secure home automation.

    This guide is for anyone who owns smart locks, security cameras, sensors, or thermostats. Whether you use Amazon Alexa, Google Home, or Zigbee hubs, keeping firmware current helps prevent vulnerabilities and annoying bugs.

    Why Updating Firmware Matters for Smart Home Stability?

    Firmware tells your gadget what to do. Bugs in this code introduce strange behavior. Maybe your light won’t respond, or a security camera disconnects randomly. Sometimes these hiccups seem minor, but they can signal a bigger problem.

    How to Update Your Smart Home Device Firmware to Fix Glitches

    Manufacturers constantly improve device security and performance. Each firmware update usually patches known issues, adds features, or tightens security.

    • Security patches protect against hacking attempts.
    • Performance updates smooth out everyday glitches.
    • Compatibility upgrades help old devices talk to new apps and platforms.

    When Should Homeowners Check for Firmware Updates?

    It’s tempting to set and forget your smart gear. Most experts think regular checks are key. Major brands like Ring, Philips Hue, or Yale, often provide updates every few months or whenever big bugs arise.

    How to Update Your Smart Home Device Firmware to Fix Glitches

    Some signs suggest a check is due:

    • Delayed responses or failed automation routines
    • Device disconnects from Wi-Fi or the hub
    • Sudden compatibility errors after a smartphone OS update
    • Privacy or security warnings within the app

    How to Prepare Before Updating Your Smart Home Device?

    Not every update goes smoothly. A sudden power cut or unstable Wi-Fi can interrupt the process. Careful preparation protects against failed updates that can brick a device.

    Basic Steps Before an Update

    • Check your device’s current firmware version in its mobile app.
    • Read the manufacturer’s release notes for update details and fixes.
    • Make sure your phone or tablet (used for updates) is fully charged.
    • Position the gadget within strong Wi-Fi range or connect via Ethernet when possible.
    • Backup device settings in the app, if this is an option.

    As an extra layer of safety, some people prefer updating during daytime hours for easy troubleshooting, just in case.

    Step-by-Step: Updating Firmware on Popular Smart Home Devices

    The actual process varies by brand and device type. Yet, certain steps are common. Many popular smart hubs and apps include built-in tools for updates.

    Updating Through the Manufacturer’s App

    • Open the companion app (such as Google Home , Apple Home, or SmartThings) on your mobile device.
    • Navigate to the device list and select the one needing an update.
    • Search for “Device Information” or “Firmware” within its settings.
    • Look for an option called “Update firmware,” “Check for updates,” or similar.
    • If a new version exists, follow the prompts to download and install.

    Some brands automatically push updates when the device is idle, but manual checks ensure nothing slips through the cracks.

    Via Web Portal or Companion Software

    • Visit the brand’s official support website (e.g., Philips Hue portal, Ring’s web dashboard).
    • Login with your device account credentials.
    • Navigate to the “Devices” or “My Products” section.
    • Find your model and look for available firmware files or update tools.
    • Follow the instructions to upload and install a downloaded file, if required.

    This route is more typical with advanced devices like smart security panels or NAS-based camera NVRs.

    Special Case: Zigbee and Z-Wave Devices

    Devices on Zigbee and Z-Wave networks sometimes require updates through a compatible hub. Homeowners find success using platforms like SmartThings or Home Assistant.

    • Ensure your hub firmware is current.
    • Access the update menu for connected devices in the app.
    • Start the update and keep the device powered during the whole process.
    • Reboot the hub if the update hangs longer than expected.

    Common Issues During Firmware Updates

    Even the best-prepared routine can hit snags. Firmware glitches sometimes appear after a patch.

    Failed Updates or Interrupted Installs

    • If the app freezes, restart your phone and try again.
    • For a device stuck in update mode, a gentle reset may be needed (follow the manual for safe reset steps).
    • Never unplug or turn off the device mid-update, as this can permanently damage internal memory.

    Device Unresponsive After Update

    • Sometimes a device must be power-cycled—unplug it for a few seconds, then reconnect.
    • If issues persist, a factory reset via the companion app or a small hardware button can restore function. Remember, this erases custom settings.
    • Check the manufacturer’s support center for known post-update bugs or solutions.

    How to Automate Firmware Updates (and When to Avoid It)?

    Many devices allow auto-updates. This can work great; the latest code is always in place without effort. Yet, there’s a trade-off. Sometimes a new patch triggers bugs.

    • Enable auto-updates only for non-critical devices (like bulbs or smart plugs).
    • Hold off on rolling out new firmware immediately for security hubs or door locks. Waiting a week or two lets early bugs get patched.

    A careful workaround is to subscribe to email or app alerts from your device makers. That way, you pick the best time to update.

    Ensuring Network Security During and After Updates

    Firmware updates often repair security loopholes. It makes sense to consider your Wi-Fi and network safety during the update process as well.

    • Change default device passwords in your app settings to unique, complex ones.
    • Keep your home router’s own firmware up to date. Most major routers (such as Netgear or TP-Link) offer built-in update tools.
    • Use guest Wi-Fi networks for connected devices when possible so your main devices remain isolated.

    Tips for Maximizing Device Performance After an Update

    Once the firmware update succeeds, most glitches should fade away. Some additional tweaks help ensure best results.

    • Reboot your device and the hub after updating to refresh networks.
    • Test all key functions—lock, unlock, camera streaming, motion alerts—using the app.
    • Review new settings or permissions introduced in the update, adjusting them as needed for your preferences.

    Reliable Resources for Firmware and Troubleshooting

    Always rely on trusted sources. Visiting official brand help pages or direct device forums can answer specific update and bug questions.

    • Manufacturer support sections (for example, support.ring.com or support.philips-hue.com)
    • Device-specific user groups on Reddit, such as r/SmartThings or r/HomeAssistant
    • Firmware release note archives within your app

    If a new firmware patch seems buggy, checking these spaces often reveals if others have the same problem or have suggested workarounds.

    Conclusion: A Secure, Reliable Smart Home Starts with Regular Firmware Updates

    Updating smart home device firmware may seem tedious. But it’s a small investment for daily peace of mind and hassle-free automation. Firmware fixes close doors that hackers love to pry open. They smooth out performance hiccups and often add new features you never knew you were missing.

    For best results, make firmware checks a seasonal habit. Back up your settings (when possible) and watch for official manufacturer alerts. Investigate every update at your own pace. Careful attention today means fewer headaches and better security tomorrow. 

    A well-updated smart home has fewer disruptions and keeps your digital fortress standing strong. For more on safe smart home setups, consider exploring future articles at Fortressmate.com, perhaps with topics like smart lock compatibility, automation privacy, or comparing mesh Wi-Fi for secure homes.

  • The Best Router Placement Tips for Consistent Whole-House Coverage

    The Best Router Placement Tips for Consistent Whole-House Coverage

    Reliable Wi-Fi is the backbone of any modern smart home. Yet, so many houses still struggle with slow spots, dropouts, or rooms where online devices just cannot connect well. Anyone with cameras, smart locks, or streaming setups knows how frustrating those dead zones can be.

    This guide is crafted for homeowners who want seamless Internet coverage, especially those interested in smart gadgets or automation. The main benefit? Consistently fast, stable coverage in every corner—without costly trial-and-error.

    Why Router Placement Really Matters?

    Physical position is the number one factor affecting your network’s strength. It determines whether signals reach a bedroom upstairs, a media room downstairs, or even your backyard camera.

    The Best Router Placement Tips for Consistent Whole-House Coverage

    Home Architecture’s Impact

    Metal appliances, masonry walls, and even older wires can absorb or reflect wireless signals. Thick doors and mirrors in hallways create interference and reduce coverage. Placing routers behind TVs or in closets rarely results in strong performance.

    Choosing a Central Location

    Rooms at the edges—garages, basements, or attics—tend to block signals to the rest of the house. The rule of thumb is a central spot with as few obstructions as possible, like a hallway table or open shelf in your main living area.

    Understanding Router Antennas & Signal Spread

    Most routers emit radio waves outward in a roughly circular pattern. Antennas can help direct those signals, but their placement and orientation play a real-world role in coverage.

    The Best Router Placement Tips for Consistent Whole-House Coverage

    Vertical vs. Horizontal Antenna Placement

    A vertical antenna broadcasts signals horizontally, covering more ground on the same floor. A horizontal antenna projects signals upward and downward—useful for homes with multiple stories. Tilting antennas at slight angles often creates better overlap between floors.

    Optimizing for Two-Story and Large Homes

    Larger homes introduce special challenges, especially when thick floors or brickwork stand between routers and devices. Routers on the ground floor may not reach upstairs bedrooms or attic offices.

    Positioning for Maximum Reach

    • Level 1: Place the router on a shelf or cabinet that is about halfway between ceiling and floor height.
    • Level 2: Try positioning near the stairwell, as open stairways let signals move up or down more freely.
    • Level 3: Avoid corners, as signals get trapped or bounced away by walls.

    Powerline Adapters and Wi-Fi Extenders help with dead zones but are most effective when placed mid-way between the weak and strong areas.

    Using a Wi-Fi Heatmap Tool

    Visualizing your signal strength makes router adjustments much easier. Apps such as NetSpot (Windows/Mac) and WiFi Analyzer (Android) display hot and cold spots around your home. Scanning each room allows you to spot issues quickly and re-test after moving hardware.

    Dealing with Interference and Device Crowding

    Electronic interference is common in densely populated homes, especially with gadgets operating on the same frequency. Nearby microwaves, Bluetooth speakers, and even baby monitors can disrupt Wi-Fi signals.

    Identifying Sources of Interference

    • Microwaves, often affect the 2.4GHz range.
    • Cordless phones, when placed too close to routers.
    • Multiple smart gadgets using overlapping bands.

    Channel and Frequency Selection

    Most routers pick a channel automatically. In crowded environments, using your router’s admin panel to manually set a less-used channel can improve reliability. 

    Switching to the 5GHz band avoids many common interferences but offers slightly less range than 2.4GHz.

    Mesh Network Setup for Whole-Home Consistency

    Modern mesh systems like Eero, Google Nest WiFi, and Asus ZenWiFi solve far more problems than standard single-node routers. They create overlapping coverage areas for uniform signal throughout large or uniquely shaped homes.

    Mesh Placement Guidelines

    • Central Main Node: Place the primary unit near your internet entry point but avoid hidden corners.
    • Satellite Nodes: Spaces satellites evenly—about halfway between the main router and farthest device-heavy rooms.
    • Avoid stacking: Place units on different floors, but keep them open and away from thick walls.

    Mesh systems automatically hand off devices as you move through the house, minimizing drops.

    Router Settings That Can Boost Coverage

    Position matters, but tweaking settings in your router’s admin menu can offer extra improvements. Many homeowners leave default options unchanged, missing out on performance gains.

    Key Admin Features to Review

    • Transmit Power: Some routers offer high/medium/low output settings. Set it to High for maximum reach, unless interference increases.
    • QoS (Quality of Service): Prioritize traffic—like video calls or streaming—for vital devices.
    • Band Steering: Enable if available. This feature helps your router direct devices to the best band, reducing crowding.

    What Not To Do: Common Placement Mistakes

    • Avoid putting the router behind thick furniture, under metal shelves, or inside cabinets.
    • Placing it near microwaves or smart fridges can degrade signal.
    • Corner locations almost always produce uneven coverage.
    • Stacking or crowding antennas reduces their effectiveness.
    • Ignoring firmware updates can lead to weaker performance.

    Step-by-Step: Evaluating and Moving Your Router

    1. Load a speed test website on your phone in each main room.
    2. Use a heatmap app for visual feedback.
    3. Move the router to your intended new position.
    4. Repeat speed and heatmap tests to compare.
    5. Reposition satellites or extenders as needed.
    6. Check coverage in basements, garages, and attics last.

    Router Models & Features for the Smart Home

    More devices call for better specs. The newest Wi-Fi 6 and Wi-Fi 6E routers offer greater capacity and advanced band management for dozens of simultaneous smart devices—especially those using OFDMA (orthogonal frequency-division multiple access) to split channels efficiently.

    Many models from TP-Link Archer, Asus, and Netgear Nighthawk series are recommended for robust security and multi-device support.

    Conclusion

    Smart router placement is a science, but also a bit of trial, observation, and adjustment. Each house presents unique challenges—architecture, device count, and interference all play roles. 

    However, understanding signal spread, avoiding common mistakes, and using heatmap tools empower homeowners to achieve reliable, whole-house coverage.

    Whether using a traditional router or investing in mesh systems, strategic placement ensures every smart device in your home performs at its best, keeping your fortress connected and future-ready.

  • The Differences Between Wi-Fi 6 and Older Routers for Smart Homes

    The Differences Between Wi-Fi 6 and Older Routers for Smart Homes

    Choosing the right router matters more than ever when building a connected smart home. The network is the true backbone for dozens of security cameras, sensors, and automation gadgets.

    Every detail—from speed to stability—impacts how these devices perform together. So, the leap from older routers to Wi-Fi 6 is not just about speed numbers. It’s about reliability, privacy, and future-proofing day-to-day life.

    Wi-Fi Standards: The Basics

    Most homes use routers that follow the Wi-Fi 4 (802.11n) or Wi-Fi 5 (802.11ac) protocol. The latest, Wi-Fi 6 (802.11ax), brings several big changes.

    The Differences Between Wi-Fi 6 and Older Routers for Smart Homes

    Wi-Fi 6 isn’t just faster, but it rewrites how devices share airwaves. This matters when homes get crowded with smart gadgets.

    Key Technology Upgrades in Wi-Fi 6

    Higher Speeds and Bandwidth

    Wi-Fi 6 can reach speeds beyond 9.6 Gbps. Most older routers max out under 3.5 Gbps. This is a headline number, but what really counts is how Wi-Fi 6 manages many devices at once.

    In practice, for homes streaming security footage or running multiple hubs, more bandwidth means fewer slowdowns at busy times.

    Orthogonal Frequency Division Multiple Access (OFDMA)

    The OFDMA feature lets Wi-Fi 6 routers talk to many devices simultaneously. Older routers send data one at a time, which quickly becomes a bottleneck in smart home setups.

    With OFDMA, smart bulbs, door locks, and sensors each get their little piece of the channel, making everything feel more responsive.

    Improved MU-MIMO for More Active Devices

    Multi-User, Multiple-Input, Multiple-Output (MU-MIMO) exists in Wi-Fi 5, but the Wi-Fi 6 version is more advanced. With Wi-Fi 6, more devices can send and receive data concurrently.

    This upgrade means surveillance cameras don’t crowd out voice assistants or thermostats when sending high-resolution feeds.

    Greater Battery Efficiency for Gadgets

    Wi-Fi 6 introduces Target Wake Time (TWT) to help connected devices plan their communications. Devices sleep longer and wake only as needed.

    This reduces battery drain on wireless sensors and smart locks. Most older routers lack this type of power management.

    Security Advancements for Smart Homes

    WPA3 Security Protocol

    The WPA3 protocol comes standard on Wi-Fi 6 routers. It’s not exclusive, but rare on older models. WPA3 greatly raises the bar for device authentication and data protection.

    For homeowners using smart locks, cameras, or doorbells, this means tougher encryption guarding their private data from prying eyes.

    Safer Device Pairing

    Smart gadgets often use QR codes or Bluetooth to join your network. Wi-Fi 6 routers with Wi-Fi Protected Setup (WPS) and WPA3 Simultaneous Authentication of Equals make pairing both easier and more resistant to attack.

    This is helpful for busy families installing multiple devices from brands like Nest, Arlo, or Philips Hue.

    Capacity and Coverage: Handling Busy Homes

    Greater Device Limit

    Older routers often struggle when more than 15–20 gadgets are active. Many smart homes now push far past this limit, bumping into lags and disconnects.

    The Differences Between Wi-Fi 6 and Older Routers for Smart Homes

    Wi-Fi 6 routers can handle upward of 50 or more devices smoothly. This matters for houses loaded with automation components and streaming media.

    Stronger Signal Penetration

    Wi-Fi 6 signals travel through walls and floors more efficiently. While not immune to obstructions, the difference is clear compared to a five-year-old router.

    For split-level homes or those with garages full of sensors, the improved range can solve dead zone complaints without extra Wi-Fi extenders.

    Compatibility With Modern Smart Home Hubs

    Popular smart home ecosystems such as Amazon Alexa , Google Home, and Apple HomeKit all support both old and new Wi-Fi standards. However, not all routers are created equal.

    Wi-Fi 6 routers are optimized for easy onboarding, faster over-the-air updates, and smoother real-time control, especially when several automation routines trigger simultaneously.

    Platform-Specific Features

    • Google Nest Hubs leverage OFDMA for reliable sensor data streaming.
    • Yale and August smart locks benefit from TWT, lasting longer on each battery cycle.
    • Philips Hue bridges and Arlo cameras auto-update firmware faster with strong router support.

    Easy Installation Steps: Setting Up Wi-Fi 6 in a Smart Home

    • Unbox the Wi-Fi 6 router, then connect it to your ISP’s modem with the supplied Ethernet cable.
    • Use the manufacturer app—such as Netgear Nighthawk or ASUS Router—for walk-through setup. This typically covers Wi-Fi name (SSID), encryption type, and password configuration.
    • Check for the latest firmware via the router’s settings page. Apply updates before pairing smart devices.
    • Re-connect your smart home gadgets, prioritizing those needing WPA3 security for maximum benefit.
    • Organize devices into separate bands, using 2.4GHz for low-bandwidth sensors and 5GHz for video devices or hubs.
    • For advanced setups, assign static IPs to critical gear like security cameras. Apps like Fing or the built-in router device table can help manage these allocations.

    Software and Apps to Optimize Smart Home Wi-Fi

    • NetSpot: Useful for mapping signal strength and identifying dead zones throughout the home.
    • Fing: Tracks connected devices and alerts when new gadgets join your network.
    • Home Assistant: Enables advanced automation routines while monitoring Wi-Fi device health in real-time.
    • TP-Link Tether or Linksys Smart WiFi: Allow live bandwidth allocation and usage reporting for each connected device.

    Energy Management and Network Efficiency

    Older routers run hot, often using more power by attempting to maintain connections with multiple gadgets. Wi-Fi 6 includes power savings protocols—not just the TWT feature.

    Less electricity means lower bills, less heat near your networking gear, and smaller risk of random disconnects.

    When an Older Router Might Still Work?

    Homes with under 10 smart devices and few simultaneous video streams might feel little difference upgrading. For basic setups, Wi-Fi 5 routers continue to cover essentials well.

    If the home plan expands—adding cameras or voice-controlled security lamps—a smoother transition happens with Wi-Fi 6 already installed.

    Conclusion

    Smart homes thrive or struggle based on network quality. Wi-Fi 6 routers provide real benefits: speed, range, capacity, device friendliness, and most importantly, better security for all connected gadgets.

    Upgrading isn’t just about faster downloads but smoother daily living and future-readiness. While older routers may be sufficient for now, the demands of automation and connected security make Wi-Fi 6 the new minimum for serious smart home setups.

  • The Impact of Brick Walls on Smart Home Wi-Fi Signals

    The Impact of Brick Walls on Smart Home Wi-Fi Signals

    If you depend on smart devices, Wi-Fi stability is critical. Many homes use brick as a building material. While sturdy, it can complicate wireless signal coverage.

    This article is for homeowners and smart tech enthusiasts who crave seamless connectivity. Understanding the effects of brick walls helps ensure your devices work as intended.

    Why Brick Walls Disrupt Wi-Fi Signals?

    Brick walls act as significant barriers to Wi-Fi transmission. Dense masonry absorbs and reflects radio waves. This often leaves rooms with poor signals or total dead zones.

    The Impact of Brick Walls on Smart Home Wi-Fi Signals

    It’s not unusual for thick brick to reduce signal strength by over 15 dB. The main problem is brick’s composition and moisture retention. Both these factors hinder 2.4 GHz and 5 GHz frequencies.

    Understanding Wi-Fi Frequencies and Penetration

    Home Wi-Fi typically uses 2.4 GHz and 5 GHz frequency bands. Each reacts differently to obstacles like brick.

    2.4 GHz: Longer Range, More Interference

    The 2.4 GHz band travels further and penetrates walls better than 5 GHz. However, it’s more vulnerable to disturbance from devices like microwaves and Bluetooth speakers.

    In homes with brick, you might notice the 2.4 GHz signal persists where 5 GHz drops out. But speed may be noticeably lower.

    5 GHz: Faster, Weaker Through Brick

    The 5 GHz band offers faster speeds but weaker wall penetration. Brick walls often block much of this frequency, making upper floors or back rooms difficult to reach.

    Streaming devices, which rely on the 5 GHz band for better performance, are quick to reveal this limitation.

    Specific Impacts on Smart Home Devices

    Most smart home gadgets, from cameras to thermostats, run on Wi-Fi. Brick wall interference can cause several frustrating issues:

    • Delayed notifications from sensors
    • Dropped video feeds on cameras
    • Unreliable voice assistant responses
    • Smart bulbs going offline without warning
    • Missed automation triggers

    Noticing any of these may be your first clue that brick is getting in the way.

    Signal Loss: How Much Weakening Happens?

    Brick absorbs a considerable amount of signal. Exact loss depends on the wall’s thickness and density.

    Field measurements show that typical single brick walls can cause about 8–15 dB of signal attenuation. Two-brick-thick walls may double that loss, leaving far less power for devices on the other side.

    Testing Wi-Fi Strength Near Brick Walls

    Evaluating your signal quality is key. Several apps and tools will help pinpoint weak spots in a brick-heavy home.

    The Impact of Brick Walls on Smart Home Wi-Fi Signals
    • NetSpot for Windows and macOS
    • WiFi Analyzer (Android)
    • AirPort Utility (iOS)

    These free tools display signal strength (measured in dBm). Signals below -70 dBm often mean unreliable connections for smart devices.

    Strategies to Improve Wi-Fi Performance Through Brick

    There are several practical methods to improve Wi-Fi coverage in brick homes. Each approach offers unique benefits and works best when tailored to your space.

    Optimal Router Placement

    • Place your router in a central, elevated spot—away from brick whenever possible.
    • Reducing the number of brick barriers between the router and devices prevents excess signal loss.
    • A nook behind a brick fireplace is a poor location.

    Mesh Network Systems

    • A Mesh Wi-Fi system uses multiple access points, each relaying the signal to nearby devices.
    • Makes coverage seamless by surrounding problem spots with steady connectivity.
    • Brands like Google Nest WiFi, Eero, and Netgear Orbi are worth exploring.

    Wi-Fi Repeaters and Extenders

    • Repeaters capture your existing Wi-Fi and re-broadcast it further. Extenders boost range in hard-to-reach places.
    • They are often less stable than mesh but can help with moderate brick wall interference.

    Powerline Adapters

    • Powerline adapters use your home electrical wiring to move data.
    • Plug an adapter into a wall socket near your router, and a matching unit near your distant smart device.
    • The TP-Link AV1300 is a popular, reliable pick.

    Ethernet Backhaul for Critical Devices

    • For key devices like hubs or security cameras, running an Ethernet cable through brick may be worth the effort.
    • Many mesh systems support Ethernet backhaul to link units directly, bypassing wireless walls entirely.

    Upgrading Router Antennas

    • Some routers let you swap for high-gain antennas, sending a more focused signal through obstacles.
    • Directional antennas, aimed along open hallways instead of at a solid brick wall, offer better results.

    Configuration Tips for Better Smart Home Performance

    Settings and firmware also play a big role in maximizing connectivity in brick homes.

    Separate SSIDs for 2.4 GHz and 5 GHz

    • Most routers let you assign unique network names (SSIDs) to 2.4 GHz and 5 GHz bands.
    • Assign smart home gadgets to the 2.4 GHz SSID, since it penetrates brick better.
    • Reserve 5 GHz for streaming and bandwidth-heavy devices close to the router.

    Latest Wi-Fi Standards

    • Routers running Wi-Fi 6 (802.11ax) or Wi-Fi 5 (802.11ac) offer improved speed and interference resistance.
    • Enabling features like MU-MIMO and OFDMA helps serve more devices at once, even with obstacles.

    Firmware Updates and Security

    • Keep your router’s firmware up to date for performance and vulnerability fixes.
    • Always use WPA3, or at least WPA2, for strong security.
    • Disable legacy Wi-Fi protocols that could interfere with stable connections when behind brick walls.

    Common Myths about Brick Walls and Wi-Fi

    A few persistent myths confuse brick’s actual impact. These bear clarification.

    • Not all brick walls are the same: Some have different densities or air gaps that alter their effect.
    • Booster antennas can’t “punch” through thick brick. They can only help if angled around it.
    • Certain paints or plaster may add further attenuation, especially when containing metal mesh.

    Conclusion

    Brick walls remain one of the toughest challenges for home Wi-Fi. Their density and moisture absorb wireless signals, limiting smart device potential. Thorough testing uncovers weak spots, and modern network options like mesh or powerline adapters are key solutions.

    Careful router placement plus the right frequency for each gadget make a noticeable difference. Up-to-date hardware and clear SSID separation help minimize outages. 

    For persistent issues, a professional installer’s advice is invaluable. With the right know-how and a bit of patience, even brick-heavy homes can support reliable, secure smart automation on every floor.